
I’ll never forget the moment I stood on my weathered deck, feeling the soft give of a sagging board and realizing a common oversight had quietly led to a costly problem. It hit me then—what seemed like a minor repair was actually a warning sign of rot creeping into my beloved outdoor space. That lightbulb moment propelled me into a journey of learning and fixing, transforming my deck from a shaky mess into a sturdy, beautiful area where my family gathers happily. If you’ve ever faced similar worries—cracks, squeaks, or the nagging fear of rot—then you know how frustrating it can be to ignore these signs or delay action. Today, I’ll share the secret to stopping rot before it spreads: retrofitting joist tape onto your existing deck frame.
Why Proper Joist Protection Matters Now More Than Ever
Is Installing Joist Tape Overkill for Your Deck?
Early in my deck-building days, I made a costly mistake—underestimating the importance of sealing my joists. I thought the deck’s surface would hold up on its own, but moisture seeps in through the unprotected edges, sneaking up and causing wood to decay from the inside out. Modern decks, especially those exposed to fluctuating weather, need more than just well-chosen composite boards; they require good foundational protection to ensure longevity. According to researchers, improper sealing can lead to rot that weakens structural integrity, sometimes within just a few years (National Park Service). That’s why retrofitting joist tape isn’t just a maintenance chore—it’s a proactive measure to preserve your investment.
Have you noticed signs of wear or wondering if your deck’s frame is still solid? If so, you’re not alone. Many homeowners overlook the simple but critical step of sealing the joists, which can cause big problems down the line. The good news? Retrofit joist tape is an affordable, straightforward solution that can be done without tearing out your entire deck. With a bit of patience and know-how, you can stop rot at its source and enjoy a safe, long-lasting outdoor space.
Let’s explore exactly how to do this, so your deck remains a safe, beautiful gathering place for years to come.
Prepare Your Tools and Materials
Gather high-quality adhesive-backed joist tape, a utility knife, measuring tape, and a ladder. Ensure the area is clear of debris, and wear protective gloves for handling adhesive tapes. I remember one sunny Saturday when I tackled my deck, and having all tools ready saved me hours of frustration—making the process smooth and efficient.
Inspect and Measure the Joists
Climb onto your deck carefully and examine the current condition of your joists. Look for signs of rot, cracks, or water damage, especially at the edges where moisture accumulates. Use your measuring tape to determine the length and width of each joist to cut the tape accurately. During my repair, measuring precisely prevented overlaps and ensured comprehensive coverage.
Clean and Dry the Surface
Before applying the tape, scrub the joists with a brush to remove dirt, dust, and any loose wood fibers. Wipe down with a damp cloth and thoroughly dry to ensure adhesion. I learned that even a slight dust layer could cause the tape to peel prematurely, which is why I took my time to clean each joist meticulously.
Cut and Apply the Joist Tape
Unroll the tape and cut strips slightly longer than the joist edges. Peel off the backing paper gradually and press the tape firmly onto the top and sides of each joist, ensuring full contact. Use your hands or a roller to smooth out air bubbles. Once I applied my first strip, I made sure to press along the edges to prevent water seepage—an essential step in extending your deck’s lifespan.
Seal and Reinforce Critical Areas
Pay special attention to corners and the ends of the joists where water tends to collect. Overlap the tape by at least an inch to reinforce the seal. For maximum protection, consider installing additional flashing or sealant at vulnerable points—techniques I adopted when my deck’s edges showed minor water infiltration signs.
Maintain Regular Inspection
After installation, periodically check the tape’s condition—especially after heavy rains or snowfalls. Replace or reseal any sections showing signs of wear. I learned that proactive maintenance prevents rot from advancing, saving me from costly repairs in the future.
Additional Tips for Success
For decks exposed to salty or highly humid environments, opt for specialized marine-grade joist tape. When sealing around existing railing systems or pergolas, ensure the tape does not interfere with the hardware. For design inspiration and options for railing systems, visit this guide.
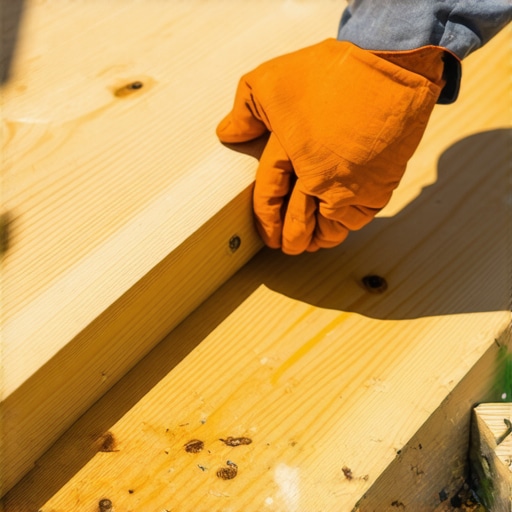 While many homeowners focus on selecting attractive pergolas or sleek railing systems, a common misconception is treating these elements as purely cosmetic. In reality, advanced details like proper anchoring, wind resistance, and material compatibility are critical yet often overlooked. For example, many believe that choosing the most decorative railing automatically guarantees safety and durability, but without appropriate fastening techniques or considering wind loads, the whole system can become unstable—especially in high-wind areas. This is why consulting expert guides like this comprehensive railing guide is essential to avoid costly mistakes. Moreover, in deck design, a prevalent myth is that bigger is always better. However, ignoring nuances like load distribution or span limitations can lead to structural failures. Opting for innovative design strategies ensures safety without sacrificing aesthetics. When it comes to composite decking, a frequent mistake is assuming all products perform equally; yet, nuances like cell structure and manufacturing quality significantly influence longevity and appearance. For instance, trendy composite solutions emphasize the importance of selecting high-quality materials to prevent warping or staining. Lastly, understanding the hidden nuances—such as the expansion behavior of materials under temperature change—can safeguard your investment. For example, knowledge about proper spacing and flashing techniques, discussed in this guide, helps prevent rot or structural compromise over time. Remember, mastering these details not only enhances the lifespan of your outdoor spaces but also assures safety and long-term beauty. Have you ever fallen into this trap? Let me know in the comments.
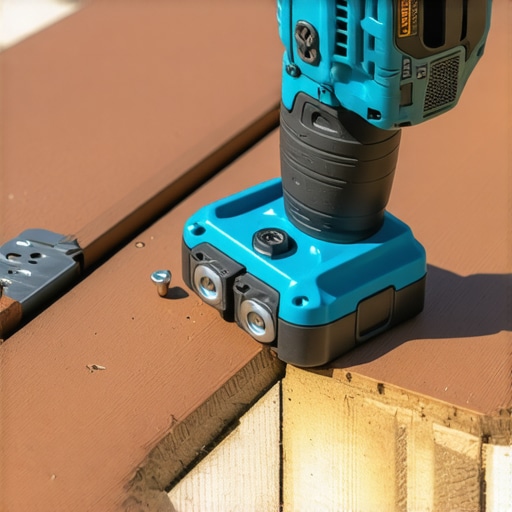
Keeping your pergolas, railing systems, and decks in top shape requires more than just basic upkeep—having the right tools and understanding maintenance best practices can significantly extend their lifespan. One of my favorite investments has been a high-quality cordless impact driver. Unlike standard drills, impact drivers deliver the torque necessary to drive stubborn screws into composite decking or sturdy railing posts without stripping the heads. I personally prefer models with brushless motors, such as the DeWalt DCF887, because they offer longer run times and durability, which are invaluable during larger projects or routine maintenance.
Another indispensable tool is a digital moisture meter. Regularly checking moisture levels in wooden components helps prevent rot before visible signs appear. I use the Protimeter Surveymaster, a professional-grade device that quickly gives accurate readings, guiding me on when to reseal or replace affected sections. This proactive approach is especially critical in humid or coastal environments, where moisture infiltration can accelerate deterioration. For cleaning and sealing, a power washer with adjustable pressure settings ensures your surfaces are free of dirt and loose debris, preparing them for treatment. I recommend gently reducing pressure when cleaning composite boards to avoid damage to the surface texture.
When it comes to maintaining long-term aesthetics, I advise investing in a good quality paint sprayer for applying sealants or protective coatings. My personal go-to is the Wagner Control Pro 150, which offers even coverage and minimizes drips—saving time and ensuring thorough protection. For railings and pergolas, I use specialty fasteners like ceramic-coated screws to resist corrosion and maintain appearance over the years. These screws are especially effective in coastal areas prone to salt spray, as reviewed comprehensively in this guide.
As technology advances, so do maintenance methods. Emerging trends point toward smart sensors embedded in outdoor structures that monitor moisture and structural integrity in real-time. While still in the early stages, these innovations promise to revolutionize how we care for our outdoor spaces, offering immediate alerts before minor issues evolve into major repairs. I anticipate that integrating such systems will become standard practice within the next decade, making maintenance more efficient and preventative.
How do I maintain my decking and railing systems over time?
Senior experts emphasize routine inspections and timely interventions. Rot-proofing treatments, like sealing joints with high-quality joist tape or ensuring flashing is properly installed, are fundamental. Additionally, regularly cleaning surfaces with a soft brush and gentle cleaners improves longevity. Remember, preventive measures like these save substantial costs down the line and help keep your outdoor oasis looking pristine. For comprehensive guidance, visit this article on railing maintenance.
In conclusion, having a set of reliable tools tailored to your deck and pergola components—and applying consistent maintenance strategies—are key to enjoying a safe, beautiful outdoor environment for years to come. Try incorporating a digital moisture meter into your routine, or upgrade your fasteners with ceramic-coated screws, to experience noticeable improvements in durability and ease of care.
Lessons Only Veterans Know About Pergola, Railing Systems, and Deck Mastery
One of the most unexpected lessons I learned was that overlooking even the smallest details—like sealing the joists—can lead to rapid deterioration. That lightbulb moment made me realize that craftsmanship isn’t just about design; it’s about proactive protection. I once believed larger, more elaborate railing designs were enough to impress visitors, but I discovered that structural integrity and proper anchoring are critical for safety—beauty is secondary without stability. I also found out the hard way that high-quality materials, like ceramic-coated screws, might seem costly at first, but they offer peace of mind in humid or coastal environments. Finally, I learned that integrating smart moisture sensors into your outdoor structures can provide early warnings, saving you significant repair costs and maintaining peace of mind for years to come. These lessons transformed my approach from reactive repairs to preventive excellence, elevating my outdoor living experience beyond expectations.
My Tool Chest for Deck and Pergola Perfection
Investing in a top-tier cordless impact driver, like the DeWalt DCF887, has revolutionized how I handle fasteners, ensuring durability and ease during assembly or maintenance. For moisture checks, a professional-grade digital meter like the Protimeter Surveymaster provides immediate readings, helping me catch potential problems before they’re visible. I swear by a power washer with gentle pressure settings to prep surfaces thoroughly without damage—trust me, this step makes sealing much more effective. For sealing and finishing, a reliable paint sprayer such as the Wagner Control Pro 150 ensures even application, saving time and frustration. Additionally, using high-quality fasteners, like ceramic-coated screws, prevents corrosion—especially vital in salty or humid climates. These tools, resonating with my experience, help maintain the beauty and safety of my backyard retreat with confidence.
Step Into Your Dream Outdoor Space Today
Building or maintaining your deck and pergola with awareness and care can turn your backyard into a sanctuary that lasts for decades. Remember, the key lies in safeguarding your investment with smart choices, the right tools, and proactive maintenance. Whether you’re retrofitting joist tape or selecting weather-resistant materials, each step you take now ensures robust durability tomorrow. Don’t wait for visible damage to act—become the hero of your outdoor story by embracing these expert insights and high-quality solutions. Your ideal backyard awaits—start turning it into a lasting masterpiece today.
What’s the first upgrade or maintenance step you plan to tackle to improve your outdoor space’s longevity? Share your ideas below—I’d love to hear your plans!
💡