
I stood there in the fading twilight, sweat stinging my eyes, holding a heavy drill and a bracket that refused to sit straight. I thought I had marked the posts perfectly. I really did. But once those screws bit into the wood, the whole railing system looked like a crooked smile. It was embarrassing. Worse, I was working with expensive composite decking, and every “oops” hole I made was a permanent scar on my project. I remember thinking there had to be a better way than just “eyeballing it” or struggling with a laser level that washed out in the afternoon sun. That’s when I grabbed a cheap LED flashlight from my pocket and discovered a trick that changed my deck-building life.
Stop Squinting and Use Shadows to Find Your True Center
We’ve all been there. You’re trying to balance a level, a pencil, and a bracket while perched on a ladder or kneeling on durable composite boards. One tiny slip and your alignment is shot. Early in my DIY days, I made the classic mistake of trusting a chalk line that hadn’t been snapped tight enough. By the time I reached the corner post, the brackets were nearly half an inch out of sync. It ruined the look of my custom railing systems and forced me to spend a weekend patching holes. According to the National Association of Home Builders, even a minor 1/8-inch deviation in railing height can be visually jarring to the human eye, making the entire structure look amateur.
Is a simple flashlight actually better than a high-tech laser?
You might be skeptical. Why go “low-tech” when you can buy a $200 self-leveling laser? The truth is, lasers are great indoors, but they struggle in bright outdoor light and can be tricky to set up on uneven terrain. The flashlight hack uses high-contrast shadows to project your marks across multiple posts instantly. It’s faster, more reliable, and frankly, it works even when your batteries are dying. Have you ever spent more time calibrating your tools than actually building? If you have faced this specific alignment nightmare, let me know in the comments below because I’d love to hear your horror stories. Before we dive into the step-by-step, make sure your posts are rock-solid; I always recommend using the double nut secret for solid posts to ensure they don’t shift while you’re working. Once your foundation is set, we can use light to do the heavy lifting.
How to Turn a Flashlight into a Precision Leveling Tool
Think of your deck railings like the teeth in a smile—if one is slightly crooked, it’s the only thing people see. To start, you need to establish what I call the “Master Height.” Pick the post closest to the house or the one at the highest point of your deck. Measure from the surface of your low-maintenance composite decking to your desired rail height and make a single, sharp mark. This is the only time you’ll rely solely on a tape measure for height. If you skip this, you risk the “staircase effect,” where each rail segment is slightly off from its neighbor.
Dial in the Perfect Height with One Reference Point
Once your master mark is set, clamp a small, flat-edged scrap piece of wood or a dedicated simple jig for drilling straight holes exactly at that line. This scrap piece acts as your shadow-caster. By using a physical block rather than just a mark, you create a hard edge for the light to catch. I learned this the hard way while struggling with how to space railing balusters on a massive wraparound deck. My tape measure had a tiny bit of play in the hook, and by the time I was ten posts in, I was an inch low. Shadows don’t have “play” in them; they are absolute.
Project Your Beam Across the Posts
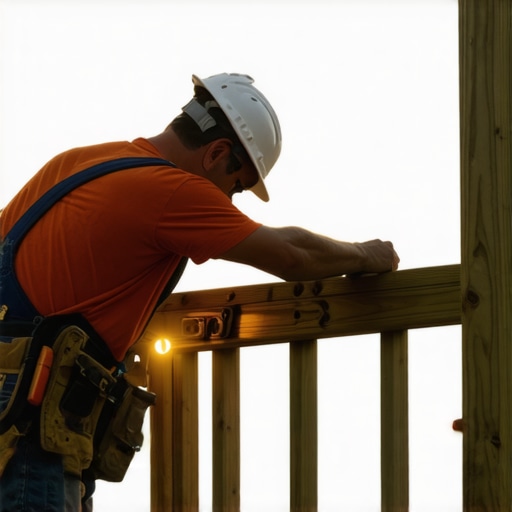
Wait for the light to dim slightly or use a high-lumen LED. Hold the flashlight about five feet behind your master post, lining it up so the beam skims the top of your clamped block. The shadow of that block will project onto every subsequent post in that line. It’s essentially a “poor man’s laser,” but often more visible in the late afternoon. While you’re doing this, it’s a great time to inspect the structure too; I often use this low-angle light as a flashlight trick for finding hidden joist rot that you can’t see from above. Mark the center of the shadow on each post. This ensures that even if your deck surface is slightly uneven, your top rail will be a perfectly straight line relative to the horizon.
Avoiding the Alignment Pitfalls of Composite Materials
Working with composite materials adds a layer of complexity because the material expands and contracts more than wood. Last summer, I was finishing a project using dark grey boards. Because dark composite boards need extra expansion space, I had to be incredibly careful that my bracket placements didn’t interfere with the board gaps. I used the flashlight trick at dusk, and the sharp shadows allowed me to see exactly where the brackets would land in relation to the joists below. If I had used a traditional chalk line, the dust would have stained the textured surface of the boards, creating a mess that’s nearly impossible to clean without a pressure washer.
Mark Once and Drill with Confidence
After you have your shadow marks, use a center punch to create a small divot for your drill bit. Composite material is slick, and a drill bit loves to “walk” across the surface, especially when you’re installing modern metal and wood railing mixes. This divot acts like a track for a train, keeping your hardware exactly where the light said it should be. This precision is vital for maintaining the integrity of your durable composite solutions, as unnecessary holes can invite moisture into the core of the post. Using a punch is the best way to ensure your composite decking secrets for longevity include a moisture-sealed railing foundation.
Stop Treating Composite Like Pressure-Treated Wood
The flashlight trick gives you the line, but the material dictates the life of your deck. A common myth I hear is that composite is a ‘set it and forget it’ material. While it’s true you won’t be sanding it every two years, it is far more sensitive to temperature than timber. I once saw a DIYer butt their boards tight against the house in July, only to have the boards buckle like a cheap suit when the temperature spiked. In my experience, understanding that dark composite boards need extra expansion space is the difference between a professional finish and a structural headache. If you don’t account for that linear expansion, the most perfectly aligned railing in the world won’t save the look of a wavy deck surface.
Why do your railing posts still wobble after you tightened the bolts?
Most beginners assume that if a post is wobbly, you just need to crank the bolts tighter. This is a dangerous trap. Often, the wobble isn’t coming from the bolt tension, but from a lack of internal blocking within the joist frame. According to the North American Deck and Railing Association (NADRA), railing failures are one of the leading causes of deck-related injuries, often due to improper post-to-frame connections. You can use the double nut secret for rock-solid railing posts to keep hardware from backing out, but if your joists aren’t reinforced with solid blocking, the wood will simply compress and the sway will return. I’ve seen 4×4 posts literally crush the rim joist because someone used a long lever-arm (the post) against a single piece of lumber. It’s a structural disaster waiting to happen.
The Specific Hardware Trap That Ruins Composite Surfaces
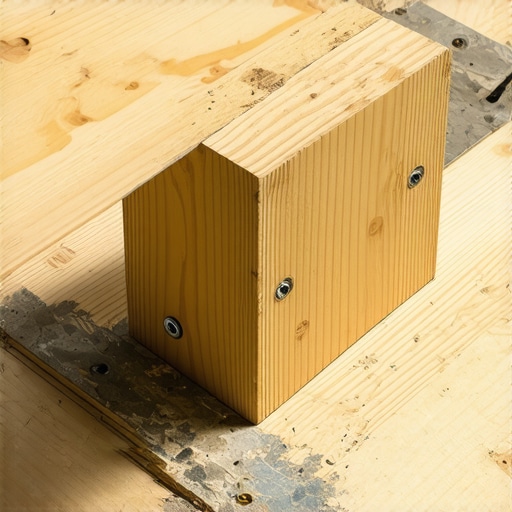
If you use standard wood screws on durable composite solutions, you’ll encounter ‘mushrooming’—that ugly little ring of displaced plastic that rises up around the screw head. It looks like a miniature volcano and it’s impossible to flatten out once it’s there. To avoid this, you must use the specific screw type that prevents composite board mushrooming, which features reverse threads to pull that material back down. This is part of the composite decking secrets for longevity that many contractors won’t tell you because it takes a bit more time to source the right fasteners. Have you ever fallen into this trap of using the wrong screws and regretting it later? Let me know in the comments because I’ve certainly been there.
Protect Your Home from the Stealthy Ledger Rot
The biggest ‘oops’ factor in deck building isn’t even on the deck itself—it’s where the structure meets your house. Many people think a bit of caulk is enough to keep water out. It isn’t. The ledger flashing mistake that causes interior house mold is the most expensive error you can make. If you don’t create a proper drip edge, water will track behind the siding and rot your home’s rim joist. When I’m consulting on innovative deck design ideas for 2025, I always insist on a stainless steel or high-quality vinyl flashing system. It’s not the most exciting part of the build, but it’s the part that ensures your house doesn’t rot while you’re enjoying the view from your custom railing systems.
Even with the perfect alignment and the right screws, your deck is a living organism under constant attack from the elements. I have seen beautiful installations look like junk after five years because the owner skipped one $50 step: protecting the substructure. It is why I am a fanatic about joist protection. When you install durable composite solutions, you are creating a surface that will outlive the wood frame underneath it by decades. This discrepancy is a ticking time bomb. I always use a high-quality butyl tape because your deck joists need tape to prevent rot from water trapped between the board and the wood. According to the American Wood Protection Association (AWPA) Standard U1, even lumber rated for ground contact can fail prematurely if moisture is allowed to sit in screw holes. By using the joist tape secret for doubling your deck’s life, you seal those holes as the screw goes in, creating a permanent gasket. 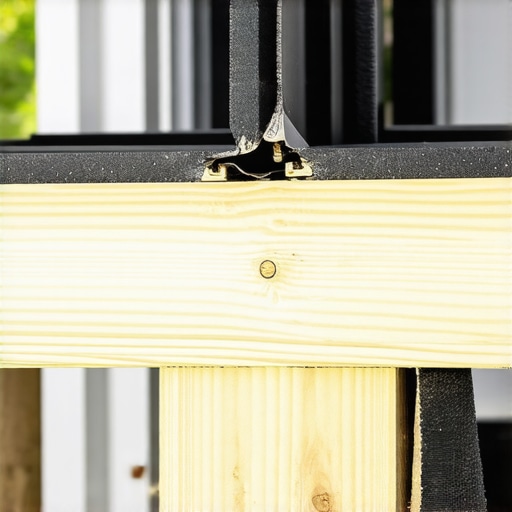
How do I stop my composite deck from looking dull over time?
Maintenance is not about hard scrubbing; it is about smart prevention. Composite decks do not need staining, but they do need to breathe. I always use the rubber spacer trick for better airflow to ensure moisture does not get trapped in the gaps. If you notice a scratch or a scuff from moving furniture, do not panic and reach for sandpaper. I personally use a heat gun to fix scuffs on dark composite boards. By gently warming the surface, the plastic’s memory allows it to reseal, making the mark disappear. It is a trick that saves me from replacing boards every time someone drags a chair too hard. For those looking at pergola trends for 2025, I predict we will see a massive shift toward integrated tech. I am already starting to hide electrical wiring inside aluminum railing posts to power smart sensors that close pergola louvers the moment it starts to rain. We are moving away from passive structures and toward ‘smart’ backyards that respond to the weather. If you want to stay ahead of the curve, I highly recommend trying the heat gun restoration method on a piece of scrap material today; mastering that simple skill will save your deck’s aesthetics for years to come.
Hard Truths from the Deck Joists
In my decades of building, I’ve realized that the material often dictates the rules, not the builder. One of the biggest lightbulb moments was understanding that linear expansion isn’t just a theory; it’s a physical force that can shear screws if you aren’t careful. This is why dark composite boards need extra expansion space more than any other material. I also learned that pressure-treated wood still warps even when hidden under a beautiful cap, so checking your frame’s crown is vital. Finally, the best deck I ever built was the one where I used the joist tape secret to ensure the substructure was just as immortal as the boards themselves.
The Gear That Lives in My Toolbelt
While tech is great, some low-tech classics never fail. I always carry a Speed Square for quick layout checks and a Tajima chalk line with ultra-fine dye that doesn’t stain. For anyone serious about stunning deck design strategies, I highly recommend the book ‘Decks: Great Ideas for Outdoor Living’ from Fine Homebuilding—it’s my constant source of inspiration. When it comes to hardware, I never settle for less than the specific screw type that prevents composite board mushrooming to ensure the finish remains clean and professional.
#IMAGE_PLACEHOLDER_E#
Your Outdoor Oasis Awaits
Standing back and looking at a perfectly level railing system is a reward like no other. Don’t be afraid to take your time; the best results come from the details that no one sees but everyone feels. Whether you’re exploring pergola trends for 2025 or finishing a wrap-around project, keep your focus on longevity. Your home deserves a space that is as durable as it is beautiful. Choosing low-maintenance composite decking is the first step toward a lifetime of stress-free weekends. Have you ever struggled with a post that just wouldn’t stay plumb during installation? Let me know in the comments below because I’d love to help you troubleshoot it!