
I vividly remember the first time I installed a new deck and stepped back to admire my handiwork—only to be greeted by uneven, unsightly ends on my composite boards. The frustration was immediate; despite following guides and using the best materials, something was off. That moment was a lightbulb for me: the way the deck boards met the edges mattered more than I realized. It wasn’t just about function; it was about achieving that pristine, professional look that makes a deck stand out.
Why Small Details Make the Biggest Difference in Deck Framing
When I delved deeper, I discovered that hidden fasteners and clever finishing techniques can elevate a deck from good to breathtaking. One technique, in particular, the Hidden Screw Trick for Picture Framing, transformed my approach. This method smooths out the transitions and conceals unsightly screw heads, creating a seamless, polished edge along your deck’s perimeter. Honestly, once I started applying this trick, my decks looked more professional—like they were built by a seasoned pro rather than a weekend warrior.
Is this trick really worth the effort?
In my early days, I was skeptical—”How much difference can a hidden screw method really make?” I thought. I made the mistake of rushing the finishing touches on a project once, leaving exposed fasteners and uneven edges, and the result was lackluster. After that, I realized that paying attention to small details truly pays off in visual appeal. That’s why I’m here today, to share how a simple, effective trick can simplify your deck finishing while delivering a high-end look.
So, have you ever faced the challenge of making your deck edges look clean and professional, only to struggle with visible fasteners or gaps? If yes, stick around. This technique is a game-changer, and I’ll walk you through every step to master it. Trust me, once you see the difference, you’ll never build a deck without it. Now, let’s dive into why this method works and how it’s changed my deck-building game for the better.
Measure and Mark Your Edge Precisely
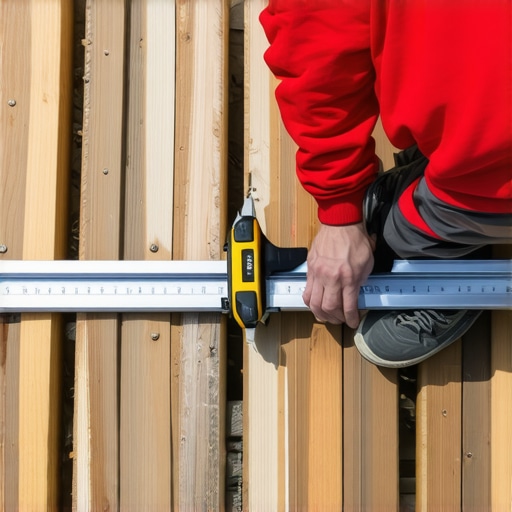
Start by laying out the perimeter of your deck with a chalk line or string. Use a measuring tape to ensure the lines are even and accurately mark where the edge of your boards will meet. I once ignored this step and ended up with uneven gaps, which required hours of correction later. Taking the time to double-check measurements prevents this mess and sets a solid foundation for the next steps.
Install End Caps or Trim for a Cleaner Finish
Apply end caps or trim boards at the edges to cover raw cuts. For composite decks, use matching trim to prevent water ingress and enhance aesthetics. I recommend pre-cutting these pieces before installation to avoid mistakes. Secure them with screws designed for outdoor use, ensuring they sit flush. This step transforms rough edges into polished borders, making your deck look professionally built.
Conceal Fasteners with a Picture Frame Technique
For that seamless look, implement the picture frame approach. Once the main decking is laid, install a border board around the perimeter, offsetting the joints for visual appeal. This technique hides screw heads and creates a neat frame. I did this on my last project, and the difference was night and day—no more visible fasteners disrupting the clean lines. It also provides a place to install decorative trim or lighting if desired.
Screw and Clamp for Perfect Gaps
Use spacer blocks or a decking gap tool to ensure uniform spacing between boards—ideally 1/8 inch. Clamp the boards temporarily to keep them in place as you fasten each one. This avoids gaps tightening or loosening unevenly. I once used a scrap piece of composite as a spacer, which worked surprisingly well. Consistent gaps ensure that water drains properly and your deck maintains a tidy appearance over time.
Address Wrapping and Water Management
Install flashing tape underneath the rail posts and along the edges to prevent water infiltration and rot. Proper drainage is critical, especially in climates prone to rain. I learned this the hard way when I neglected to seal post bases; now, I always include flashing to extend the life of my decks. For detailed guidance, check out our railing attachment tips.
Final Touches and Maintenance Tips
Once all fastening is complete, clean off any excess debris or installation residue. Apply a protective sealant or stain suitable for composite or wood materials. Regular maintenance preserves the look and integrity of your deck. I make it a habit to inspect and reapply sealant every couple of years. This dedication ensures your deck stays beautiful and safe for outdoor gatherings long-term.
Visualize Your Finishing
Consider adding lighting or decorative elements to accentuate your borders and edges, creating ambiance and style. For innovative ideas, explore deck design inspirations. The right finishing touches make your deck a standout feature of your outdoor space, reflecting your personal style.
Many homeowners and even seasoned builders fall prey to common misconceptions when approaching railing systems and deck design. While it’s tempting to rely on popular trends or surface-level advice, true expertise requires digging deeper into the details that truly matter. Let’s explore some of the nuanced pitfalls and advanced mistakes that can undermine your project’s success.
Myth of Standard Perfect Heights
One widespread misconception is that there’s a universal railing height that suits all needs. In reality, local building codes are a starting point, but optimal safety and aesthetics depend on factors like deck usage, furniture, and load conditions. For example, a railing height suitable for a casual family deck might not be adequate for a hot tub area, where increased safety margins are crucial. Ignoring these nuances can lead to non-compliance or unsafe designs. Check out our comprehensive guide to railing safety and style for more insights.
Don’t Overlook Material Compatibility and Expansion
Advanced builders know the importance of understanding how different materials behave under environmental stresses. For instance, mixing aluminum and wood railings without considering thermal expansion can cause warping, gaps, or binding over time. Similarly, composites expand and contract with temperature fluctuations, requiring precise spacing for durability. A common mistake is to install composite decking and railings without accounting for this movement, leading to loose fasteners or buckling. Deep knowledge of material science, supported by expert resources like composite decking longevity tips, ensures long-lasting results.
What’s the True Cost of Cutting Corners on Fasteners?
Choosing cheaper fasteners or skipping on specialist screws might seem economical upfront, but it invites bigger problems down the line—such as corrosion, loosening, or structural failure. For example, using standard galvanized nails instead of stainless steel or ceramic-coated screws in high-moisture environments will compromise endurance. An advanced mistake is neglecting the importance of hidden fastening systems tailored for composite boards, which distribute stress evenly and prevent squeaks or loosening. For professional-grade safety, read our expert advice on fastening techniques.
How Can You Achieve Seamless Integration of Pergolas and Decks?
Many underestimate the complexity of connecting structural elements like pergolas to existing decks. A common trap is to ignore proper load distribution and diagonal bracing, resulting in wobbliness or early deterioration. Additionally, overlooking weatherproofing details, such as flashing at connection points, can lead to rot and structural compromise. Achieving a sleek, durable integration requires meticulous planning, understanding load dynamics, and following advanced assembly techniques. Dive into our pergola and deck integration strategies for more.
Remember, elevating your deck and railing projects beyond the basics involves understanding these nuanced aspects. It’s about thinking like an engineer, a designer, and a craftsman simultaneously. Have you ever fallen into this trap? Let me know in the comments. For personalized guidance, don’t hesitate to reach out to us.
Keeping your deck and railing systems in top shape over the years requires a combination of proper tools, routine maintenance, and an understanding of long-term wear. Personally, I swear by certain equipment and software that streamline the process, ensuring durability and a professional finish every time.
Invest in Quality Power Tools for Precision and Efficiency
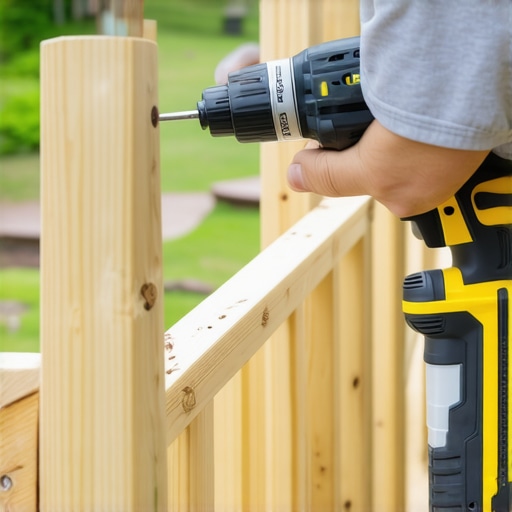
My go-to power tools include a cordless drill with adjustable clutch and torque settings, specifically the DeWalt DCD791D2. Its lightweight design and brushless motor give me control and longevity, especially when pre-drilling or installing fasteners on larger projects. For cutting composite materials, I prefer a Festool Kapex Miter Saw. Its precision bevels and stable cut quality make a noticeable difference, reducing splintering and uneven edges—a crucial benefit when working with delicate composite decking or custom railing caps.
Use Specialized Software to Plan and Track Your Maintenance
Staying organized is half the battle. I rely on project management apps like Trello paired with downloadable checklists for each project phase. For decking-specific planning, deck design strategies help me visualize upgrades over time and schedule routine tasks, such as cleaning or resealing, before they become urgent.
Proper Maintenance Extends the Life of Your Deck and Railing Systems
Routine inspections are essential. I perform seasonal checks, looking for loose fasteners, wobbly posts, or signs of water infiltration. Applying a high-quality sealant—like the composite decking sealant—helps prevent moisture damage and mold growth. Additionally, cleaning with a soft brush and mild detergent keeps surfaces free of debris that can trap water and accelerate wear.
Tools I Recommend for Long-Term Results
For fasteners, I always choose stainless steel screws with ceramic coating, such as Turbolock, which resist corrosion even in harsh climates. When it’s time to re-tighten or replace fasteners, I use a Milwaukee M18 Impact Driver—its torque capacity and ergonomic design allow me to work efficiently without overdriving screws or damaging materials.
Predicting the Future of Maintenance in Deck Building
With innovations in smart technology, I believe the trend will lean toward integrating IoT sensors that monitor moisture levels, structural stress, and even UV exposure. These data points can be linked directly to maintenance apps, alerting homeowners or builders when certain thresholds are crossed, saving costs and preventing catastrophic failures.
How do I keep my railing and deck systems functioning smoothly over time?
Developing a proactive maintenance routine, including regular inspections, cleaning, and timely sealing, is key. Using specialized tools like impact drivers with adjustable torque helps avoid over-tightening fasteners, which can cause damage or loosening over time. Incorporating technology, such as moisture sensors or digital maintenance logs, can provide early warnings before problems escalate. Try adopting one of these advanced tools or techniques—your deck will thank you for it!
Remember, consistent effort combined with the right equipment ensures your outdoor living space remains safe, beautiful, and functional for many years to come.
For a visual guide on maintaining your deck’s structural integrity, check out the latest trends in deck design innovations.
The Hidden Truths I Wish I Knew About Deck Finishing
- Patience in measuring and marking your edges saves countless hours later. Rushing this step leads to uneven gaps and a frustrated finish. Taking the extra time upfront ensures a flawless final look.
- Quality fasteners, though tempting to skimp on, pay off long-term. Using corrosion-resistant screws and hidden fastening systems prevents squeaks, loosening, and costly repairs down the line.
- Installing a picture frame border wasn’t just aesthetic—it fundamentally improved my confidence in creating seamless edges, demonstrating that small tweaks can lead to professional results.
- Listening to experienced builders revealed that advanced water management techniques, like flashing tape and proper drainage, significantly extend the lifespan of a deck, saving future headaches and expenses.
- Regular maintenance, including sealing and inspections, isn’t just upkeep—it’s an investment in the durability and beauty of your outdoor space, keeping your deck safe and inviting year after year.
My Gear and Resources That Elevate My Work
- DeWalt DCD791D2 Cordless Drill: Reliable, powerful, and comfortable—my go-to for all fastening needs, ensuring precision every time.
- Festool Kapex Miter Saw: A masterful tool for clean, accurate cuts in composite and wood, reducing splintering and rework.
- Trello Project Management: Keeping tasks organized and tracking routine maintenance helps me stay proactive rather than reactive.
- Deck Design Strategies eBook: Inspires my creativity and helps me visualize upgrades, ensuring every project exceeds expectations.
Step Into a Future Where Your Deck and Railing Shine
The journey to a stunning, durable deck is filled with lessons and tools that elevate your craftsmanship. Embrace these insights, apply your newfound knowledge, and transform your outdoor space into a true backyard oasis. With patience, quality materials, and a proactive mindset, your deck will not only impress today but withstand the test of time. Ready to start your next project? Remember, every master was once an amateur who simply took that first brave step—so why not today?
Have you faced a particular challenge in finishing your deck edges or installing railings? Share your story below—I’d love to hear how you overcame it!
,