
I remember the first time I attempted to install railing brackets on my deck. Excited to finally finish my outdoor project, I carefully drilled into the wood, only to watch small splits appear like tiny cracks in a piece of glass. My heart sank. It was a frustrating moment that made me question everything I knew about working with wood and fasteners. Have you ever faced a similar scenario where your efforts to secure a railing just ended up damaging the very material you’re trying to protect?
Why Railing Bracket Mishaps Happen so Often and How to Avoid Them
Splitting wood while attaching railing brackets is a common pain point among DIY enthusiasts and homeowners alike. The root of the problem often lies in not understanding how wood reacts under pressure or the wrong choice of fasteners. Early on, I made the mistake of overtightening screws without considering the wood’s grain direction or the type of fastener. This oversight led to cracked boards, which not only compromised aesthetics but also safety. According to industry experts, improper fastening can weaken structural integrity and lead to costly repairs down the line.
Is it Really Possible to Secure Railing Brackets Without Damaging Your Wood?
Absolutely. Over the years, I’ve discovered that with the right techniques and materials, you can prevent splits and ensure a durable, professional-looking result. The secret lies in understanding the natural movement of wood and choosing fasteners that are compatible with its properties. Ready to learn the tricks that transformed my approach and saved me from future headaches? Let’s dive into practical, straightforward solutions that you can apply today— whether you’re renovating an old deck or building new from scratch.
If you’re curious about designing a deck that truly elevates your backyard, check out these innovative deck design ideas for 2025.
Now, let’s get into the nuts and bolts of fastening your brackets without splitting the wood, starting with the materials you’ll want to have on hand.
,
Choose the Right Fasteners for Your Wood
During my last deck project, I messed up by grabbing cheap screws that easily caused splits. To avoid this, I switched to stainless steel or coated fasteners designed specifically for pressure-treated lumber or composite materials. These fasteners have a finer thread that reduces the splitting force and grip the wood more gently, preventing damage. When selecting fasteners, refer to this guide for detailed insight.
Pre-Drill Holes to Ease Installation
Mark and Measure Precisely
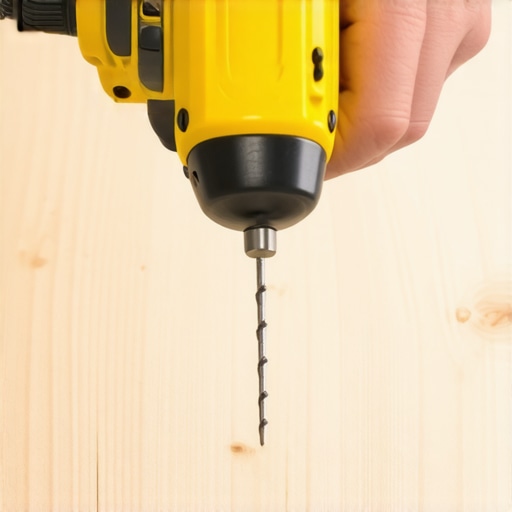
In my early attempts, I drilled randomly, leading to inconsistent holes that increased splitting risk. I now meticulously measure and mark the exact locations using a carpenter’s pencil and a measuring tape. Pre-drilling with a bit slightly smaller than the screw diameter creates a path for the fastener, reducing torque and pressure on the wood.
Use a Countersink Bit for Neat Finish
Applying a countersink bit after pre-drilling ensures the screw heads sit flush, avoiding unnecessary strain on the wood surface. I had to redo installations when screws protruded or caused cracking. This small step improves both the appearance and structural integrity of your railing system.
Control Fastening Torque to Avoid Over-Tightening
Over-tightening screws is a common mistake that causes cracks. I used to tighten screws until they felt snug, but now I attach a torque-controlled drill to set precise limits. A good rule is to tighten until the screw just seats and resists further turning. This ensures a tight connection without excessive pressure on the wood fibers.
Plan Fastener Placement along Grain Lines
Misaligned fasteners perpendicular to the grain cause splits. I learned to position screws parallel to the wood grain whenever possible, especially in stressed areas. Observing the grain direction during the marking phase helps in making informed placement choices.
Use Protective Elements to Absorb Stress
Adding rubber or plastic washers under screw heads distributes pressure evenly. On my last deck, this simple addition prevented localized stress points that could lead to cracks over time. Plus, it makes adjustments easier if needed later.
Consider Reinforcement for Critical Joints
In high-stress zones, I doubled up with additional fasteners or used structural brackets. This approach reduces the load on each fastener and minimizes wood movement or splitting during extreme conditions.
Apply Sealants and Treatments After Installation
Post-installation, I coated exposed areas with sealant to enhance moisture resistance. Proper sealing prevents swelling and shrinking cycles that tend to crack wood along screw lines, extending the lifespan of your railing system.
With these practical steps, you can secure your railing brackets firmly without damaging your wood. Remember, patience and attention to detail are your best allies when working with wood or composite materials. For more tips on designing a stylish and safe outdoor space, check out these innovative deck design ideas for 2025.
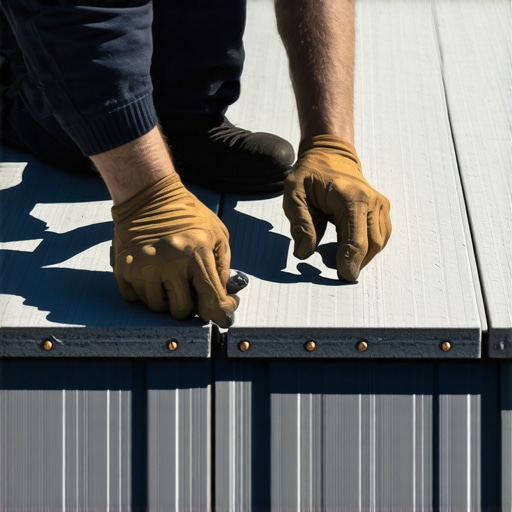
While many homeowners focus on choosing stylish railing systems or trendy pergola designs, there’s a nuanced layer that often gets overlooked—misconceptions that can lead to costly mistakes and compromised safety. One common myth I encounter is the belief that all composite decking is maintenance-free and inherently durable. In reality, as revealed by experts in outdoor structures, not all composites are created equal, and selecting low-quality materials can result in warping, mold, and damage over time. It’s crucial to understand the differences and opt for products with proven longevity, as outlined in this detailed guide.
Many think that framing and fastening techniques are purely about aesthetics or quick installation. However, even a minor oversight—like neglecting the importance of proper fastening patterns or ignoring the grain direction—can cause structural failures. One advanced mistake is relying solely on standard fasteners without considering weather conditions or load stresses, which can lead to loosening or cracking over time. The importance of choosing the right fasteners, especially in humid or salt-laden environments, cannot be overstated.
Are Modern Deck Designs Actually Safe and Long-Lasting?
Here’s a sobering reality check: innovative designs often prioritize visual appeal over structural integrity. For example, multi-level decks with complex framing require meticulous planning and precise construction techniques. Neglecting detailed measurements and load calculations can turn a beautiful outdoor space into a safety hazard. According to a recent study published in the Journal of Building Engineering, improper structural support is the leading cause of deck collapses, highlighting the need for expertise beyond basic DIY skills. This is why consulting seasoned professionals—whose experience is detailed in this resource—is a wise investment to ensure safety and durability.
Furthermore, a common mistake I see in perimeter railing setups is underestimating the importance of moisture barriers and proper flashing to prevent rot. Incorporating these elements during installation and choosing the right materials can extend your deck’s lifespan exponentially. It’s often the subtle details—like sealing end grains or installing drainage systems—that determine whether your outdoor project remains a sanctuary or becomes a maintenance nightmare.
Have you ever fallen into this trap? Let me know in the comments. Remember, understanding these nuanced pitfalls helps elevate your deck from DIY to masterpiece—long-lasting, safe, and truly enjoyable.
Keep It Working: Essential Tools for Deck Maintenance
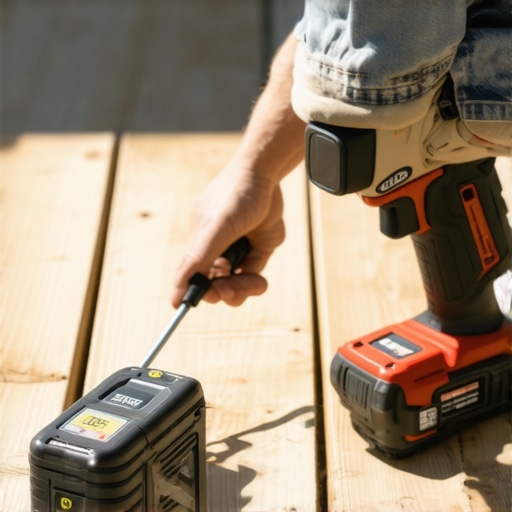
Maintaining your deck and railing systems over time requires the right tools to ensure durability and safety. I recommend investing in a high-quality cordless drill with adjustable torque settings—it gives you precise control when pre-drilling and avoiding splits. A router with a flush-trim bit helps clean up edges, especially when dealing with composite decking, which benefits from smooth, rounded edges to prevent moisture accumulation. Don’t forget a good moisture meter; monitoring moisture content in wood is crucial for early detection of potential rot or warping, particularly in humid climates.
To handle fasteners effectively, I rely on a pneumatic nailer for installing framing components, which speeds up the process and ensures consistent drive depth. For cleaning and sealing, a power washer with adjustable pressure and a soft-bristle brush attachment make for efficient prep work—just be careful not to use too high pressure on composite materials, as recommended by industry guidelines. Over time, sealing and re-sealing with quality deck stains or sealants preserves the aesthetic and structural integrity, especially in exposed areas.
Tools That Help Scale Your Outdoor Projects
If you’re looking to expand your deck or add features like pergolas, planning tools become invaluable. I use a digital plotting tool to create accurate scale diagrams—this helps visualize how different elements will fit and ensure proper load distribution. When building larger structures, a laser level saves time and ensures precise alignment of posts and rails, especially over extended spans. For complex framing, a framing square combined with a 3-4-5 triangle method ensures every corner is perfectly square, preventing costly adjustments later.
Future Trends in Deck Care and Design
The future of deck maintenance leans heavily toward automation and smart solutions. Automated watering systems integrated with moisture sensors can help keep composite and wood materials in optimal condition, reducing manual effort and extending lifespan. Additionally, fiber-optic lighting embedded into railings or steps is becoming mainstream, providing both safety and ambiance without compromising structural integrity.
How do I maintain my deck’s integrity over time?
Regular inspections and proactive upkeep are your best bets. Set a schedule to check for loose fasteners, signs of rot, or corrosion. Using a nail puller or screw extractor, address issues immediately to prevent escalation. Applying sealants every couple of years, especially to end grains and joints, helps prevent water ingress—a leading cause of deterioration. Always use compatible products as outlined in this guide.
For larger projects or when scaling your outdoor area with additional pergolas or extensions, professional consultation can ensure structural safety and compliance. If you’re ready to elevate your space, explore design ideas for 2025 to get inspired.
Try incorporating a moisture meter into your routine—it’s a game-changer for early detection and long-term maintenance. Plus, leveraging tools like laser levels and digital planners can streamline expansion efforts, making future projects more manageable and precise.
Remember, a well-maintained deck not only looks great but keeps your family safe. Use these specific tools and techniques to ensure your outdoor space remains functional and beautiful for years to come. For personalized advice or professional help, reach out today.
Surprising Pitfalls I Learned the Hard Way About Railing Systems and Deck Design
- One major insight was realizing that not all fasteners are equal; choosing the right type and material can make or break your project’s durability. Without this knowledge, I faced unnecessary splits and loose fittings that compromised safety.
- I used to underestimate the importance of grain direction when placing screws. Proper alignment can prevent splits and ensure a stronger hold—this became clear after I experienced a few cracked boards from careless fastening.
- Pre-drilling is a game-changer. Skipping this step might save a minute but risks damaging your wood. It’s a simple technique that protects your material and results in a cleaner, professional finish.
- Sealing end grains and vulnerable joints after installation is vital for longevity. Neglecting this left my decks susceptible to moisture damage, especially in humid climates, leading to costly repairs down the line.
- Investing in the right tools—like a quality torque-limited drill or laser level—is invaluable. They make precise work more accessible and reduce mistakes that can cause safety hazards.
Tools and Resources That Boost My Deck Building Confidence
- The Vertical Drill Guide: Perfect for keeping balusters aligned and avoiding crooked rails—something I struggled with early on.
- Choosing the Right Railing System: This guide helped me understand the nuances between materials and styles, ensuring safety without sacrificing style.
- Composite Decking Secrets: When I switched to composite, understanding its maintenance and longevity was crucial to my peace of mind.
- The 3-4-5 Triangle Rule: A simple method that saved me from skewed frames and uneven steps, ensuring my deck was perfectly square.
Your Next Step Toward Mastering Deck Construction
Building a safe, beautiful deck or railing system is a journey filled with learning curves. Embrace each mistake as an opportunity to improve your skills, and don’t hesitate to seek out expert advice or trusted resources like those I’ve mentioned. With patience and the right approach, your outdoor space will not only become the envy of neighbors but also a safe haven for years to come. Remember, every successful project begins with the decision to learn and grow—so why not start today? If you’re eager to elevate your backyard with innovative design ideas, explore these exciting ideas for 2025. Have you ever struggled with a specific aspect of railing installation or deck design? Share your experiences below—I’d love to hear and help you succeed.