
I’ll never forget the sound of my neighbor, Dave, leaning over the fence and asking, “Is it supposed to curve like that?” I was horrified. My brand-new cedar pergola, the crown jewel of my garden, was bowing in the middle after just one season. I had ignored the most basic rule of structural integrity because I wanted that wide, unobstructed view. It’s a classic trap. We see those beautiful pergola designs that turn your garden into a sanctuary and assume we can stretch the limits of lumber. I learned the hard way that physics always wins. If you’re planning a build or staring at a dip in your current beam, you need to understand why that mid-span post you didn’t account for is the only thing standing between you and a pile of expensive kindling. This is very similar to the structural reason your deck needs a mid-span beam; the physics of gravity simply do not take a day off. [IMAGE]
Stop Your Beam from Bowing Before It Breaks
Most homeowners—and honestly, quite a few weekend warriors—underestimate the sheer weight of a finished pergola. We think about the posts and the primary beams, but we forget that every rafter, every shade slat, and every ounce of moisture absorbed by the wood adds up. When I built my first one, I was obsessed with a 16-foot clear span. I wanted the space to feel like an open-air ballroom. But wood is a natural fiber, and it has a memory. Once it starts to “creep” under a heavy load, it’s incredibly hard to reverse. According to the American Wood Council’s Span Tables, even high-grade lumber has specific deflection limits that are often ignored in favor of aesthetics. You might think you’re safe because you used 6×6 posts for stability, but the posts only matter if the horizontal beam can actually carry the weight to them. If you’re already seeing a dip, you might be looking for how to fix a sagging pergola beam before the whole thing becomes a safety hazard. This isn’t just about looks; it’s about making sure your sanctuary doesn’t become a structural liability.
Is that extra post really going to ruin your garden view?
This is the number one concern I hear. People think a mid-span post is a “clunky” addition that breaks up the flow of their deck design. I used to think the same thing. I’d argue that a single, well-placed post is infinitely better than a snapped beam or a structure that looks like it’s melting into the ground. In fact, a mid-span post provides a perfect opportunity to integrate other features. Think about using it as a mounting point for a modern lighting setup or as part of a custom privacy screen that doesn’t block the breeze. When you stop fighting the need for support, you can start using it to your advantage. Have you ever noticed your pergola beams looking a bit “tired” or wavy after a heavy rain? Tell me about your own ‘oh no’ moments in the comments! It might be time to admit that gravity is winning. We’re going to walk through the math and the “why” behind these structural needs so you can build with confidence. I’ll share the exact mistake I made with my ledger attachment early on—one that nearly caused a catastrophic failure—but the lesson remains: support is everything.
Stop the Sag Before Gravity Takes Over
I remember a project back in the summer of ’22 where we installed an 18-foot clear span beam for a client who wanted a “floating” feel. Against my better judgment, we skipped the mid-span post because they didn’t want to block the view of their koi pond. Six months later, I got a call saying the beam had developed a visible 1-inch “smile.” We had to come back with a 12-ton bottle jack just to push the wood back into place and install the support I had suggested from the start. To avoid this, you should use the clamp and lever move for straightening bowed 2x10s if you are laminating your beams during the initial build, but for an existing sag, you are looking at a serious structural intervention. Think of your pergola beam like a bridge; the longer it goes without a pier, the more the middle wants to meet the ground. Even if you use 6×6 posts for stability at the ends, the center of that beam is under constant tension from the weight of the rafters and the movement of the wood. 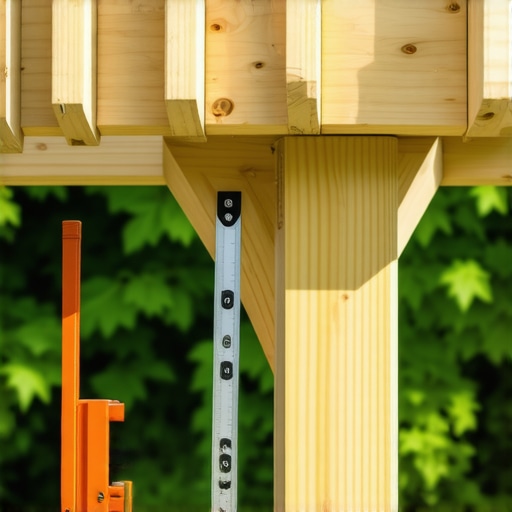
Check Your Level with a Simple String
You cannot trust your eyes alone when a beam starts to dip, especially if your patio or deck has a slight slope. I always use the string line method for perfectly level deck surfaces and apply that same logic to the underside of the pergola beam. Run a tight nylon line from one end post to the other, exactly two inches below the beam at the post connections. If that gap narrows to an inch in the middle, you have a structural problem that will only get worse. This is where learning how to fix a sagging pergola beam without replacing the whole structure becomes your weekend mission. You will need to jack the beam up about a quarter-inch past level—allowing for a bit of natural settle—before you drop that mid-span post into its permanent position.
Reinforce the Load Path with Hidden Blocking
When you finally add that middle post, do not just toe-nail it into the bottom of the beam and call it a day. You need a solid connection that transfers weight directly down through the post to the footing. I am a huge fan of the hidden blocking move for supporting heavy pergola beams. This involves installing internal structural blocks between your rafters that lock the beam into the post head using heavy-duty lag screws. It is exactly the structural reason your deck needs a mid-span beam; you are essentially cutting the span in half, which increases the weight capacity of the wood by nearly four times. Once the post is set, use the string line move for perfectly plumb pergola posts to ensure the new support is perfectly vertical. If the post is even slightly tilted, the downward pressure from the beam will eventually push it further out of alignment, creating new lateral stress on your footings that could lead to a catastrophic shift during a storm.
Stop treating your pergola wood like a static material
One of the most persistent myths in the DIY world is that once a beam is bolted in, it’s done moving. In reality, your structure is a living thing. The advanced builder knows that wood and composite materials have a ‘memory.’ I’ve seen homeowners go to great lengths with why solid core composite is worth the extra bulk, only to fail because they didn’t account for the hygroscopic nature of the wood frame underneath. If you over-restrain your beams with too many rigid fasteners, you don’t allow for the natural expansion and contraction cycle. This leads to internal checking and splitting that no amount of wood filler can fix. I used to think ‘more is better’ with lag bolts, but composite decking secrets for longevity often involve leaving just enough room for the material to breathe.
Why do your ‘perfect’ beams still develop a twist over time?
This is the nuance that separates the pros from the amateurs. Most people think a sag is the only enemy, but ‘twisting’ or ‘cupping’ is often caused by uneven drying or poor ventilation between laminated members. When we sandwich two 2x12s together to create a massive pergola beam, we’re creating a perfect environment for trapped moisture. I always recommend why your deck joists need tape to prevent rot, but for beams, you need to go further. If you don’t use a spacer or a breathable barrier, the inner faces of those boards stay damp while the outer faces dry, causing the wood to pull itself apart. A study by the Forest Products Laboratory confirms that ‘creep’—the long-term deformation of wood under a constant load—is significantly accelerated by fluctuating moisture levels. It’s not just the weight; it’s the wet-dry cycle. 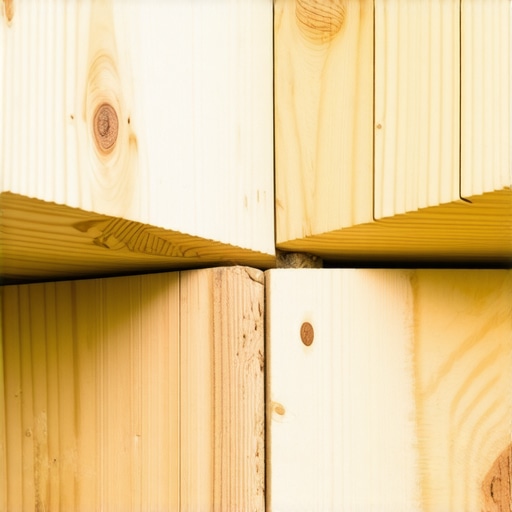
The hidden trap of over-engineered fasteners
Everyone says you need the biggest, baddest hardware you can find, but I’ve found that using the wrong ‘heavy duty’ fastener can actually be a liability. In high-heat environments, why dark composite boards need extra expansion space becomes a structural issue, not just an aesthetic one. If your railing system or pergola beams are locked down too tightly, they will eventually shear the heads right off those expensive screws. This is exactly why hidden fasteners fail on high traffic areas where lateral movement is frequent. You’re better off using a system that allows for slight movement while maintaining vertical support. I once did a ‘structural vulnerability assessment’ on a 10-year-old deck, and the only parts failing were the ones that were ‘too strong’ to move. You have to work with the materials, not against them. Before you start your next build, perform a structural vulnerability assessment for checking deck joist rot to see if your current frame is even capable of supporting those high-end finishes. Have you ever fallen into this trap where you over-built something only to have it crack or warp? Let me know in the comments—I’d love to hear your ‘over-engineered’ horror stories!After years of trial and error, I’ve narrowed my ‘must-have’ list down to a few items that most people overlook but are essential for long-term structural health. First, I never start a beam adjustment or inspection without a high-visibility nylon string. It sounds low-tech, but using the string line method for perfectly level deck surfaces is the only reliable way to catch a 1/8-inch dip before it turns into a permanent structural nightmare. I also keep a heat gun in my truck, specifically for how to fix scuffs on dark composite boards. If you’ve spent thousands on premium materials, you don’t want a single dropped hammer or a dragged patio chair to be the first thing people notice when they walk onto your innovative deck design. According to the National Design Specification (NDS) for Wood Construction, the ‘load-duration factor’ dictates that wood can handle high stress for short periods, but sustained moisture combined with heavy weight will eventually win if you aren’t surgically precise during the install. Precision is your only defense against the slow march of time. 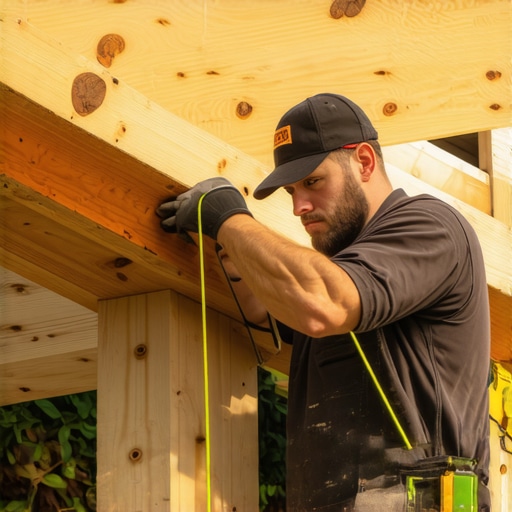
How do I keep my deck and pergola looking brand new for a decade?
Maintenance isn’t just about a spring power wash; in fact, why you should never use bleach on composite decks is a lesson many homeowners learn far too late when their boards start to fade and pit. You need a proactive strategy that addresses the hidden spots where rot begins. Every six months, I perform the 3-second push test for wobbly railing systems. If there is even a hint of play, I’m checking the post-to-frame connections and the bracket integrity. For the wood frame, I swear by the joist tape secret for doubling your decks life. It stops the moisture from sitting in the screw holes, which is why your deck joists are rotting underneath even if the top-facing boards look fine. I also utilize the rubber spacer trick for better airflow under joists to ensure that any trapped moisture evaporates quickly. If you’re dealing with composite, keep a bottle of specialized cleaner handy so you know how to clean red wine stains off composite decking fast before the sun bakes the pigment into the grain. Looking ahead, I predict we will see more ‘smart’ structural sensors integrated into high-end composite decking solutions—imagine an app that alerts you when a beam has deflected beyond its safety limit due to snow load. The future of stunning deck design strategies is going to be as much about data as it is about aesthetics. My advice for you today: don’t wait for a visible sag. Go out to your deck with a simple string line and check the level of your longest spans. If you find a dip greater than a quarter inch, it’s time to apply the hidden blocking move for supporting heavy pergola beams before the damage becomes permanent. It’s a small weekend project that can save you a full replacement five years from now.
The Moment I Realized Gravity Doesn’t Negotiate
After nearly two decades in the field, I’ve come to view wood not as a static building block, but as a slow-moving organic material. If you give lumber even an inch of opportunity to flex, it will take it. One of the biggest lightbulb moments for me was realizing that clear span is often just a fancy term for a future structural headache. I’ve learned that over-engineering your support system isn’t about being paranoid; it’s about respecting the physics of a structure that lives outdoors 24/7. When I see pergola designs that turn your garden into a sanctuary, I no longer just see the beauty—I see the load paths. I’ve also learned that moisture is the silent catalyst for deflection. A beam that stays dry stays straight, while a beam that traps water becomes heavy and pliable. That is why I am so adamant about the small details that others skip, ensuring the structural integrity is maintained from day one.
My Trustworthy Kit for Rock-Solid Pergolas
I don’t head to a job site without a few specific tools that have saved my reputation more than once. First, a high-visibility nylon string line is non-negotiable for checking levels; it never lies and never runs out of batteries. I also keep a stash of specialized tapes because the joist tape secret for doubling your decks life applies just as much to the top of your pergola beams as it does to joists. For those who want to stay ahead of the curve, I recommend looking into composite decking trends which are now influencing how we trim out and protect structural wood beams. Finally, keep a 12-ton bottle jack and a few 4×4 scraps in your garage—they are the only way to perform a controlled lift if you ever need to apply how to fix a sagging pergola beam without replacing the whole structure.
[IMAGE]
Turning Your Vision Into a Lasting Sanctuary
Building something with your own hands is one of the most rewarding experiences a homeowner can have. By taking the time to understand these structural nuances, you aren’t just building a shade structure; you are building a safe, enduring space for your family to gather. Don’t be intimidated by the math or the physics. Once you master the mid-span support and the load path, you can create breathtaking pergola designs that turn your garden into a sanctuary that will stand true for a decade or more. You have the tools, the techniques, and the right mindset to build it right the first time. Have you ever looked at your pergola from the side and realized the line wasn’t quite as straight as it used to be? Let me know in the comments how you handled the situation!