
I remember the exact moment I realized I’d messed up my first big backyard build. It was a humid July afternoon, about four years after I’d finished my “masterpiece.” I went to lean against one of the main 4×4 posts and felt a sickening squelch. My thumb didn’t just touch the wood; it practically disappeared into the top of the timber. It was devastating. I’d spent thousands on lumber and weeks of my life, but I’d ignored the one place where gravity and biology conspire to ruin everything: the exposed end grain. If I had known then about the copper cap trick, I could have saved myself a weekend of demolition and a very expensive trip back to the lumber yard. Today, we’re going to talk about why this simple piece of metal is the unsung hero of deck longevity.
Stop the Rot at the Top
[image] Wood is essentially a bundle of straws. When you look at the top of a deck post, you’re looking at the open ends of those straws. Rain falls, sits there, and gets sucked deep into the heart of the timber. Even if you use high-quality pressure-treated lumber, that vertical exposure is a death sentence over time. I made the classic rookie mistake of thinking that a little bit of sealer would be enough. It wasn’t. The sealer cracked, the water got in, and the rot started before I even noticed the color change. According to the USDA Forest Products Laboratory, wood absorbs moisture through its end grain up to 20 times faster than through its sides. That’s a staggering rate of decay potential sitting right at eye level on your railing system. By installing copper caps, you aren’t just adding a bit of “bling” to your yard; you’re creating a permanent umbrella for the most vulnerable part of your structure. It works similarly to how under-joist flashing stops post rot at the ground level, but it protects the top where the sun and rain hit hardest. Copper also has natural biocidal properties; as rain washes over it, microscopic amounts of copper sulfate run down the post, naturally deterring fungal growth.
Is a Piece of Metal Really Worth the Extra Cash?
You might be looking at the price of real copper caps and thinking, “I could buy two more boxes of deck screws for that price.” I get it. I used to be the guy who cut corners to save fifty bucks. But here’s the reality: replacing a single structural post is a nightmare. You have to detach the railing, support the beam, and pray you don’t crack the surrounding boards. Have you ever walked out to your deck and noticed a post that looks like it’s starting to “mushroom” or split at the top? That’s the first sign of the end. I’m telling you, the copper cap trick is the cheapest insurance policy you’ll ever buy for your outdoor space. It’s right up there with the joist tape secret for doubling your deck’s life in terms of return on investment. Let’s dive into why copper specifically is the gold standard for this job.
Turn Your Posts Into Fortress Walls
Before you even touch a copper cap, you have to address the state of your lumber. If you’re building from scratch, you’re ahead of the game. But if you’re retrofitting an existing deck, check for soft spots first. I once spent a whole morning trying to install caps on a client’s old cedar deck, only to realize the top two inches were basically mulch. You can’t save a post that’s already gone. If it’s soft, you need to cut back to healthy wood. I use the string line method for perfectly level deck surfaces to ensure all my posts are uniform before the caps go on. This is especially vital when you are integrating innovative deck design ideas that elevate your homes curb appeal, because nothing ruins a clean line faster than one cap sitting a half-inch higher than the rest.
Get a Clean Start with a Fresh Cut
The top of the post should be slightly beveled if possible, but a perfectly flat, clean cut is the bare minimum. Think of this like prepping a wound before a bandage; you want it dry and debris-free. If you’re working with larger 6×6 timbers, which I always recommend—see why your pergola posts need to be 6×6 minimum for stability—you’ll likely need a sliding miter saw or a very steady hand with a circular saw. Once the cut is made, I like to apply a quick coat of end-cut solution. This is the ‘belt’ to the copper cap’s ‘suspenders.’ 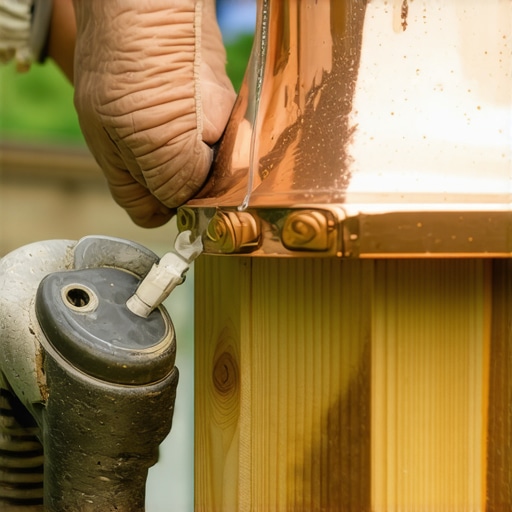
The Sealant Sandwich Technique
Here is where most DIYers fail: they just drop the cap on and drive a screw. Don’t do that. You want to create a vacuum-sealed environment. Apply a generous bead of high-quality exterior construction adhesive or silicone around the perimeter of the post top, about half an inch from the edge. When you press the copper cap down, that sealant spreads out, filling any microscopic gaps where wind-driven rain might try to sneak in. I learned this the hard way during a massive Nor’easter. I went out the next morning and saw water beads sitting underneath a cap I’d just ‘dropped’ on. The sealant sandwich prevents that capillary action from ever starting. It’s a trick I also use when I maximize outdoor living with low maintenance composite decking, ensuring the underlying wood structure is just as durable as the plastic boards on top.
Fasten with Finesse Not Force
Copper is a soft metal. It’s beautiful, but it’s temperamental. My micro-story of shame involves a 22-ounce framing hammer and a box of copper nails. I was three posts into a beautiful wrap-around deck when I missed a strike and put a golf-ball-sized dent right in the peak of a $30 cap. It looked terrible, and I had to buy a replacement out of my own pocket. Now, I always use the drill bit trick for splinter free wood railing installs to pre-drill my pilot holes through the copper and into the wood. This allows you to use a small finish screw or a copper nail with almost zero pressure. If you want that post to feel like a structural powerhouse, combine this with the double nut secret for rock solid railing posts at the base. You’ll end up with a railing system that doesn’t just look like a million bucks but feels like it could stop a truck.While those copper caps handle the vertical moisture, there is a silent killer lurking in the horizontal plane that most builders overlook. Everyone tells you that composite decking is the ultimate ‘set it and forget it’ solution, but in my experience, composite requires more technical precision than wood during the install. The biggest mistake? Treating it like it is a rigid, inorganic material. According to the North American Deck and Railing Association (NADRA), failing to account for thermal expansion is a top reason for structural deck failure in the first five years. I have personally walked onto jobsites where the boards were literally pushing the rim joists out because the installer did not know how to stop composite deck boards from expanding into your siding. When the sun hits a dark board, it can grow by an eighth of an inch or more. Multiply that across a 20-foot run, and you have a serious problem. 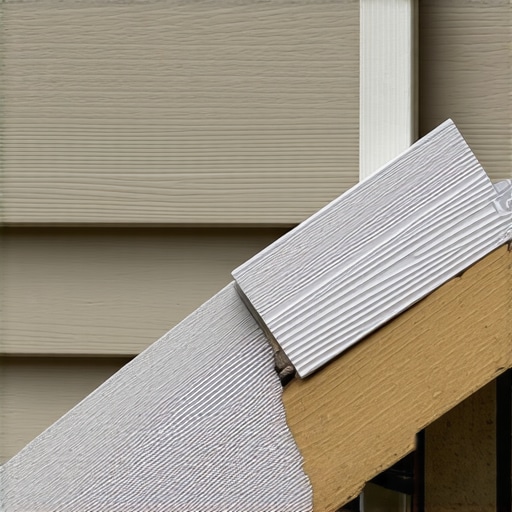
Why does your premium composite deck feel spongy on hot days?
If you have ever noticed a slight ‘give’ or bounce during a July BBQ, you are likely witnessing the ‘Oops Factor’ of over-spanning. People often assume that because composite is heavy, it must be stiff. It is actually the opposite. Without a rock-solid foundation, maximizing outdoor living with low maintenance composite decking becomes a safety hazard. I always warn my clients that why your pressure-treated frame is pulling your composite apart is usually due to the wood shrinking while the composite expands. This tug-of-war is what leads to those annoying ‘pop-ups.’ This is also why hidden fasteners fail on wide profile boards; they simply do not have the shear strength to hold back the force of a board that wants to move.
Don’t Let Your Frame Fight Your Finish
To really master the craft, you have to look at the composite decking secrets and longevity tips that focus on the interaction between materials. Most DIYers think a 16-inch-on-center joist layout is a universal law. It is not. If you are using dark boards in a high-sun area, you better believe why dark composite boards need extra expansion space becomes your most important design constraint. I have seen beautiful picture-frame borders turn into a wavy mess because the builder used the same gaps for light gray boards as they did for deep espresso ones. Have you ever fallen into this trap? Let me know in the comments. Building a deck that lasts 30 years isn’t about using the most expensive materials; it is about understanding the physics of how those materials coexist.
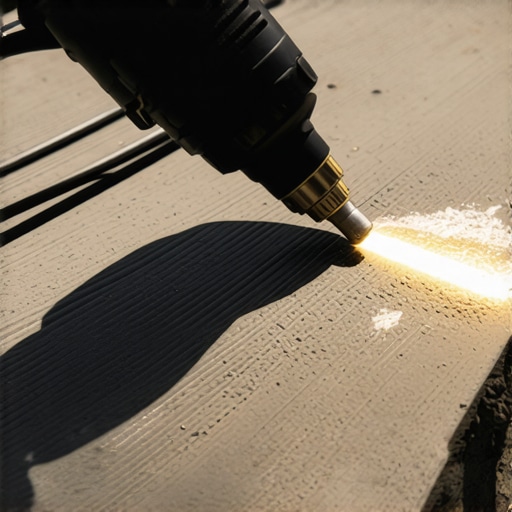
After the last screw is driven and the dust settles, most people think the journey is over. But honestly, the difference between a deck that looks tired in five years and one that stays a neighborhood showpiece is the maintenance strategy. I’ve learned that owning a deck is less about chores and more about having the right specialized kit in your garage. For me, the most surprising ‘must-have’ tool wasn’t a saw or a drill—it was a high-quality heat gun. If you have spent a fortune on dark boards, you know how heartbreaking it is when a stray chair leg leaves a bright white scratch. Learning how to fix scuffs on dark composite boards with a heat gun changed everything for my business; it allows you to gently blend the plastic back together, making the blemish virtually disappear. It is a trick that requires a light touch, but once you master it, you will never panic over a moved grill again.
The Two Tools That Saved My Reputation
Beyond the heat gun, I never step onto a job site without a high-visibility string line. I see too many people relying solely on a 4-foot level when they are trying to get their structure upright. Gravity is a tricky beast, and over a 10-foot span, a bubble level can be slightly off, leading to a lean that becomes visible only after the rafters are on. I always use the string line move for perfectly plumb pergola posts to ensure that from every angle, the lines are crisp and professional. This level of precision is what separates a DIY weekend project from innovative deck design ideas that elevate your homes curb appeal. If you’re building a massive structure, you might even consider the American Wood Council’s DCA 6 – Prescriptive Residential Wood Deck Construction Guide, which niche experts consider the ‘Bible’ for ensuring your ledger connections and joist spans are up to modern safety standards.
How do I keep my outdoor living space pristine for the next decade?
The biggest mistake I see homeowners make is reaching for the pressure washer and a bottle of bleach the moment they see a green tint on their boards. Stop right there. I have seen more composite decks ruined by high-pressure water than by actual foot traffic. To truly maximize outdoor living with low maintenance composite decking, you need to treat the surface like a fine car finish, not a concrete driveway. You should why you should never use bleach on composite decks—it can eat away at the protective cap and lead to permanent fading. Instead, I stick to the soap and sponge fix for oil stains on composite decking for those greasy burger drops, and I always keep a bottle of specialized cleaner on hand for when I need to how to clean red wine stains off composite decking fast after a summer party. Consistency is the secret; a simple wash twice a year will prevent the organic matter from ever taking hold in the grain.
The Future of Smart Decks is Closer Than You Think
Looking ahead, we are moving into an era where composite decking trends and durable solutions for modern outdoor living are merging with smart technology. I’m already seeing a rise in integrated sensors that can alert a homeowner to moisture trapped behind a ledger board or the early signs of structural shifting. In the next few years, I predict we’ll see deck boards with built-in heating elements to prevent ice buildup, much like high-end driveways. For now, the best ‘smart’ thing you can do is stay vigilant. Every spring, I take a high-lumen LED and perform the flashlight trick for finding hidden joist rot at night. The shadows created by the beam will highlight soft spots in the wood that you would miss in the bright glare of the sun. It is a ten-minute check that could save you thousands in structural repairs down the road. Go grab a heat gun this weekend and practice on a few scraps—erasing those first few scuffs will give you the confidence to know you are truly in control of your deck’s longevity.
Hard Truths About Deck Longevity Most Homeowners Ignore
After twenty years in the dust and sun, I’ve realized that precision trumps material cost every single time. You can buy the most expensive boards on the market, but if you ignore moisture management or expansion gaps, that investment will literally pull itself apart. One of my biggest lightbulb moments was realizing that a deck isn’t a static object; it’s a living thing that breathes and moves with the humidity. If you want a professional finish, stop looking at the boards and start obsessing over the skeleton. I’ve seen budget-friendly builds outlast luxury estates simply because the builder understood composite decking secrets and longevity tips that prevent water from pooling where it shouldn’t.
- The 1/8th Inch Rule: Never trust your eye; always use spacers for expansion to avoid board buckling.
- Hardware Matters: Cheap screws will bleed rust and ruin your aesthetics within two winters; always opt for stainless or high-grade coated fasteners.
- Slope is Your Friend: Even a fraction of a percent of pitch can save your joists from premature rot by ensuring water runoff.
[image]
The Gear I Use to Beat the Elements
Building a legacy in your backyard requires more than just a hammer. Over the years, I’ve curated a toolkit that I trust with my reputation. If you’re serious about innovative deck design ideas that elevate your homes curb appeal, you need these resources in your arsenal:
- The DCA 6 Guide: This prescriptive residential wood deck construction guide is my manual for every structural decision regarding ledger connections and joist spans.
- A Professional Grade Heat Gun: This is essential for when you need to know how to fix scuffs on dark composite boards with a heat gun without damaging the protective outer shell.
- NADRA Resources: The North American Deck and Railing Association is where I stay ahead of safety codes and new material sciences.
I also always keep a bottle of pH-neutral soap in the truck—it’s the only way to safely maximize outdoor living with low maintenance composite decking without risking chemical fading to the board’s finish.
Build Something That Outlasts the Seasons
At the end of the day, your deck is where the memories happen. It’s where you’ll host graduations, quiet morning coffees, and sunset dinners. Don’t let the fear of a complex build stop you from starting. Whether you are following innovative deck design ideas for 2025 or just trying to save an old railing, the effort you put into the details now will pay dividends for decades. If you ever find yourself stuck on a structural puzzle, feel free to contact us for guidance. You have the tools, the tricks, and the knowledge—now it’s time to get out there and build it right. Have you ever encountered a hidden rot issue that completely changed your build plan? Let me know in the comments below!