
I still remember the blistering hot July afternoon when I stood on my half-finished deck, staring down at my circular above-ground pool. My hands were covered in sweat, my back was aching, and I had just ruined my third expensive piece of composite decking. Trying to make straight, rigid boards hug a perfectly curved pool wall was driving me absolutely insane. Every cut I made left an ugly, uneven gap that looked like a jagged tooth. I realized at that moment that standard deck-building rules simply do not apply when you are working with circles. If you have ever tried to eyeball these cuts, you know exactly how fast a dream backyard project can turn into an expensive nightmare. Today, I am going to share the exact layout and cutting techniques that saved my sanity, so you can get a seamless, professional finish without wasting your time or throwing away hundreds of dollars in ruined materials. Let’s get those curves looking flawless.
Is building a curved pool deck actually worth the massive headache?
Yes, absolutely, but only if you know how to handle the geometry before you start cutting. When I built my first pool surround, I made the amateur mistake of thinking I could just trim the boards by hand as I went along. It was a disaster. According to structural safety studies, improper spacing around wet areas not only looks terrible but also traps moisture, leading to premature rot of your joists. If you are working with synthetic materials, you also have to account for how temperature swings affect your layout. For instance, understanding why your composite decking is expanding more than the manual says is crucial before you lock your boards tightly against a pool coping. Have you ever ended up with uneven, warped gaps after a hot summer day? Let me know in the comments below, because we have all been there. Today, we are going to dive into the ultimate template trick that guarantees perfect, consistent curves every single time, ensuring your hard work lasts for decades.
Skip the Eyeballing and Grab Some Cheap Plywood
The biggest mistake you can make when laying out boards around a curved pool is trying to measure each cut individually with a tape measure. It is like trying to measure a melting ice cube; the geometry changes the moment your pencil touches the wood. Instead, you need a physical template that mimics the exact radius of your pool. Think of this template as your structural GPS. During my first build, I wasted three gorgeous, expensive boards trying to freehand the cuts. I finally stepped back, grabbed a cheap sheet of quarter-inch plywood, and screwed a temporary scrap piece of wood to the center point of the pool’s radius to act as a giant compass. By swinging this homemade compass across the plywood, I drew a perfect arc that matched my pool wall. I cut that arc out with a jigsaw, and suddenly, I had a flawless physical guide to trace onto my expensive decking.
The Secret to Clean Cuts and Even Spacing
Once you have your template, you cannot just push the composite boards flush against the pool wall. Composite materials need room to breathe, expand, and shed water. Think of your pool deck like a giant wooden lung; it expands in the summer heat and contracts when the temperature drops. If you jam the boards tight, they will eventually buckle and warp your entire frame. To keep things uniform, you need consistent spacing. I highly recommend checking out why your composite deck boards are gaps are uneven to understand how temperature swings alter your layout mid-project.
Secure the Boards Before You Cut the Arc
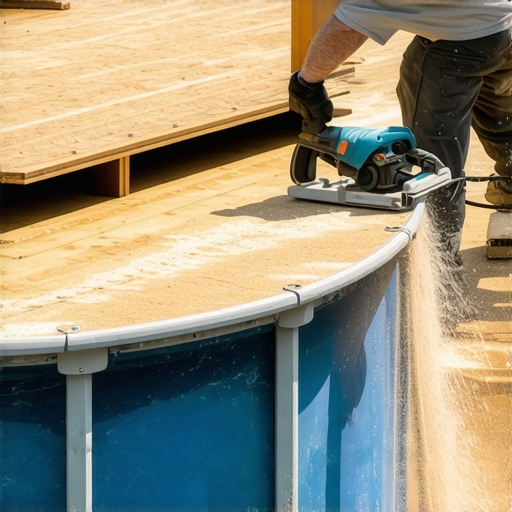
Here is the real trick that professional deck builders use: do not cut your boards before you install them. It sounds backward, but it is the only way to get a perfectly smooth, continuous curve. Run your composite boards long, letting them overhang the pool edge completely. Secure them to your joists using the trick for hidden fasteners on curved deck boards so they are locked firmly in place. Once the entire deck surface is laid down with those ugly, jagged overhanging ends, grab your plywood template. Lay the template on top of the secured boards, trace your perfect curve with a bright marker, and use a circular saw set to the exact depth of your decking to cut the entire sweep in one single, continuous pass. This method guarantees that the gap between your pool and your deck remains perfectly uniform from the first board to the last, eliminating those ugly, staggered edges.
Is it really a mistake to leave composite board ends raw and unsealed?
Yes, and it is easily the most expensive mistake you can make. The standard industry advice tells you that composite decking is completely waterproof and maintenance-free. This is a dangerous half-truth. While the capped plastic shell protects the top and sides of the board, the moment you run a circular saw through a board to cut a beautiful curve, you expose the raw inner core of wood fibers and plastic binders. In a high-moisture zone like a pool surround, that exposed edge acts like a sponge. According to wood science and materials research, unprotected composite cores can absorb moisture from splashing pool water, causing the ends to swell, delaminate, and warp your framing. This is why learning the best way to finish the raw ends of pvc decking or composite boards is non-negotiable for a lasting build.
The Thermal Expansion Myth That Ruins Miter Joints
Everyone in the DIY forums will tell you to simply miter your border boards to make a clean frame around your curved deck. In my experience, classic mitered corners are a ticking time bomb near water. If you want a flawless pool deck, you should know why mitered corners are a mistake for high-traffic decks and pool surrounds alike. Because composite expands lengthwise when exposed to hot summer sun, those beautiful 45-degree angles will inevitably push against each other, warp, or pull apart into massive gaps when the temperature drops. Instead of relying on traditional wood joinery, you need to use specific expansion gaps and secure the boards with heavy-duty fasteners that permit movement without buckling.
The Heat Trap of Dark Composite Selections
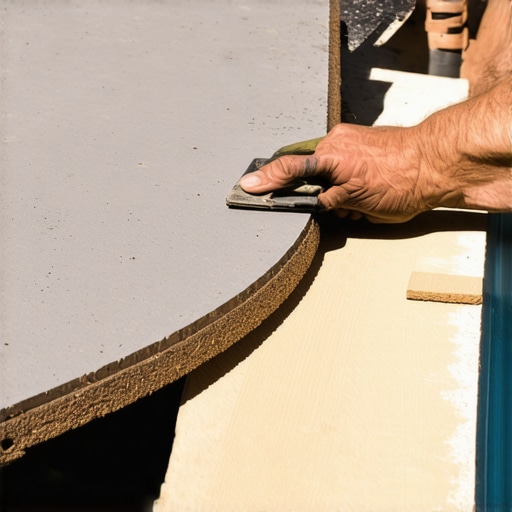
Another crucial nuance that many homeowners overlook during the planning phase is the actual temperature of the deck surface. While dark charcoal and deep brown boards look incredibly modern and luxurious in a catalog, they are a nightmare next to a swimming pool. If you are building a sunny backyard oasis, you should definitely understand why you should avoid dark decking near a sunny pool before making your final material purchase. Dark composite can reach blistering temperatures of over 150 degrees Fahrenheit in direct sunlight, making it impossible to walk barefoot from the water to your lounge chair. Stick to lighter gray or tan tones to keep the surface comfortable for bare feet.
What happens if you use standard structural screws on a curved rim joist?
They snap. When you force joists or blocking to bend into a tight curve to support your picture-frame border, the wood is under constant, intense tension. Standard deck screws simply do not have the shear strength to hold that curved pressure over time, especially when composite boards start expanding against them. I have seen countless DIYers open up their decks after two seasons only to find their structural fastening points sheared completely in half. Always use heavy-duty structural screws or carriage bolts when fastening curved blocking, and make sure your framing is reinforced with a the double-rim joist secret for rock-solid deck edges. Have you ever fallen into this trap or ended up with warped deck boards near your pool? Let me know in the comments below, and let’s troubleshoot your build together.
My Personal Toolkit for Cutting Flawless Curved Decking
Over the years, I have tried every gadget on the market to make my curved deck designs cleaner and faster. But if you want to skip the trial-and-error, there are only two highly specific tools that live permanently in my truck for this job. First is a dedicated barrel-grip jigsaw with variable speed control. Standard D-handle jigsaws put your hand too high, making it nearly impossible to keep the blade perfectly perpendicular when cutting through thick, dense composite boards. Second, I rely on a carbide-tipped trim router bit with a top bearing. Running this router along my custom plywood template after making a rough circular-saw cut leaves an edge so smooth and polished it looks like it was manufactured in a factory. To understand why this perfect fit matters beyond just looks, look into composite decking secrets longevity tips for a lasting deck.
How do I maintain a curved pool deck over time?
Maintenance on a curved pool surround is all about managing moisture and joint movement. Unlike standard straight decks, the radius cuts on a pool deck trap debris and leaf litter much easier in those slightly wedge-shaped expansion gaps. According to technical bulletins from the North American Decking Association (NADRA), organic buildup in deck gaps acts like a wet sponge, promoting localized mold growth and rotting out structural framing. I make it a strict rule to power-wash my pool-facing boards at least twice a year. If you are struggling with fading from the heavy chlorine splashing or UV rays, you should read about how to restore the color of a faded composite deck to bring that rich luster back. Additionally, inspect your fasteners annually. Because of the constant tension on curved rim joists, checking for loose screws prevents structural failure before it starts.
Where Curved Outdoor Living Is Headed Next
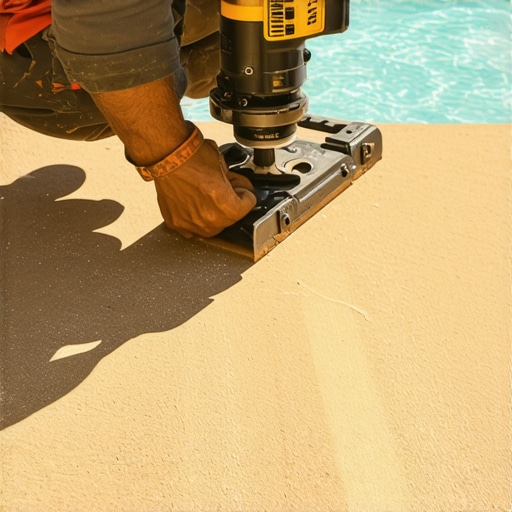
If you look at the trajectory of modern backyards, the days of basic, rectangular pressure-treated platforms are rapidly coming to an end. We are moving into an era of integrated, fluid outdoor spaces. I am seeing an explosion in designs that seamlessly marry curved composite decks with custom, matching safety enclosures. If you are planning a complete backyard overhaul, matching your deck with the right barrier is key, which is why learning how to select the perfect railing system for every deck is becoming a vital step in modern design. In the next few years, I predict we will see pre-bent, heat-formed composite boards sold directly by manufacturers, making these beautiful, organic geometries accessible to every average DIYer, not just the specialists. Do not let the complexity intimidate you. Take action this weekend: grab a cheap sheet of plywood, draw your pool’s radius, and build your first template compass.
What Built-it-Yourself Gurus Won’t Tell You About Tight Radius Layouts
Building curved pool decks taught me that standard deck framing is only half the battle. When laying out curved deck joists, you must double your blocking around the perimeter. If you do not, your composite boards will lack the structural support they need at their outermost cut edges, leading to sagging over time. Additionally, always remember to cut your template slightly wider than the pool edge to account for the necessary expansion gap; if you cut it flush to the pool wall, your boards will expand and buckle on the first hot afternoon. Finally, remember that your circular saw blade will bind if you try to cut too sharp of a radius in one pass. Instead, make relief cuts every few inches to let the waste wood fall away naturally as you guide your circular saw along your plywood template arc.
The Specialist Gear in My Decking Rig
You do not need a truck full of industrial machinery to get a clean finish, but these four tools make or break a curved build. First, a high-quality flexible drawing curve or a thin strip of 1/4-inch PVC trim is invaluable for connecting layout marks into a smooth line. Second, I rely on a Freud Diablo 44-tooth carbide blade specifically designed for composite materials to prevent edge melting and tear-out during the big sweep. Third, a heavy-duty router with a flush-trim template bit will clean up any minor saw wobbles instantly. Finally, I highly recommend using the the double-rim joist secret for rock-solid deck edges to ensure your outer perimeter has a rock-solid foundation to anchor those curved picture-frame boards.
Unleash Your Creativity on Your Next Outdoor Project
Do not let the fear of complex geometry hold you back from building a jaw-dropping backyard oasis. With a physical template, the right blades, and a little patience, you can master curved deck design and craft a space that looks like it was built by an elite architectural firm. To take your skills further and ensure your hard work stands the test of time, look into composite decking secrets longevity tips for a lasting deck. It is time to stop dreaming about that perfect poolside retreat and start cutting. Have you ever tried framing a curved deck or struggled with uneven gaps around a circular pool? Let me know in the comments below, and let’s get your build sorted out!