
I’ll never forget the sinking feeling in my gut when I realized my first “perfect” pergola was actually a trapezoid. I had measured the posts twice, used a level on every side, and felt like a backyard hero—right up until that final rafter refused to sit flush. It was off by nearly three inches across the span. My mistake was simple but devastating: I trusted a small speed square to do the job of a geometric system. If you’ve ever tried to force a piece of lumber into a spot that just doesn’t want it, you know exactly how much frustration that causes when you’re just trying to enjoy a Saturday build.
Your Pergola Doesn’t Have to Be a Math Nightmare
Today, I’m going to share the exact method I use to ensure every structure I build—from a simple shade spot to complex pergola design inspiration—is dead-on square before the first bolt is tightened. Building a structure that is out of alignment doesn’t just look sloppy; it creates structural stress that can lead to premature failure. According to the American Wood Council, structural integrity in timber frames relies heavily on the precise distribution of load, which is impossible if your footprint is skewed. We are going to move past the “eyeball method” and use the same logic that built the pyramids, minus the heavy stone lifting.
Is a perfectly square frame really that important?
You might be thinking, “It’s just a garden feature, does an inch really matter?” The short answer is a resounding yes. When your frame is skewed, your rafters won’t have consistent overhangs, and any pergola canopy you try to install later will bunch up or tear because the mounting points aren’t parallel. I learned this the hard way during a build in 2019 when I had to use the 5-shim trick just to make the trim look halfway decent. It was a total mess. By mastering the 3-4-5 rule for squaring your frame, you eliminate the guesswork. Have you ever stood back from a project only to realize the whole thing looks slightly tilted to the left? Tell me I’m not the only one who has faced the “leaning tower of cedar” in their own backyard.
We will also look at how the hidden bracket hack can help keep things stable while you are still in the adjustment phase. Trust me, having the right system in place before you commit to those post bases is the difference between a relaxing outdoor retreat and a structural headache that haunts your dreams.
Stop Guessing and Start With Batter Boards
Before you even touch a post hole digger, you need to establish a layout that stays put. Most DIYers make the mistake of driving a single stake into the ground and hoping it doesn’t move. I prefer using batter boards—two stakes with a horizontal cross-piece. This allows you to slide your string lines back and forth until they are perfectly positioned without pulling stakes out of the ground every five minutes. Think of your string lines as the ‘digital twin’ of your future pergola; if they aren’t right, the wood never will be. I once spent four hours chasing a quarter-inch on a project in mid-July. The heat was intense, and I realized later that why your composite decking is expanding more than the manual says wasn’t my only problem—my batter boards were wiggling in the loose topsoil. Once I anchored them properly, the geometry finally clicked.
Execute the 3-4-5 Rule Without a Calculator
The 3-4-5 rule is the gold standard for creating a perfect 90-degree angle. From the corner where your two strings intersect, measure exactly three feet along one string and mark it with a piece of tape. On the perpendicular string, measure four feet and mark it. Now, measure the diagonal distance between those two marks. If it’s exactly five feet, you’re square. If it’s even an eighth of an inch off, you have a trapezoid in the making. For larger structures, I double the numbers to 6-8-10 to increase accuracy. It’s like using a long-range scope versus a handgun; the longer the distance, the more obvious your errors become. 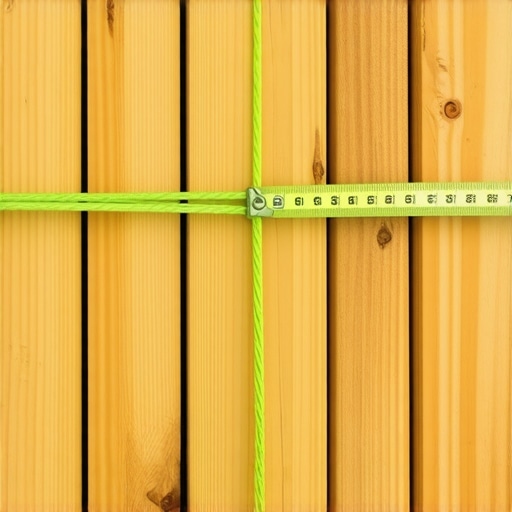
The Diagonal Test is Your Safety Net
Once you think you have your four corners set, there is one final ‘truth’ test: measuring the diagonals of the entire rectangle. Run your tape measure from the front-left corner to the back-right, then compare it to the front-right to back-left. If those two numbers are identical, your frame is perfectly square. This is the stage where most people get lazy, but it is also where you discover if you need the 5-shim trick for leveling out of-square deck frames later on. I remember a build where the diagonals were off by two inches, and I tried to ‘fix it in post’ by shifting the rafters. It was a nightmare that made the the trick for leveling a pergola on an uneven lawn look like child’s play. Do the work now so you aren’t fighting the materials later.
Lock It Down Before the Wood Warps
After achieving the perfect square, you must secure the layout. This is where the hidden bracket hack for invisible pergola connections becomes your best friend. By using temporary bracing or specific hardware, you can keep the posts from leaning while the concrete sets or while you are driving your primary fasteners. Wood is a living material; it wants to twist, cup, and bow the moment it leaves the lumber yard. If you don’t have a rigid system holding your square in place, that perfect 90-degree corner can disappear overnight. This level of precision is even more critical if you are planning for composite decking secrets longevity tips for a lasting deck, as synthetic materials have zero tolerance for an uneven or out-of-square substructure. Every bolt you tighten should be a confirmation of the math you did with those string lines.
While most folks think that buying “kiln-dried” or pressure-treated lumber means it’s ready for the saw, that’s a myth that has ruined many expensive projects. In my experience, most lumber yard wood is still “green” or saturated with treatment chemicals. If you build your frame the day you bring the wood home, you’re essentially building a structure that will shrink and twist as it dries. According to the USDA Forest Products Laboratory, wood can shrink up to 8% across the grain as it moves from its fiber saturation point to equilibrium moisture content. This is why your perfectly square frame suddenly develops gaps and squeaks three months later. I always let my lumber “acclimate” on-site for at least a week, stickered and stacked, before I even think about my layout.
Stop Your Composite Decking From Warping the Right Way
People often switch to composite because they want “zero maintenance,” but they fall into the trap of treating it like wood. The biggest “oops” factor I see is ignoring thermal expansion. Unlike wood, which expands with moisture, composite expands with heat. If you jam those boards tight against your house or a railing post, they will buckle like a roller coaster the first time the sun hits them. This is also why your composite decking is expanding more than the manual says. I’ve seen $20,000 decks look like topographical maps because the installer didn’t leave a 1/8-inch gap. 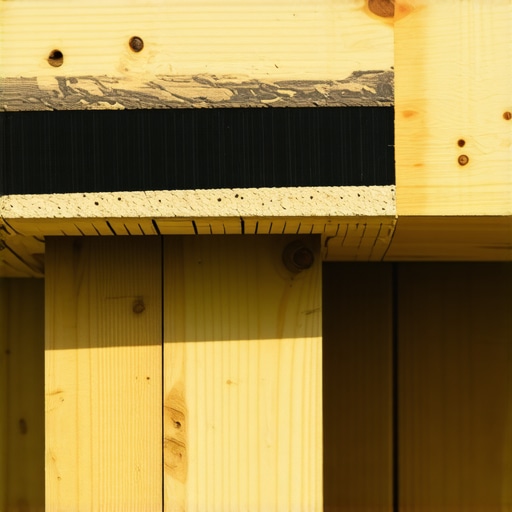
Is Your Flashing Actually Trapping Water Against the House?
Most DIYers install a ledger board and call it a day, but the 2-inch gap rule for preventing rot behind your deck ledger is what separates a 10-year deck from a 40-year deck. If you don’t use the flash and tape method for protecting deck joists, you’re inviting rot to live in the very bones of your structure. Have you ever fallen into the trap of thinking standard flashing was “good enough” only to find soggy wood three years later? Let me know in the comments.
When it comes to safety, many people rely on nails for post-to-rim-joist connections. That is a dangerous mistake. Why your railing posts should be bolted not nailed isn’t just about code; it’s about lateral load-bearing capacity. If you want that “rock-solid” feel, you need the 20-bracket that fixes wobbly railing posts fast. This isn’t just about deck design strategies; it’s about engineering a space that doesn’t feel like a trampoline when your family walks on it.
You can have the best design in the world, but if your tools are lying to you, the end result will be a mess. I’ve broken more drill bits than I care to admit before I finally learned the secret to drilling through metal railing posts without breaking bits: use a stepped bit and plenty of cutting oil. It sounds like a small detail, but it’s the difference between a ten-minute job and a two-hour nightmare of digging out snapped steel. I also never step on a job site without a 12-inch speed square. The standard 7-inch version is great for rafters, but when you are trying to square up a massive 6×6 post, that extra length provides a level of leverage and visibility that the small one just can’t match. I personally prefer using an impact driver over a standard drill for every structural fastener because it prevents the ‘cam-out’ that strips heads and ruins your afternoon.
Tools That Won’t Let You Down
If you are moving into the scaling phase of your outdoor living area—perhaps adding a second tier or a heavy structural feature—you need to graduate from a bubble level to a rotary laser. This was a game-changer for me. A laser level allows you to establish a perfectly flat plane across 50 feet without worrying about the stacking errors that happen when you move a 4-foot level multiple times. It’s how the pros achieve that floating look in modern low-maintenance composite decking projects. It ensures that every joist is sitting at the exact same height, which is vital for preventing the minor dips that collect water. 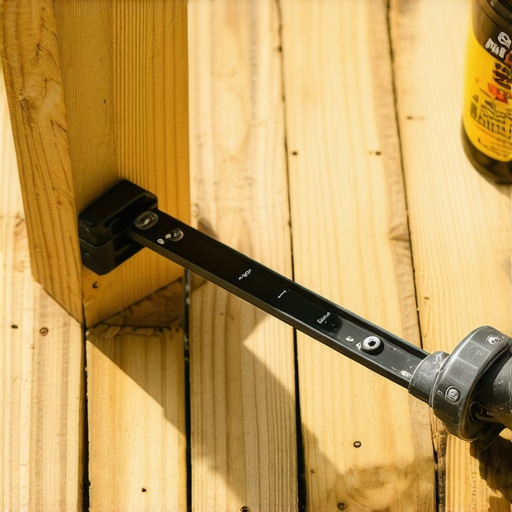
How do I keep this deck looking brand new?
Maintenance is where most people drop the ball. If you went with wood, the UV rays are your primary enemy. I’m a huge advocate for the simple spray test to see if your wood deck needs sealing. If the water doesn’t bead up, your lumber is drinking in rot. For my friends who chose synthetic materials, don’t assume you are off the hook. Even the best boards need a wash to prevent organic growth from staining the grain pattern. If you’ve inherited a neglected space, you can still learn how to restore the color of a faded composite deck without using harsh chemicals that kill your garden. I personally use a mild soap and a soft-bristle brush every spring—power washers are tempting, but they can actually scar the surface if the pressure is set too high.
According to the North American Decking and Railing Association (NADRA), nearly half of all existing decks in the United States are currently past their safe life expectancy. This usually comes down to two things: rusted hardware and sagging connections. If you have a cable system, for example, you need to understand how to stop cable railing from sagging over time by checking the tensioners during every seasonal temperature swing. Metal expands and contracts, and if you don’t adjust, that safety barrier becomes a liability. This is all part of the composite decking secrets longevity tips for a lasting deck that I live by to protect my investment.
The Near Future of Backyard Engineering
Looking ahead, I predict we are going to see a massive shift toward smart substructures. We already have lights that sync to our phones, but the next step is moisture sensors embedded in the wood joists that alert your smartphone before rot becomes visible to the eye. We are also seeing a huge surge in modular, aluminum framing systems that eliminate the wood rot conversation entirely. The future of backyard engineering is about permanence. I want you to try one thing today: go outside and check your railing posts. If they wiggle even a little, go get the 20-bracket that fixes wobbly railing posts fast. It is the cheapest insurance policy you will ever buy for your home and your family’s safety.
Hard-Won Wisdom from My Trapezoid Days
I used to think that ‘close enough’ was the standard for backyard projects. It took a few warped boards and a sagging joist to realize that precision is actually the path to less work. First, never ignore the acclimation period. When you buy lumber, it is often saturated; giving it a week to breathe on-site prevents those heart-breaking gaps. Second, your eyes will lie to you, but physics will not. Always re-check your square after the first few fasteners are in. Finally, I have realized that the simple blocking move that stops your deck from shaking when you walk is worth every extra minute of labor. It transforms a ‘DIY deck’ into a professional structure.
The Gear That Never Leaves My Truck
If you are serious about your outdoor space, I highly recommend investing in a rotary laser level. It removes the ‘stacking error’ that happens when you move a standard bubble level across a large span. I also swear by impact drivers over standard drills to prevent the ‘cam-out’ that leads to stripped screws and wasted afternoons. For those looking to stay ahead of the curve, keep an eye on pergola trends crafting shade elegance in your outdoor space to see how modern materials are making these builds even more durable. #IMAGE_PLACEHOLDER_E# Lastly, do not overlook your safety barriers; the complete guide to choosing railing systems for safety style is my go-to reference for making sure a project is as secure as it is beautiful.
Build Your Backyard Sanctuary with Confidence
Building a structure like a pergola or deck is more than just adding value to your home; it is about creating a sanctuary for your family. By focusing on the layout and getting those 90-degree angles right from the start, you are setting yourself up for success for years to come. Do not be intimidated by the math or the specialized tools. Every expert was once a beginner who decided to pick up a tape measure and try. It is time to turn those pergola design inspiration ideas into a reality in your own backyard. Have you ever had a project end up slightly out of square? How did you fix it? Let me know in the comments below!