
I’ll never forget the sound of that cedar beam cracking. It was three years ago, a humid Saturday morning, and my neighbor Dave and I were wrestling with a massive 6×6 header. We were doing things the ‘old school’ way—trying to toe-nail massive screws at awkward angles while balancing on a ladder. The wood split, the beam shifted, and I nearly lost a toe when the whole assembly came crashing down. That was my ‘aha’ moment. I realized that my pride in doing things the hard way was actually just a recipe for a mediocre, dangerous build. I spent the rest of that afternoon nursing a bruised ego and a cold beer, wondering why I hadn’t looked into the hidden bracket hack for invisible pergola connections sooner.
The Saturday My DIY Pride Took a Massive Hit
Most of us approach a backyard project with a ‘more wood, more nails’ mentality, but that’s exactly where we go wrong. When I first started experimenting with pergola trends, I ignored the hardware. I thought the brackets were just an extra expense. I was wrong. The secret to those Pinterest-perfect structures isn’t just the lumber; it’s the specialized, hidden brackets that pull the joints together with surgical precision. Today, I’m going to show you how these little pieces of engineered steel can turn a two-day struggle into a four-hour victory. We’re going to solve the problem of wobbly posts and unsightly gaps once and for all. If you have ever felt like you needed four extra hands just to get a rafter level, you are in the right place.
Do Hidden Brackets Really Make the Job That Much Easier?
You might be skeptical. I certainly was. I thought, ‘Why spend fifty bucks on brackets when I have a box of screws?’ But here is the reality: standard fasteners don’t provide structural tension. According to research by structural engineers at Simpson Strong-Tie, pre-engineered connectors can increase the lateral load resistance of a structure by over 30% compared to traditional toe-nailing. That means your pergola won’t just go up faster; it won’t lean when the first big wind storm hits. I made the mistake of thinking I could outsmart physics with a long drill bit, and all I got was a shaky structure that I eventually had to tear down. Have you ever stood back from a project you just finished, only to realize the whole thing is slightly out of square? It’s a gut-wrenching feeling. By using modern structural hardware, you’re basically using a cheat code for perfect alignment. It’s time to stop fighting the wood and start using the tools designed to tame it. Let’s look at the specific brackets that actually matter.
Stop Blindly Screwing Into Wood and Start Engineering Your Build
Think of your pergola hardware like the ligaments in a human knee. You don’t see them, but without them, the whole structure would buckle under the slightest bit of lateral pressure. When I first started, I used to think that driving a 6-inch timber screw at a 45-degree angle was ‘pro.’ It’s not. It’s a shortcut that leads to wood splitting. To get that high-end, seamless look, you need to transition to a system where the hardware sits inside the joint. This isn’t just about aesthetics; it’s about creating a mechanical bond that resists the natural twisting and warping of cedar and pressure-treated lumber. By using modern structural hardware, you are essentially creating a steel skeleton that the wood just happens to be draped over.
Get Your Frame Square Before the First Screw Goes In
The biggest mistake I see DIYers make is trying to ‘fix’ a crooked frame after the rafters are already up. It never works. You end up with a structure that looks okay from twenty feet away but feels like a funhouse when you’re sitting under it. Before you even touch a bracket, you must use the 3-4-5 rule for squaring your deck frame every time. I remember a job in late October where I skipped this step because I was racing a rainstorm. I spent the next three days backing out screws and shimming posts because the roof slats wouldn’t line up. It was a miserable, wet lesson in patience. Now, I don’t let a single beam get clamped until my diagonals are within an eighth of an inch. 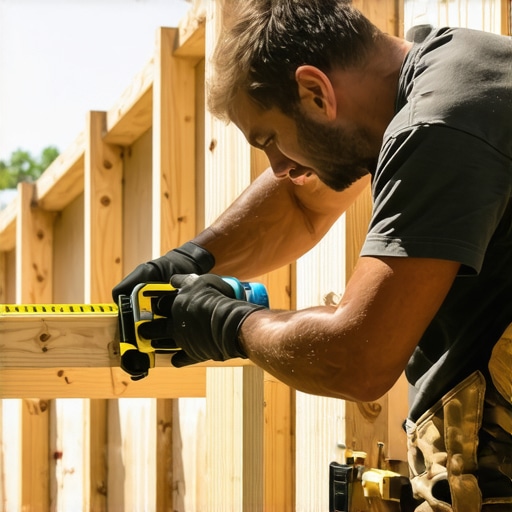
The Invisible Connection Method That Saves Your Sanity
Once your posts are plumb and your perimeter is square, it’s time for the actual ‘hack.’ Instead of standard L-brackets that scream ‘hardware store clearance aisle,’ we use internal t-line connectors. You’ll need to carve out a small mortise—a pocket, basically—in the end of your rafter. It sounds intimidating, but with a sharp chisel or a router, it takes about ninety seconds. This pocket hides the steel plate entirely. When you slide the rafter onto the post-mounted bracket, you’re left with a clean wood-to-wood look that looks like it was built by a master timber framer. If you are worried about the longevity of these joints, remember that trapped moisture is the enemy. This is the perfect time to apply the joist tape secret for doubling your decks lifespan to the tops of your beams before the rafters go on. It prevents water from sitting in the bracket pocket and rotting your expensive cedar from the inside out.
Why Your Screws Snap and How to Prevent It
I once had a client call me six months after a build because their railing felt ‘crunchy.’ When I pulled the boards back, I found that nearly 20% of the fasteners had snapped. They had used standard zinc screws in a coastal environment. If you live anywhere near salt air or experience extreme temperature swings, you need to understand why your deck screws are snapping in cold weather and choose stainless steel or high-tensile structural screws instead. Standard screws are brittle; structural screws are designed to bend slightly as the wood moves, which is exactly what you want when the wind starts howling through your invisible pergola connections. This small upgrade in material cost is the difference between a structure that lasts five years and one that stays solid for thirty.Most homeowners choose low-maintenance composite decking because they want to escape the cycle of sanding and staining. But here is the contrarian truth that most salesmen won’t tell you: the boards might last thirty years, but the wooden frame underneath usually won’t. I have seen countless ‘maintenance-free’ decks that became structural hazards within a decade because the installer focused on the aesthetics and ignored the skeleton. In my experience, the biggest mistake is building a premium surface on top of an unprotected frame. Water gets trapped between the composite board and the joist, creating a rot-prone microclimate. This is why I always insist on the flash and tape method for protecting deck joists. Without that moisture barrier, you are essentially putting a luxury car body on a rusted-out chassis.
Why is my composite deck warping if the boards are synthetic?
It is a question I get constantly from frustrated DIYers who followed the basic instructions but still see their boards buckling. The reality is that composite decking moves significantly more than wood—not from moisture, but from heat. According to technical bulletins from the North American Deck and Railing Association (NADRA), composite materials can expand and contract by as much as 1/16th of an inch for every ten feet of board with just a 50-degree temperature swing. If you don’t strictly follow the expansion gap rule that stops boards from buckling, the boards have nowhere to go but up. I once visited a site where the miters had opened up so wide you could drop a quarter through them because the installer didn’t account for a particularly cold winter. To prevent this, I’ve started using the PVC glue trick for gap-free composite miters, which helps lock those joints together through thermal cycles. 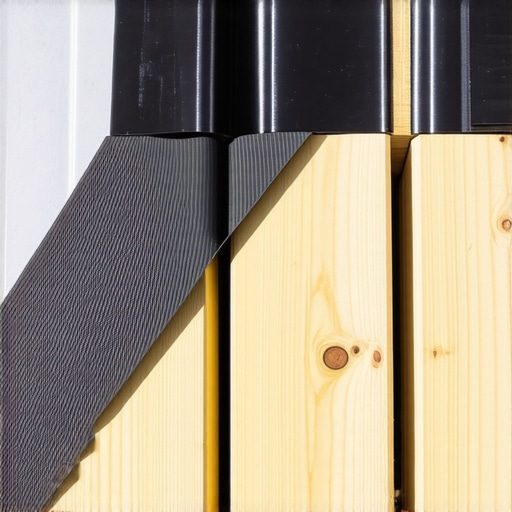 Another nuance people miss involves innovative deck design ideas that look great in a catalog but fail in the real world. For instance, dark charcoal boards are incredibly popular, but they can reach temperatures over 150 degrees in direct sun. I’ve seen cheap plastic hidden fasteners literally melt or warp under that kind of heat stress, leading to boards that ‘pop’ up. If you are going with a dark color, you must ensure your joist spacing is tight and your fasteners are high-grade stainless steel. This is also a major factor in why your composite decking is warping at the joists; the heat builds up unevenly on the top surface while the bottom stays cool, creating a ‘cupping’ effect that can pull screws right out of the wood. Have you ever fallen into this trap of prioritizing the looks over the physics of the materials? Let me know in the comments. It is easy to get distracted by the pretty finishes, but true expertise is found in the hidden details. Now that we have the skeleton and the floor sorted, let’s talk about the finishing touches that actually keep the structure standing for the long haul.
Stop Guessing and Use a Digital Blueprint
I used to be the guy who sketched deck plans on the back of a greasy pizza box. I thought that as long as I had my tape measure and a level, I could figure it out on the fly. I was wrong. The single biggest shift in my career happened when I realized why you need a 3d model before buying a single deck board. Digital modeling isn’t just for architects; it’s for anyone who doesn’t want to waste a thousand dollars on over-ordered lumber or, worse, under-engineered beams. When you see your innovative deck design ideas for 2025 in a three-dimensional space, you spot the structural conflicts—like a railing post interfering with a joist hanger—before they become expensive physical problems. Software like SketchUp or specialized deck design tools allow you to stress-test your layout and ensure your the zone method for planning an outdoor kitchen deck actually leaves enough room for the grill and the guests.
How do I keep my composite deck looking brand new for decades?
The ‘maintenance-free’ label is a marketing myth, but ‘low-maintenance’ is a reality if you are smart. First, stop reaching for the pressure washer every time there is a spot of pollen. High-pressure water can actually etch the surface of some composite brands, creating micro-pores that trap even more dirt. Also, I have a strict rule: why you should never use bleach on your composite deck. Bleach can break down the UV inhibitors in the plastic capping, leading to premature fading. Instead, use a pH-neutral cleaner and a soft-bristle brush. For the structural side, you should perform the 15-minute deck inspection every homeowner should do at the start of every spring. Check the ledger board—the place where the deck meets the house. According to the American Wood Council’s DCA 6 – Prescriptive Residential Wood Deck Construction Guide, the ledger connection is the most common point of catastrophic failure. If you see any sign of the house siding pulling away, stop using the deck immediately. 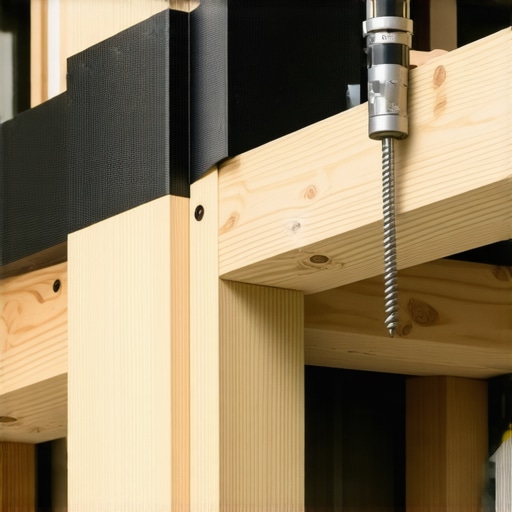
The Heavy-Duty Hardware That Prevents Mid-Summer Sways
If your deck feels like it’s on a cruise ship when three people walk across it, you have a lateral load problem. Most DIYers focus on vertical strength—making sure the deck doesn’t fall down—but they ignore the ‘sway.’ This is where I swear by specific structural hardware. I don’t build a single staircase anymore without using the 20 bracket that fixes wobbly railing posts fast. It’s a tension-tie that connects the post directly to the joist, rather than just the rim board. It’s the difference between a railing that flexes when you lean on it and one that feels like a stone wall. Looking forward, I predict we are moving toward a ‘smart deck’ era where we see pre-fabricated steel framing systems becoming the standard for residential builds. Wood prices are volatile and the quality of pressure-treated lumber is declining. Within ten years, I expect AI-integrated layout tools to provide real-time structural calculations as you move virtual boards around. For now, the best thing you can do is focus on the basics of moisture protection and high-tensile fasteners. My advice? Don’t wait for a board to pop or a railing to rattle. Go outside this afternoon and perform that 15-minute structural sweep I mentioned. It’s the easiest way to ensure your sanctuary doesn’t turn into a liability.
What I Learned the Hard Way About Structural Integrity
After years of wrestling with lumber and hardware, I’ve realized that the most expensive mistakes aren’t usually the ones you see; they are the ones you feel underfoot. First, never assume that high-end materials can compensate for a weak skeleton. Even the most beautiful composite decking will feel like a cheap bridge if your joist spacing is off or if you haven’t accounted for the fact that pressure-treated wood still needs maintenance under composite boards. Second, precision isn’t about being a perfectionist; it’s about avoiding the ‘domino effect’ where one slightly out-of-square post ruins every subsequent miter cut. Finally, remember that wood is a living material that wants to move. If you fight that movement with the wrong fasteners, the wood will always win. Embracing composite decking secrets for longevity means working with the thermal properties of your materials rather than against them.
A Handful of Tools I Never Start a Build Without
If you want to move from ‘weekend warrior’ to ‘master builder,’ your toolkit needs more than just a hammer and a level. I swear by digital modeling software like SketchUp for stress-testing layouts before I spend a dime on materials. For the physical build, a high-quality impact driver with torque control is non-negotiable to prevent snapping those brittle zinc screws. If you are leaning into modern aesthetics, I highly recommend looking into the tensioner secret for tight cable railings; it’s a small investment that prevents that annoying winter sag. I also keep a copy of the DCA 6 guide handy for every build—it’s the gold standard for residential deck safety and ensures everything I build is up to code and beyond.
Start Building Your Backyard Legacy Today
Building a custom outdoor space is about more than just adding square footage to your home; it is about creating a sanctuary for your family that will stand the test of time. Whether you are experimenting with invisible pergola connections or laying down a high-traffic floor, focus on the hidden details that provide peace of mind. Avoid common pitfalls like over-complicating your joints—remember why mitered corners are a mistake for high traffic decks and opt for simpler, more durable transitions instead. Your future self will thank you when you’re sitting on a rock-solid deck ten years from now, enjoying the sunset instead of replacing rotted joists. Have you ever had a deck board buckle on you in the summer heat or a pergola beam start to twist? Let me know about your biggest DIY hardware headache in the comments below.