
I stood there, knee-deep in mud, clutching a receipt for five grand worth of composite boards that I now realized were the completely wrong shade. I’d spent months planning. I had my measurements. I had my ‘vision.’ But as soon as I laid those first three boards against the siding, my heart sank. It looked terrible. The color clashed with the trim, and the scale made my small yard look like a postage stamp. It was a classic rookie move. I was building based on a feeling, not a blueprint. Since that disaster, I’ve never started a project—not even a simple pergola design—without seeing it in 3D first. Today, I’m going to show you how to avoid my $5,000 headache by utilizing modern visualization tools.
Your Backyard Deserves More Than a Sketch on a Napkin
Planning a deck is a lot like buying a car; you wouldn’t just look at a tire and say, ‘Yeah, I’ll take the whole thing.’ Yet, so many of us try to guess how innovative deck design ideas for 2025 will actually sit in our unique spaces. When you move from a 2D sketch to a 3D model, the invisible problems suddenly become glaringly obvious. You might notice that your chosen railing systems block the very sunset view you bought the house for, or that the composite decking secrets you’ve been reading about won’t help if your joists are spaced too far apart in the rendering. Visualizing the structure in a three-dimensional space allows you to see the interplay between your home’s architecture and your new outdoor living area.
Is a 3D model actually worth the extra time?
I get it. You’re itching to get the permit and start digging. You might think software is for pros or that it’s just another delay in the process. But let me ask you this: have you ever had to return a pallet of heavy boards? It’s miserable. According to the American Society of Landscape Architects, using 3D visualization can reduce project change orders significantly, often saving homeowners over 10% of their total budget by catching spatial errors early. I learned this the hard way when I realized my physical layout didn’t leave enough room for my grill and a dining table. If I’d modeled it first, I would have seen that the secret to making a small deck feel massive isn’t about the boards—it’s about the flow. Have you ever started a home project only to realize halfway through that the scale was all wrong?
The Expensive Mistake I Will Never Make Twice
My biggest blunder wasn’t just the color; it was the structural reality. I didn’t see how the weight of the new custom railing systems would require different post placements to look balanced. I ended up with a slightly ‘bouncy’ section because my 2D drawing didn’t account for the span accurately in relation to my stairs. If I had used a 3D tool, I would have spotted the structural reason your deck feels bouncy before the first hole was even dug. A model lets you ‘walk’ through the space virtually. You can see how how to choose the right deck color for a white house changes as the sun moves across your yard throughout the day. It’s about confidence. When you finally click ‘order’ on those materials, you aren’t guessing. You’re executing a plan.
Measure Twice in the App to Cut Once in the Yard
Mapping your digital footprint is the first move in a successful build. Think of software as a flight simulator for your backyard; you want to crash the virtual version, not the real one. Start by capturing every fixed obstacle. I once helped a neighbor who designed a stunning wrap-around, only to realize his outdoor faucet was now buried three feet behind a structural beam. In your model, include the utility meters, the AC unit location, and even the low-hanging branches of that oak tree. When you see these elements in 3D, you can adjust your small deck layout to flow around them naturally rather than fighting the existing landscape. 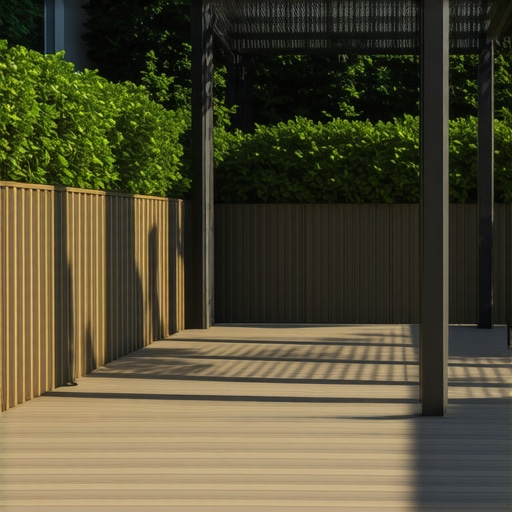
Drop in the Furniture Before You Drop the Cash
The biggest mistake people make with innovative deck design ideas for 2025 is forgetting that humans need space to move. A 12×12 deck sounds big until you realize a standard dining table takes up almost half of it. In your 3D tool, place ‘virtual’ furniture. I remember a project where I was convinced a built-in bench was the way to go until the 3D model showed me it would trap guests in a corner with no exit path. By testing different pergola design inspirations in a simulated environment, I realized I needed to shift my support posts six inches to allow for a comfortable walking path. This is where you decide if 6×6 posts look better than 4x4s for your specific scale.
Sync Your Style with the Main House
Visualizers aren’t just for structural integrity; they are your primary weapon for aesthetic harmony. Lighting changes everything. A board that looks ‘sandy’ in a showroom can look ‘hospital-beige’ against a white house in the afternoon sun. Use the software’s sun-tracking feature to see how your chosen deck color reacts throughout the day. I once had a client dead-set on black aluminum railings until we modeled them and saw how they completely disappeared against their dark wooded backdrop. We switched to stainless cable railings instead, which preserved the view they were paying for.
Catch Structural Flaws in the Digital Draft
Finally, use the 3D view to look *under* the pretty boards. This is where you spot the reasons a deck feels bouncy before you buy the lumber. If your model shows a massive span without a beam, the software will often flag that as a red zone. I use this phase to plan for longevity, ensuring I have space for flashing tape and proper ventilation. It’s much easier to add a joist in a program than it is to crawl under a finished deck three years later to fix a sagging section of composite decking. When the digital version is rock solid, the physical build becomes a simple matter of assembly.
Stop Believing the Zero Maintenance Myth
Everyone tells you that once you install composite boards, you can just throw away your sander and forget about it. In my experience, that’s the fastest way to ruin a high-end investment. While you won’t be staining every two years, calling it ‘zero maintenance’ is a dangerous trap. If you don’t use the proper cleaning methods, organic debris can still lead to surface mold. According to the North American Deck and Railing Association (NADRA), millions of decks reach a state of failure because homeowners mistake ‘low maintenance’ for ‘no maintenance.’ I’ve seen beautiful composite decking solutions lose their luster within three seasons just because the owner thought they could use a pressure washer to blast away dirt, effectively etching the protective cap and inviting deep-seated stains.
Why Does Your Composite Deck Feel Like a Trampoline?
One of the most common mistakes I see in 3D plans is sticking to the standard 16-inch joist spacing. While that works for pressure-treated wood, many low-maintenance composite decking brands are more flexible than timber. If you don’t tighten that spacing to 12 inches on center, you end up with the trampoline effect where the floor feels spongy underfoot. This is especially true if you are planning a diagonal board layout. In your 3D model, look closely at the substructure. If the rendering doesn’t account for the extra lumber needed to support the specific density of your chosen material, the real-world result will feel cheap, no matter how much you spent on the boards. 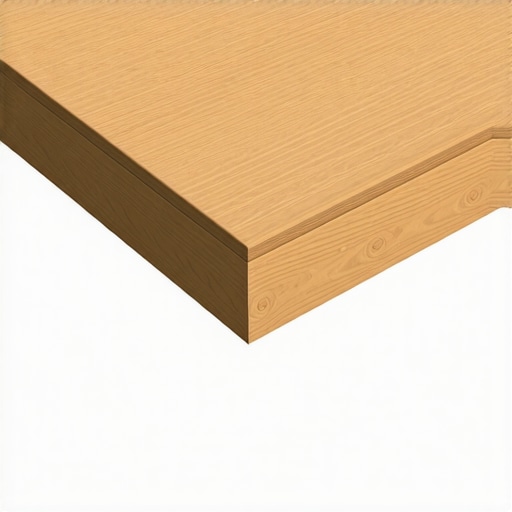
Do Hidden Fasteners Actually Make Your Deck Weaker?
This is a question I get from DIYers and seasoned pros alike. We all love the clean, screw-free look, but hidden fasteners can be a maintenance nightmare if you don’t account for thermal expansion. Unlike wood, composite grows and shrinks significantly with the temperature. If your 3D design doesn’t factor in the expansion gap rule, those beautiful boards will eventually buckle or ‘creep,’ popping the hidden clips right out of the joists. I once spent a full weekend helping a friend replace forty boards because he ignored the manufacturer’s gapping requirements in a high-sun area. If you’re building in a spot with direct exposure, you should also consider why capped polymer stays cooler than traditional wood-plastic blends.
The Heat Trap You Didn’t See Coming
Speaking of the sun, here is an ‘oops’ factor that a 2D sketch will never show you: the temperature of your hardware. We often choose railing systems based on how they look in a catalog, but black aluminum railings can become literal branding irons in July. I’ve seen parents install gorgeous dark railings only to realize their kids can’t touch them for six hours a day. Use your 3D visualizer to track shadow patterns. If your deck is south-facing, you might want to pivot to stainless cable railings or lighter colors that reflect heat. Have you ever fallen into this trap of choosing style over the actual climate of your backyard? Let me know in the comments. By the time you move from the digital model to the physical build, you should have already ‘failed’ three or four times in the software so that the final structure is flawless.I’ve spent thousands on fancy sprayers over the years, but nothing beats a simple soft-bristle brush and a bucket of warm water. When I’m finishing a build, I always use the soap slippage method for pulling composite boards tight because it ensures those gaps stay perfectly uniform as I work. If you’re looking for a precision tool, I swear by the simple tool for making sure your railing posts are plumb. It’s a specialized post level that wraps around the corner—trying to use a standard four-foot level on a 4×4 post is a recipe for a crooked railing that will haunt you every time you look out the window.
How do I keep my composite deck from looking dull over time?
The secret isn’t a high-priced chemical sealer; it’s consistency. I follow a strict semi-annual schedule where I use the vinegar and water mix that cleans composite better than chemicals to break down the pollen and dust that settle in the grain. People always ask me about power washing, but I’ve seen too many homeowners literally peel the skin off their expensive boards. This is why you should never use a pressure washer on composite; the concentrated force is simply too high for the polymer caps.  According to the technical bulletins from the AZEK Building Products engineering team, the leading cause of ‘ghosting’ or uneven fading is actually trapped moisture and debris sitting in the expansion gaps. This is where how to stop moss from growing in the gaps of your deck becomes a critical part of your long-term strategy. If you let those gaps clog, you’re basically turning your deck into a giant sponge that holds heat and moisture.
Why the Future of Outdoor Living is Modular and Tech-Heavy
Looking ahead, I see pergola trends crafting shade elegance moving toward motorized louvers and integrated weather sensors. We are moving away from static wood structures toward ‘smart’ yards that react to the environment. I’m already starting to incorporate more low-maintenance composite decking that features heat-reflective technology to solve the hot-foot problem. The goal is to build once and enjoy forever, rather than becoming a slave to your backyard chores every spring. If you really want to level up your build right now, stop what you’re doing and check your joists. Use the flashing tape move that doubles the life of your joists before you lay another board. It’s the single best way to ensure the skeleton of your deck lasts as long as the composite on top.
Hard Truths from the Muddy Trenches of Deck Building
Over the years, I’ve learned that the biggest threats to your budget aren’t usually the material costs, but the decisions made in a state of excitement. Here are the core realizations that changed how I approach every build:
- The store lighting is your enemy. Always take your composite samples home and look at them against your siding at 8 AM, 1 PM, and sunset. A color that looks warm in the showroom can turn shockingly blue in real-world shade.
- Software catches the ‘human’ errors. I used to think I could eye-ball a layout, but 3D modeling showed me that my original plan for railing systems would have blocked the view from my kitchen window entirely.
- Over-engineer the skeleton. No one ever complained that their deck felt too solid. If your 3D model suggests a certain beam size, consider going one step beefier to ensure you never deal with a bouncy floor.
- The ‘Living Room’ Test. If you wouldn’t put a sofa in a certain spot in your house because of the draft or the sun, don’t put a seating area there on your deck. Digital sun-tracking is the only way to truly map out your comfort zones.
The Gear and Guides That Save Your Sanity
You don’t need a truck full of specialized equipment, but a few specific resources make the transition from digital to physical much smoother. I personally rely on 3D visualization software like SketchUp or Home Designer for the initial ‘fail-fast’ phase. When it comes to the actual build, I never start a project without referencing the composite decking secrets longevity tips for a lasting deck to ensure my substructure is protected from the elements. For the technical assembly, I swear by the simple tool for making sure your railing posts are plumb; it’s a small investment that prevents the ‘crooked post’ syndrome that plagues so many DIY attempts. I also recommend keeping the North American Deck and Railing Association (NADRA) safety manuals bookmarked for structural peace of mind.
#IMAGE_PLACEHOLDER_E#
Turning Your Virtual Vision into Your Favorite Room
Building your own outdoor sanctuary is about more than just adding square footage; it’s about creating a backdrop for a decade of memories. Don’t let the fear of a mistake stop you from exploring innovative deck design ideas that elevate your homes curb appeal. Whether you are looking into pergola trends crafting shade elegance or a simple platform deck, the digital plan is your safety net. With a bit of patience and the right visualization tools, your backyard will soon become the most popular room in the house. Which part of the deck building process intimidates you the most—the structural framing or picking the right color palette? Let me know in the comments below!