
It was one of those perfect Saturday afternoons until I felt that sharp, unmistakable jolt under my foot. I was carrying a tray of marinated steaks out to the grill when a loose board caught the edge of my flip-flop. I didn’t go down, but my dignity—and one very expensive ribeye—did. Looking back, that board had been ‘talking’ to me for weeks with its little squeaks, but I chose to ignore it. Now, it was sticking up a good half-inch, just waiting to claim its next victim. If you’ve ever tripped over your own backyard, you know exactly how frustrating and embarrassing it is. [image]
The Stealthy Danger of the Popped-Up Board
It’s never just about the aesthetics. Sure, a deck board sticking up looks like a missing tooth in a smile, but the real issue is what’s happening underneath. When a board pops, it’s usually telling a story of moisture, heat, or a fastener that’s finally given up the ghost. I spent years thinking I could just grab a hammer and show that wood who was boss. Spoiler alert: I was wrong. I used to just hammer the old nails back in, thinking I was a genius for ‘fixing’ it in thirty seconds. Three days later? The board was right back where it started, mocking me. Whether you are dealing with classic pressure-treated lumber or wondering why your hidden fasteners are popping up in heat, the fix isn’t just brute force. It’s about understanding the tension between the wood and the joist. Today, I’m going to walk you through how to actually secure those boards so they stay flat for good. We’re going to look at the tools you actually need and the mistakes that will cost you more time in the long run.
Is Fixing One Board Really Worth the Hassle?
You might be thinking, ‘It’s just one board, I’ll just walk around it.’ I thought that too. But here’s the kicker: a popped board is often the first sign of a larger issue, like pressure-treated joists rotting faster than usual. According to the North American Deck and Railing Association (NADRA), nearly half of the 60 million decks in the U.S. are past their useful life, and loose boards are a primary safety red flag. Ignoring it doesn’t just mean more tripped guests; it can mean water getting into your joists and causing structural failure. I remember my first ‘real’ fix. I tried to use a standard interior screw because it was what I had in the junk drawer. Not only did it snap off when the wood expanded in the July sun, but it also left a nasty rust stain that I still haven’t been able to get out. It was a classic rookie move. If you want to avoid my trail of errors, you need to think about longevity. Sometimes, the best way to prevent this from happening again is to look into the joist tape secret that prevents the wood from gripping the fasteners poorly in the first place. Have you ever had a deck board pop up right in the middle of a party? Or maybe you’ve tried a ‘quick fix’ that failed miserably? Tell me about your deck disasters—I promise I’ve done worse.
Why Traditional Nailing is Your Worst Enemy
The most common reason I see for these pop-ups is people relying on the ‘good old days’ of smooth-shank nails. Wood is alive. It breathes. It expands when it’s wet and shrinks when it’s dry. A smooth nail provides zero resistance against that movement. Eventually, the board just ‘walks’ the nail right out of the hole. When I finally switched to high-quality deck screws or specialized fasteners, my life changed. No more hammers, no more stubbed toes. We’re going to dive into the exact process I use now to ensure that once a board is down, it stays down through the harshest winters and the hottest summers.
Clean Out the Gunk to Make Room for the Fix
If you want to stop that board from leaping back up, you have to treat it like a stubborn toddler—you need a firm, consistent grip. The first thing I do is clear the gap. I once spent three hours trying to force a board down, only to realize a tiny pebble and a decade of compressed oak leaves were acting like a shim between the board and the joist. I use a stiff putty knife to rake out the debris. While you’re at it, check your spacing. Using the spacer trick for consistent gaps in wood decking ensures that the board has room to breathe without pushing against its neighbor. 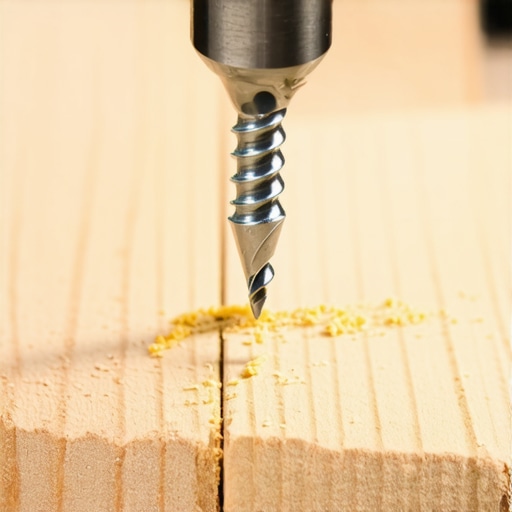
Switch to Screws with Serious Clamping Force
Next, look at the hole. If the board popped, the hole in the joist is already compromised. I learned this the hard way on a hot July afternoon when I tried to reuse the original screw hole on my front porch. I drove that screw in, it felt tight for a second, then *snap*—the wood fibers were so shredded they couldn’t hold a secret, let alone a structural fastener. This is where you need to ‘upsize.’ If the original was a #8 screw, move to a #10. The wider threads will bite into fresh wood that the old screw never touched. If the wood underneath feels soft or mushy, you aren’t going to get any grip at all. I remember a specific project where the board was fine, but the joist had the consistency of a wet sponge. In that case, you have to learn how to fix spongy deck boards without replacing the joist, which usually involves sistering a new piece of pressure-treated lumber alongside the old one. This gives your new screws a solid anchor that isn’t going anywhere.
Predrill Every Single Time Without Exception
Predrilling is my non-negotiable rule. I used to think it was a waste of time until I split a forty-dollar piece of Ipe right down the middle because I was in a rush. Now, I use a countersink bit that matches my screw head. This allows the screw to sit slightly below the surface, which is crucial if you’re dealing with materials that move a lot. For example, if you’re working with synthetics, understanding why your composite decking is expanding more than the manual says is often down to heat, and a countersunk screw gives the board just enough wiggle room to expand without shearing the head off.
Create a New Landing Zone with Blocking
Finally, if the board is stubborn, I add a ‘blocking’ piece between the joists. It is a simple 2×4 scrap screwed horizontally between the joists right under the popped board. It creates a massive new landing zone for your fasteners. It is the simple blocking move that stops your deck from shaking when you walk and it doubles the surface area your board is biting into. This is especially helpful near the ledger board, where you also need to keep the 2-inch gap rule for preventing rot behind your deck ledger in mind to keep the whole structure healthy and dry.Blocking is a great mechanical fix, but let’s go deeper into the design philosophy that prevents these issues from the start. I’ve seen countless DIYers fall for the idea that premium materials solve every problem. It is a common misconception that choosing composite means you can ignore the physics of your frame. In my experience, if you do not account for why your composite decking is expanding more than the manual says, the most expensive boards on the market will still buckle or shear their screws. According to research from the Forest Products Laboratory, the pressure exerted by wood fibers as they absorb moisture can exceed 500 PSI, which is more than enough to pull a standard nail straight out of a joist.
Stop Falling for the Maintenance-Free Marketing Trap
Everyone says composite is ‘set it and forget it,’ but that is only true if you understand composite decking secrets regarding airflow and joist protection. Without proper ventilation, heat builds up under the boards, causing them to crown and pop their fasteners. Unlike traditional wood, some high-end synthetics move up to 1/32 of an inch per linear foot for every 50-degree temperature change. If your deck is fifty feet long, that is over an inch of total movement trying to rip your fasteners out of the wood.
The Hidden Danger of Pretty Mitered Corners
We all love the look of a picture-frame border with perfect 45-degree angles. However, understanding why mitered corners are a mistake for many high-traffic or high-sun decks becomes clear after just one season. Those gaps will inevitably open up, creating trip hazards and traps for organic debris that rots the frame below. If you are determined to have that look, you need to use the PVC glue trick for gap-free composite miters to chemically weld those joints together.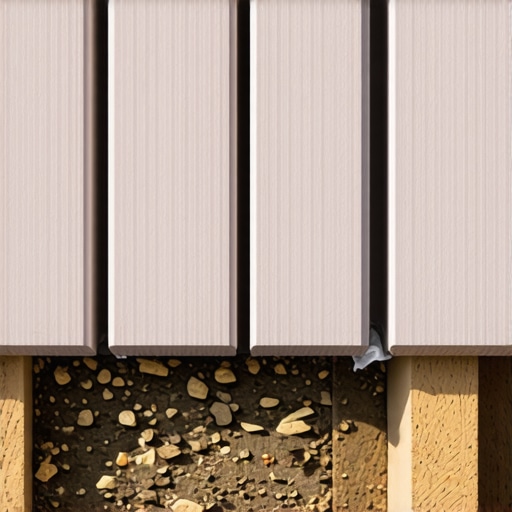
Why do your boards keep shifting despite using the right screws?
This is the question that haunts most advanced builders and home-improvers. Usually, the answer lies in the moisture content of your subframe. If you are building on ‘wet’ pressure-treated lumber from a big-box store, that wood is going to shrink significantly as it dries, leaving your ‘tight’ screws suddenly loose. This is why I always recommend the joist tape secret to create a gasket-like seal that keeps the screw holes from enlarging over time. Have you ever fallen into the maintenance-free trap only to find yourself out there with a drill every spring? Let me know in the comments—I would love to hear how you handled it.
Why a High-Torque Impact Driver is My Best Friend
I used to think my standard cordless drill was all I needed for deck repairs until I spent a grueling afternoon trying to back out three dozen rusted screws from a warping frame. My wrist was shot, and half the screw heads were stripped. Now, I never step onto a job site without a high-torque impact driver. Unlike a drill, which uses constant rotational force, the impact driver uses a ‘hammer and anvil’ mechanism that delivers thousands of tiny bursts of power. This is essential for driving long screws into dense pressure-treated joists without snapping the heads off. If you’re working in colder climates, where metal becomes brittle, using the right tool prevents deck screws from snapping in cold weather. I personally recommend using a T-25 star drive bit; the six points of contact make it nearly impossible to strip, even when you’re applying maximum downward pressure to seat a stubborn board.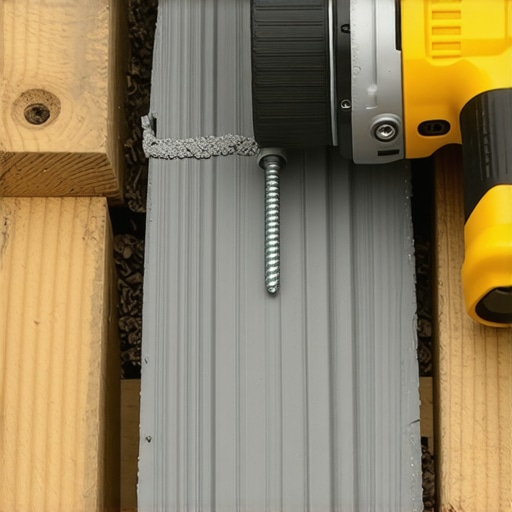
Don’t Let Your Wood Rot From the Inside Out
Even the most expensive composite boards are only as good as the skeleton supporting them. People often ask me if they really need to worry about the frame if they choose synthetic decking. The answer is a resounding yes. If you want to avoid the heartbreak of your structure failing while the surface still looks perfect, you need to master the flash and tape method for protecting deck joists. This creates a moisture barrier that prevents water from sitting in the screw holes. The American Wood Council’s NDS (National Design Specification) for Wood Construction notes that fastener withdrawal capacity—the strength that keeps your boards from popping—is drastically reduced when the wood fibers around the fastener become saturated and soft. By sealing those joists, you’re ensuring that the ‘bite’ of your screws stays permanent. For wood decks, I always use the simple spray test to see if your wood deck needs sealing. If the water doesn’t bead up, you’re looking at a weekend of staining.
How do I keep my deck looking brand new year after year?
Maintenance is less about hard labor and more about consistency. Every spring, I do a walk-through specifically looking at the hardware. I check to see why your railing balusters are rattling or if there’s any movement in the stairs. If things feel loose, it’s usually because of the expansion and contraction cycles I mentioned earlier. For those of you with composite, keep an eye on the gaps. If you notice things shifting, it might be time to look into low-maintenance composite decking solutions that use improved clipping systems to manage thermal movement better than the older generations did.
What to Expect from the Next Decade of Decking
Looking ahead, I see the industry moving toward ‘smart’ integration and even more durable hybrids. We are already seeing composite decking trends that focus on heat-reflection technology, making dark boards comfortable even in the peak of summer. I predict that within five years, integrated diagnostic sensors—hidden in the joists to alert you to moisture levels—will become standard for high-end builds. For now, the best way to scale your outdoor living experience is to focus on the small details. I challenge you to grab a roll of joist tape and a box of star-drive screws this weekend. Fix that one board that’s been bothering you; I promise the satisfaction of a perfectly flat deck is worth the effort.
What Experts Won’t Tell You About Why Boards Keep Popping
After years of fixing my own mistakes and helping neighbors with theirs, I’ve realized that a popped board is rarely just about a single loose screw. Here are the lightbulb moments that changed how I approach maintenance:
- The Wet Wood Reality: Most pressure-treated lumber from big-box stores is incredibly wet when purchased. As it dries in your backyard, it shrinks and twists with enough force to snap low-grade hardware. I’ve learned to let wood acclimate or use the joist tape secret to ensure the connection stays tight even when the wood moves.
- Heat is a Powerful Enemy: If you use synthetics, you must realize why your hidden fasteners are popping up in heat—it is often because they do not allow for the expansion that occurs in direct sunlight.
- Prevention Over Repairs: It is much easier to spend an extra hour during the build than ten hours over the next decade chasing loose ends. Looking into composite decking secrets early on can save your lower back a lot of grief.
The Gear That Actually Saved My Sanity
I don’t believe in buying every gadget at the hardware store, but these items changed my maintenance workflow forever:
- T-25 Star Drive Screws: I have officially banned Phillips heads from my deck repairs. The grip is superior and almost completely prevents stripping.
- Butyl Joist Tape: If you want to avoid pressure-treated joists rotting faster than usual, this is your best friend. It seals the screw hole like a gasket.
- High-Torque Impact Driver: A standard drill works, but an impact driver handles the torque required for dense framing without the wrist-breaking kickback.
- Deck Board Straightener: For those stubborn, warped boards that refuse to sit flat, a dedicated bender tool is worth its weight in gold.
Turning Your Deck Back Into a Sanctuary
Fixing those stubborn deck boards isn’t just about avoiding a trip hazard; it is about taking pride in your outdoor living space again. Whether you are dealing with traditional wood or following the latest composite decking trends, the key is to stop ignoring the small squeaks before they become big structural failures. You do not need a professional crew to have a rock-solid surface—just the right fasteners and a little bit of patience. If you ever feel overwhelmed by a structural issue, do not hesitate to reach out to the pros through our contact page for guidance. Your backyard should be a place for relaxation, not a source of stress. Have you ever discovered a nasty surprise, like rot or pests, hiding under a loose board? Tell me about your deck repair wins and losses in the comments below!