
I stood there with my morning coffee, the sun hitting my backyard at just the right angle, and my heart sank. My expensive, supposedly ‘bulletproof’ deck looked like a series of small, wooden waves. Instead of a flat surface, every board was humped up in the middle—a classic case of crowning. It felt like a punch to the gut. I had spent thousands on these materials, believing the marketing hype that composite was ‘set it and forget it.’ I quickly realized that even the best materials can’t save you from physics. If you are seeing those annoying ridges under your feet right now, I know exactly how frustrating it is. You are likely wondering if you have to rip the whole thing out and start over. I have been in those muddy work boots, and I am here to tell you that we can probably save it.
Why Your Smooth Boards Just Turned Into Mini-Ramps
The first time I saw this happen, I blamed the manufacturer. I was convinced I had a bad batch. But after talking to a few old-timers and diving into the composite decking secrets for longevity, I realized the mistake was mine. Crowning usually happens because the bottom of the board is absorbing moisture or reacting to heat differently than the top. When I built my first big project, I completely ignored the humidity levels of the pressure-treated frame underneath. I didn’t use any protection for the wood, and as those joists stayed damp, they forced the composite to react. This is often why hidden fasteners fail on wide profile boards—they simply cannot hold back the raw force of a board that wants to curl. It is a battle of tension and compression that the board is currently winning.
Is my deck actually ruined forever?
This is the fear that keeps us up at night, right? You see a structural anomaly and assume the warranty is void and the equity in your home is plummeting. According to the North American Deck and Railing Association (NADRA), most decking issues stem from improper installation or moisture management rather than material failure itself. The good news is that crowning is often a symptom of something we can adjust. Whether it is improving the airflow underneath or learning how to fix the bounce and movement in your frame, there are steps to take before you call the demolition crew. I remember thinking I’d have to replace thirty boards, but after I addressed the ventilation and used the joist tape secret on my next repair, things settled down beautifully. Have you noticed your boards starting to lift at the edges or hump in the center after a heavy rain? Tell me about it in the comments, because you are definitely not alone in this struggle.
Give Your Deck a Chance to Breathe
The most common reason for a crowning board is that it’s essentially suffocating. Think of your composite deck like a high-performance athletic shirt; it needs to wick moisture and let air pass through, or things get swampy. If your deck is built too low to the ground with closed-off sides, the underside of the boards stays perpetually damp while the top bakes in the sun. This temperature and moisture differential is the engine behind that hump. When I worked on a lakefront property last year, the homeowner’s low-profile deck looked like a topographical map. We didn’t rip it out. Instead, we used the rubber spacer trick for better airflow under joists. By creating a tiny 1/16th-inch gap between the board and the wood frame, we allowed air to circulate under the composite, equalizing the moisture levels and letting the boards relax back into a flat state over a few weeks.
Stop the Moisture Creep From Below
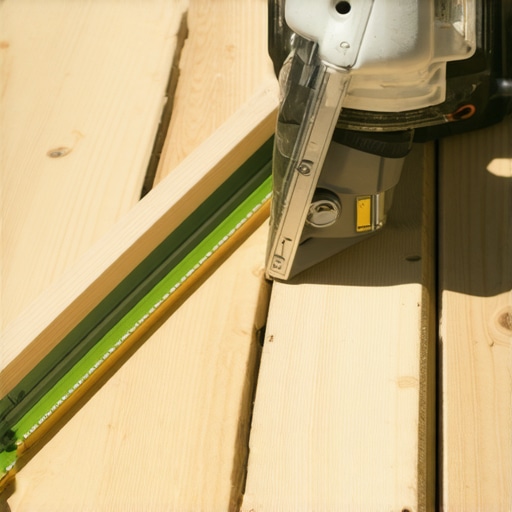
If your boards are already crowning, check the health of your joists. Pressure-treated wood is notorious for holding onto water, and that dampness transfers directly into the core of your composite. I’ve seen many DIYers assume that because they used tape, they are safe, but it’s important to understand why pressure treated wood still rots under joist tape if the application isn’t perfect. If the wood is swelling, it’s physically pushing the center of the board upward. In one particularly messy rescue mission, I had to back out the fasteners and apply a fresh layer of flashing. It was tedious, but it stopped the vertical expansion of the frame that was forcing the ‘crown’ to appear. This is especially critical if you are dealing with darker materials, as why black composite decking burns your feet is often a sign of high heat absorption that accelerates this warping process.
Reset the Surface with a String Line
Before you blame the boards, you have to ensure the foundation isn’t the real villain. Sometimes the boards aren’t crowning at all; rather, the joists have bowed upward. I always use the string line trick for leveling deck joists to see where the high spots are. If you find a joist that has ‘crowned’ upward, you can often plane it down or sister a new, straight board next to it to provide a level landing for your composite. This is much cheaper than buying new decking. I remember a project where we thought we had defective boards, but after running a string line, we realized three joists in the middle were nearly half an inch higher than the rest. A quick pass with a power planer saved the client three thousand dollars in material costs.
Switch to Surface Fasteners for Stubborn Boards
If you used hidden clips and your boards are still humping up, it’s time to get aggressive. Hidden fasteners are great for aesthetics, but they lack the ‘clamping force’ of a screw driven straight through the face of the board. When a board wants to move, those little plastic clips are like trying to hold back a freight train with a piece of twine. On boards that refused to lay flat, I’ve successfully used the jig for consistent deck screw depth to drive color-matched screws through the crown and directly into the joist. This forces the board to conform to the flat plane of the frame. While it breaks the ‘no-screw’ look, a flat deck with a few visible heads is always better than a wavy deck that’s a trip hazard. If you happen to scuff the board during this process, don’t panic—you can learn how to fix scuffs on dark composite boards with a heat gun to make the repair invisible.
Why Your Brand New Frame Is Actually Your Deck’s Worst Enemy
There is a massive misconception in the DIY world—and even among some pros—that a composite deck is an island. You think once those boards are down, you’re safe for 25 years. But here is the truth: your composite boards are only as stable as the wet, shrinking, twisting lumber underneath them. In my experience, why your pressure-treated frame is pulling your composite apart is the number one reason high-end decks fail prematurely. While the composite stays relatively stable, the pressure-treated joists are constantly losing moisture and ‘checking’ or splitting. This movement creates a tug-of-war that can snap hidden fasteners or cause that dreaded crowning we talked about. Have you ever noticed your gaps getting wider in the winter? That’s not just the composite shrinking; it’s the frame doing a slow-motion dance beneath your feet.
Why Does My Deck Feel Spongy Even With Tight Joist Spacing?
If you followed the 16-inch on-center rule and your deck still feels like a trampoline, you’ve likely hit the ‘thermal expansion’ wall. Advanced research from organizations like the North American Deck and Railing Association (NADRA) highlights that composite materials expand linearly much more than wood. If you didn’t leave enough room at the ends, the boards have nowhere to go but up or out, creating a slight vertical arch that feels soft when you walk on it. I often see people forget to perform a structural vulnerability assessment for checking deck joist rot because they assume ‘new’ means ‘perfect.’ In reality, if your boards are tight against the siding, they are under massive internal pressure. You need to understand how to stop composite deck boards from expanding into your siding before the force actually buckles the rim joist.
The Ledger Gap Error That Rots Houses From Within
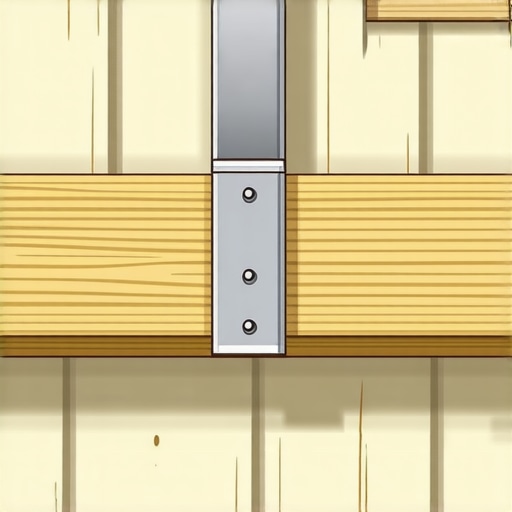
The most dangerous advanced mistake involves the ledger board installation. Everyone talks about the bolts, but almost no one talks about the drainage gap. If you bolt your deck tight to your house without a small space for water to escape, you’re inviting a catastrophic failure. I’ve seen million-dollar homes with rotting kitchens because the ledger gap fix that prevents house siding rot was ignored during the glamour phase of the build. It’s these hidden nuances that separate a weekend warrior from a master builder. When looking at composite decking trends for modern outdoor living, do not just look at the colors; look at the drainage systems. Have you ever fallen into this trap of prioritizing looks over the invisible structural gaps? Let me know in the comments, because catching this early can save you twenty thousand dollars in home repairs.
It’s one thing to build a deck; it’s another thing entirely to keep it from fighting you every time the seasons change. I’ve found that the difference between a project that lasts five years and one that lasts thirty comes down to the gear you trust when the boards start behaving badly. I never step onto a job site without my favorite high-torque drill and the jig I use for consistent deck screw depth. This isn’t just for the clean aesthetics of perfectly aligned fasteners. By ensuring every screw is driven to the exact same depth, you create uniform tension across the entire surface, which actively fights the crowning and warping I mentioned earlier. I also lean heavily on the 3-4-5 triangle move to make sure my frame is perfectly square before the first board ever touches the joists. If your frame is even a quarter-inch out of square, those composite boards will highlight every flaw as you work your way across the layout.
The Gear That Keeps My Decks From Moving
As noted in the USDA Forest Products Laboratory’s Wood Handbook, the dimensional stability of your framing is the single most important factor in the longevity of any exterior wood-plastic composite assembly. This is why I have become so obsessed with prep work and structural alignment. When I’m setting up structures that need to survive high winds or heavy snow loads, I always use the level and laser method for my pergola posts. It’s the only way to be 100% sure your shade structure won’t eventually settle and pull on your deck frame, creating those dreaded humps in the flooring.  Looking ahead, I predict we are going to see ‘smart’ deck systems hitting the market within the next few years—think integrated moisture sensors embedded in the joists that ping your phone if the frame stays damp for too long. We are already seeing a massive shift toward modularity in pergola trends where shade structures are now bolted to steel brackets rather than buried in the dirt. This change is a game-changer for maintenance because it allows you to replace a single post without tearing up the whole deck footprint.
How do I keep my deck looking brand new for twenty years?
Maintenance isn’t about expensive chemicals or grueling labor. In fact, most people ruin their decks by doing too much. I constantly see homeowners blasting their expensive boards with high pressure, but you need to know why you should never use a power washer on modern composite. It opens up the micro-pores of the material and lets mold take root deep within the core. Instead, I stick to the vinegar and water mix that cleans better than anything I’ve ever bought at a big-box store. It’s gentle, cheap, and it won’t kill your lawn or garden. Combine that with the composite decking secrets for longevity, and you’ll actually spend your weekends relaxing on your deck rather than fixing it. I want you to try this: go grab a simple gallon of white vinegar this weekend and do a test patch on a high-traffic area. You will be shocked at how much dirt it lifts without damaging the finish of your boards.
The Mistakes That Taught Me More Than Success
Building decks for twenty years has taught me that the most expensive materials are often the most sensitive to poor installation. I’ve learned that a board crowning is rarely a manufacturing defect; it is usually a cry for help from the framing below. One of the biggest lightbulb moments for me was realizing that your deck is a breathing system. If you trap moisture under those boards, physics will win every time. I also discovered that skipping the prep work, like failing to use the 3-4-5 triangle move to square the frame, creates a cumulative error that makes warping look much worse than it actually is. It is much easier to spend an extra hour on the frame than three days trying to flatten a finished surface.
The Gear I Pack for Every Deck Rescue
When a client calls me because their maintenance-free deck looks like a mountain range, I do not bring a sledgehammer—I bring precision tools. My first recommendation for any DIYer is the jig I use for consistent deck screw depth; it is the only way to ensure the clamping force is uniform across the entire surface. I also rely on high-torque impact drivers and a reliable string line to find high spots on the joists. For long-term care, I have moved away from harsh industrial cleaners. I have found that the vinegar and water mix is the most effective way to keep boards clean without compromising the protective cap. If you want to stay ahead of the curve, keep an eye on composite decking trends which are shifting toward steel framing to eliminate these wood-related warping issues once and for all.
#IMAGE_PLACEHOLDER_E#
Step Out Onto a Surface You Can Trust
You did not build a deck to spend your weekends worrying about every slight curve or hump. You built it for the barbecues, the quiet mornings, and the value it adds to your home. By applying these structural fixes and focusing on airflow, you can turn a frustrating situation into a success story. High-quality innovative deck design ideas are only as good as the maintenance and structural integrity behind them. Do not let a few wavy boards discourage you; with the right tools and a bit of patience, you can restore that flat, beautiful surface you fell in love with on day one. Your composite decking has a long life ahead of it if you just give it the support it needs. Have you ever noticed your boards moving more during a specific season, or did a specific tool finally solve your warping issues? Let me know in the comments below!