
I stood there with sweat dripping off my chin, staring at my brand-new composite masterpiece. It featured clean lines and deep walnut tones. Then, my eyes drifted to the $30 white plastic baby gate I’d zip-tied to the railing to keep my Lab from chasing the mailman. It looked like a crime scene. I had spent thousands on stunning deck design strategies only to crown them with a piece of junk that rattled in the breeze. My ‘lightbulb moment’ wasn’t a flash of genius; it was a realization of total aesthetic failure. I knew there had to be a way to keep my pup safe without making my backyard look like a temporary daycare center. [image placeholder]
Stop Settling for Those Plastic Pressure Gates
We treat our decks like outdoor living rooms. We agonize over the latest composite decking trends and pick the perfect lighting, yet when it comes to dog safety, we often punt. Today, I’m going to show you how to build or install a gate that disappears into your architecture. No more zip ties. No more mismatched colors. We are going to integrate a solution that feels like a deliberate part of your railing system. We’ll even look at the best materials to handle dog claws so your new gate stays scratch-free.
Will a custom gate just make the deck look cluttered?
This is the biggest fear I hear from neighbors. They worry a gate will break the visual flow of their perimeter. I used to think the same thing until I realized the secret is in the materials. My first mistake years ago was trying to use a pre-made gate that was ‘close enough’ in color. It wasn’t. It stood out like a sore thumb because the textures didn’t match. When you match the balusters and the top rail exactly, the gate becomes an invisible barrier. If you’re worried about hardware, you aren’t alone. I once used cheap, interior-grade hinges that rusted within a month, leaving ugly orange streaks on my wood. Now, I always recommend using the right hardware for a rock-solid finish to prevent sagging. Actually, well-integrated outdoor structures are more than just pretty; they are valuable. According to the National Association of Realtors, high-quality outdoor improvements significantly boost home appeal, but disjointed DIY ‘hacks’ can actually detract from that perceived value. Before we dive into the dimensions, have you ever had to explain to guests why they have to climb over a literal hurdle just to get to the grill? Tell me I’m not the only one who has struggled with this!
Build a Gate That Doesn’t Look Like an Afterthought
To get that professional finish, you need to treat your gate frame like a mini-section of your existing railing. I learned this the hard way during a summer project where I rushed the framing and ended up with a trapezoid that wouldn’t latch. Now, I always use the 3-4-5 rule for squaring your deck frame every time, even for a small 36-inch gate. If your frame isn’t perfectly square, your hinges will bind and your dog will eventually push right through it. Think of the frame as the skeleton; if the bones are crooked, the suit won’t fit. You want to use the exact same material for the top rail of the gate as you have on the rest of the deck. If you are following composite decking trends, you likely have a robust top rail that can double as a ‘cocktail rail.’ replicating this on the gate ensures that when it’s closed, the visual line of the deck remains unbroken. 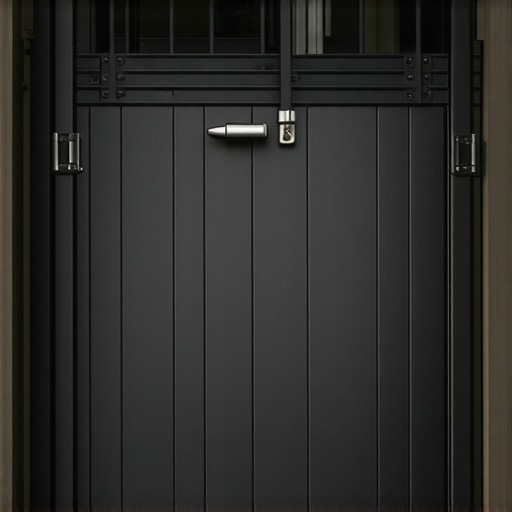
Mirror Your Baluster Spacing for a Pro Finish
The biggest ‘tell’ of a DIY gate is inconsistent baluster spacing. If your deck has four-inch gaps, your gate must have four-inch gaps. I once helped a buddy who had spaced his gate balusters ‘by eye.’ From the street, the gate looked like a dark blotch because the tighter spacing blocked more light than the rest of the railing. When you select the perfect railing system for a gate, you are essentially buying extra components to cut down to size. Use a template block to ensure every baluster is perfectly vertical and spaced identical to the permanent sections. This is also the time to consider durability. Dogs love to scratch at the gate when they hear a squirrel. I always recommend checking the best materials to handle dog claws before committing to a specific composite brand for your gate face.
Pick Hardware That Fights Off Rust and Gravity
Gravity is the enemy of any gate. Over time, a composite gate can be heavy, leading to the dreaded ‘gate drag’ where the bottom corner scrapes your deck boards. To prevent this, don’t rely on standard gate hinges. Use the right hardware for a rock-solid finish to reinforce the corners of your gate frame. I remember installing a beautiful cedar-tone gate only to have it sag two inches within a month because I used flimsy utility hinges. Now, I only use heavy-duty stainless steel or powder-coated aluminum hinges that are rated for twice the gate’s weight. If you’re working on a landing that isn’t perfectly level, use the shim trick for leveling a railing on a sloped deck to ensure your gate swing remains clear of the floor throughout its entire arc. A gate that catches on a stray screw head is a gate that eventually breaks its own hinges.
Skip the Miters If You Value a Flush Look
We’ve all been told that a 45-degree mitered corner is the hallmark of a master carpenter. On interior trim, that’s true. But out in the sun? It’s a trap. I’ve seen homeowners drop five figures on composite decking trends only to watch their beautiful corners turn into gaping maws within a single season. Composite materials expand and contract along their length significantly more than wood. When those miters pull apart, they leave sharp, jagged edges that are a nightmare for bare feet and dog paws. In my experience, why mitered corners are a mistake for high traffic decks becomes painfully obvious when you’re trying to sand down a plastic burr. Instead, I advocate for the ‘picture-frame’ border. It’s a more sophisticated look that handles movement gracefully. By using the double joist trick for perfectly flush picture frame borders, you create a solid perimeter that locks everything in place without the risk of seasonal separation. 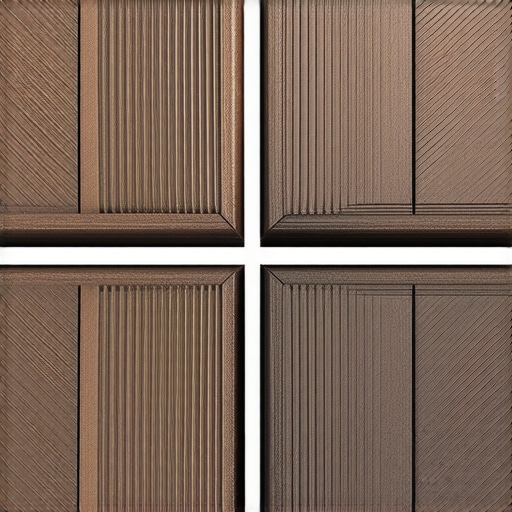
Why Your Composite Boards Might Be ‘Growing’ Faster Than You Think
One nuance beginners miss is the ‘thermal memory’ of the boards. You might follow the manual to a T, yet still find your boards buckling by July. This happens because most people install their decking at the wrong time of day. If you lay your boards in the heat of the afternoon, they are at their maximum expansion. When they cool at night, they’ll pull away from your fasteners. According to studies by the Building Science Corporation, Wood-Plastic Composites (WPCs) can experience a temperature swing of over 60 degrees in a single day, leading to measurable linear movement. To combat this, you need to master the expansion gap rule that stops boards from buckling. It’s not just about the gap; it’s about the ambient temperature during the install.
How do I account for the specific thermal movement in my region?
This is where the pros separate themselves from the weekend warriors. If you live in a climate with extreme temperature swings, you can’t just guess. I always tell people to check why your composite decking is expanding more than the manual says before they drive the first screw. You also need to protect the ‘skeleton’ of your deck. While the top is composite, the frame is usually pressure-treated wood. I’ve started using the joist tape secret for doubling your decks lifespan on every project. It prevents the wood from rotting underneath those expensive boards, ensuring your gate and railing stays level for decades, not just years. Have you ever finished a project only to have it shift on you six months later? It’s a frustrating ‘oops’ factor that most people don’t talk about. Have you ever fallen into this trap? Let me know in the comments. If you’re feeling overwhelmed by the technical math of joist loads and expansion rates, don’t hesitate to contact us for a professional perspective. For more tips on keeping your investment pristine, check out our composite decking secrets and longevity tips.Building the thing is only half the battle. If you want that gate to stay square and your boards to remain flat, you need to own the right equipment. I don’t mess around with standard wood blades when cutting composite materials. I always use a Diablo D1072CD or a dedicated composite blade with a high tooth count to prevent the edges from melting or ‘mushrooming’ during the cut. It’s those tiny details—like using a sacrificial board underneath your cut—that prevent the underside of your new composite decking trends from chipping.
How do I maintain composite decking without ruining the finish?
Maintenance isn’t about hard scrubbing; it’s about the right chemistry. Most people reach for the high-pressure washer, but that’s the fastest way to etch the surface of your expensive boards permanently. According to the North American Decking and Railing Association (NADRA), over 40 million decks in the US are past their useful life, often due to aggressive cleaning or neglected substructures. I stick to a soft-bristle brush and a pH-neutral cleaner. And for heaven’s sake, why you should never use bleach on your composite deck is the first lesson I teach my apprentices—it eats the UV inhibitors and turns your walnut-toned dream into a chalky mess. 
Keep Your Gate Swinging Smooth for the Next Decade
Once your gate is hung, the real work starts with seasonal check-ups. Every spring, I do a walk-through using the 15-minute deck inspection every homeowner should do. I check the tension on the hinges and the gap between the latch. If you notice even a slight tilt, don’t wait for it to drag. Use a dedicated T25 star-bit driver to snug up the hardware. Unlike Phillips heads, star bits won’t strip when you’re torquing down on a structural screw. If your framing was protected with the joist tape secret for doubling your decks lifespan, you won’t have to worry about the wood rot that usually causes hardware to pull out and sag.
Smart Tech and the Future of the Modern Deck
I’m starting to see a massive shift toward ‘active’ outdoor spaces. We aren’t just talking about boards and nails anymore. The next big wave involves integrated smart sensors that can detect moisture levels in the substructure or automated pergola trends that close louvers the moment it starts to rain. We’re moving toward decks that think for themselves. If you’re building today, plan for the future. Even if you don’t install tech now, run an extra conduit through your railing systems for low-voltage wiring later. I highly recommend you try the 2-degree slope trick for proper deck water runoff on your next project—it’s the single best way to ensure standing water never becomes a long-term rot issue. For more specific advice on keeping your space pristine, check out our composite decking secrets and longevity tips.
Hard Truths from My Years in the Backyard
After years of building and repairing, I’ve realized that the small things often cause the biggest headaches. One ‘lightbulb moment’ occurred when I realized that standard hardware just doesn’t cut it in high-traffic zones where pets are involved. I’ve seen too many DIYers ignore why your deck screws are snapping in cold weather, only to have their gate latches fly off during a freeze. Always pre-drill your holes in composite, especially near the ends of boards where the material is most prone to splitting. Integrating stunning deck design strategies means the gate shouldn’t look like an add-on; it should be a seamless continuation of your work. If the post holding your gate isn’t rock solid, the gate will never stay level. I always keep the $20 bracket that fixes wobbly railing posts fast in my truck because even a millimeter of play at the post translates to a sagging gate within a month.
[image placeholder]
The Shortlist of Gear That Actually Works
You don’t need a massive workshop to get professional results, but you do need tools that respect the material. I swear by Diablo’s composite blades because they keep the heat down and prevent the plastic from melting into a burr during the cut. I also recommend following the NADRA safety guidelines; their 15-minute deck inspection every homeowner should do is the gold standard for spotting trouble before it becomes a hazard. Finally, for the hardware, look for 316-grade stainless steel to ensure your gate remains rust-free regardless of the humidity or coastal salt air.
Your Next Step Toward a Safer Deck
Building a custom gate isn’t just about containment; it’s about completing the vision you had when you first started planning your space. By integrating the gate into your existing railing systems, you maintain the architectural integrity of your home while keeping your four-legged family members safe. Don’t be afraid to take your time with the measurements—a well-built gate is a testament to your craftsmanship. For more ways to keep your outdoor area in top shape, dive into our composite decking secrets and longevity tips. Have you ever struggled with a gate that just won’t stay level? Let me know below.