
I remember standing on my neighbor’s brand-new deck last summer, cold drink in hand, ready to celebrate his DIY victory. From ten feet away, it looked like a masterpiece—sleek, modern, and perfectly gray. But as I stepped onto the first stair, I saw it. That ugly, porous, ‘hollow’ plastic core of the cut boards was staring back at me like a half-finished Lego set. It was a classic mistake. I’ve been there myself, honestly. On my very first build, I thought I could just slap some exterior paint on the cut ends and call it a day. Spoiler alert: PVC decking doesn’t hold paint well, and by the end of a humid August, my deck looked like it was suffering from a bad case of sunburned skin. We invest so much in durable solutions for modern outdoor living, yet we often overlook the one detail that separates a ‘homeowner special’ from a pro-level build. Today, I’m going to show you exactly how to hide those chalky, raw edges so your deck finally looks as expensive as it actually was.
Stop Letting Raw Edges Ruin Your Curb Appeal
The reality of PVC decking is that while the top ‘cap’ looks like beautiful timber, the inside is a different story. It’s a structural necessity, but an aesthetic nightmare. If you leave those ends exposed, you’re not just dealing with a visual eyesore; you’re missing out on the polished finish that defines innovative deck design. When I messed up my first project, I realized that the secret wasn’t in hiding the ends with furniture, but in using the right trim techniques from the start. Whether you are using fascia boards or mastering the PVC glue trick for gap-free composite miters, the goal is a seamless transition. According to the North American Deck and Railing Association (NADRA), aesthetic finishing is one of the top factors in deck appraisal values, often providing a significant return on investment compared to unfinished projects. Have you ever finished a project only to have one small detail drive you crazy every time you look at it? I’d love to know if you’ve faced the ‘hollow core’ struggle too.
Wait, is all this extra trim work really worth the effort?
Some folks argue that since PVC is essentially waterproof, leaving the ends raw won’t hurt the structural integrity. While that’s technically true, skipping the finish is like wearing a tuxedo with flip-flops. It just doesn’t sit right. Beyond the looks, properly finished ends prevent debris and small insects from finding a home in the corrugated channels of certain board brands. If you are following composite decking secrets for longevity, you know that keeping the installation clean is half the battle. We’re going to dive into the specific methods—like ‘picture framing’ and end-capping—that I’ve used to turn basic platforms into high-end retreats without spending a fortune on specialized tools.To get that professional finish, the first thing you need to master is the ‘Picture Frame.’ This technique involves installing a border board around the entire perimeter of your deck, running perpendicular to your main field boards. Think of it like a frame on a high-end painting; it creates a finished edge that hides the ‘raw’ cut ends of your inner boards. When I first started, I thought I could skip this step to save on materials. I remember finishing a beautiful dark walnut deck, only to realize the cut ends looked like gray, porous sponges once the sun hit them. It totally killed the vibe of the low-maintenance composite decking I’d promised the client. Since then, I never build without a perimeter board.
Frame the Perimeter to Hide the Core
Installing a picture frame isn’t just about throwing a board on the edge. You have to plan your framing for it from day one. Most people forget that the outer board needs structural support underneath its entire width. If you don’t have a surface to screw into, that board will eventually sag or warp, creating a trip hazard. This is why I always use the double rim joist secret for rock-solid deck edges. By adding an extra 2×8 or 2×10 to the outside of your frame, you create a wide enough ‘landing pad’ for both the picture frame board and the ends of your field boards. It’s a small investment in lumber that prevents a massive headache and ensures your innovative deck design stays structurally sound.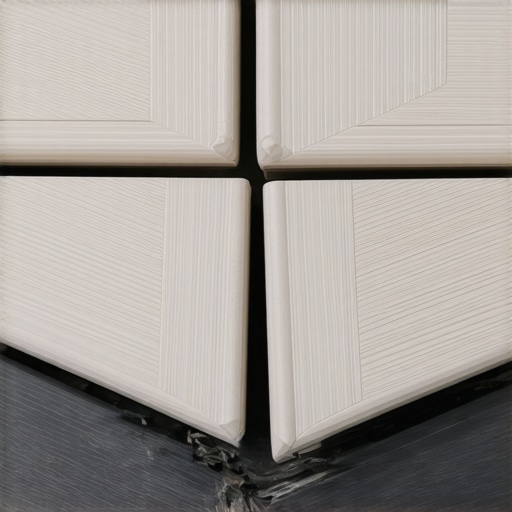
Don’t Ignore the Expansion Gap
One of the biggest mistakes I see in DIY builds is tight miters. We all want that ‘furniture grade’ look, but PVC is a living, breathing material when it comes to temperature changes. If you butt your boards tight in the heat of July, they will pull apart and leave a massive gap in January. Conversely, if you jam them together in the winter, they’ll buckle when the sun hits them. I once had a project where I ignored the expansion gap rule that stops boards from buckling. By mid-summer, the boards had expanded so much they actually popped the hidden fasteners right out of the joists. It sounded like a popcorn machine on my client’s patio. Now, I always use a spacer or a temperature-aware gap guide to ensure the boards have room to move without ruining the secret to making composite decking look like real wood.
Master the Miter with a Chemical Bond
When you are joining those picture frame corners, screws alone aren’t enough to keep things looking sharp over the years. Because PVC decking is essentially a high-tech plastic, you can use science to your advantage. I always use the PVC glue trick for gap-free composite miters. By using a specialized PVC cement on the mitered joints, you are essentially welding the two boards into one solid piece. I remember a particularly tricky wrap-around stair project where the miters kept opening up because of the slight vibrations of the house. Once I switched to a combination of glue and structural screws, those joints stayed tighter than a drum. It’s the difference between a deck that looks good for a month and one that stays pristine for a decade.Now, let’s address the elephant in the backyard: the ‘set it and forget it’ myth. Most homeowners—and even some contractors—believe that because they’ve spent a premium on PVC or composite, the deck is invincible. In my experience, this mindset is exactly what leads to structural failure ten years down the line. We focus so much on the surface that we ignore the skeleton. While the boards might last fifty years, the pressure-treated lumber underneath is still susceptible to the elements. You’ve likely heard that composite is zero-maintenance, but that’s a dangerous half-truth. If you aren’t considering why pressure treated wood still needs maintenance under composite, you’re essentially building a luxury house on a crumbling foundation. One of the biggest ‘oops’ factors I see involves the very thing people love most: hidden fasteners. We all want that smooth, fastener-free look, but I’ve seen countless projects where the boards started walking or warping because the installer didn’t understand thermal movement. If you’ve noticed why your hidden fasteners are popping up in heat, it’s often because the clips didn’t allow for the expansion we discussed earlier. According to research by the Forest Products Laboratory, moisture trapped between the board and the joist is the number one cause of rot. This is why I never skip the flash and tape method for protecting deck joists. It creates a waterproof barrier that ensures the frame lasts as long as the expensive PVC on top.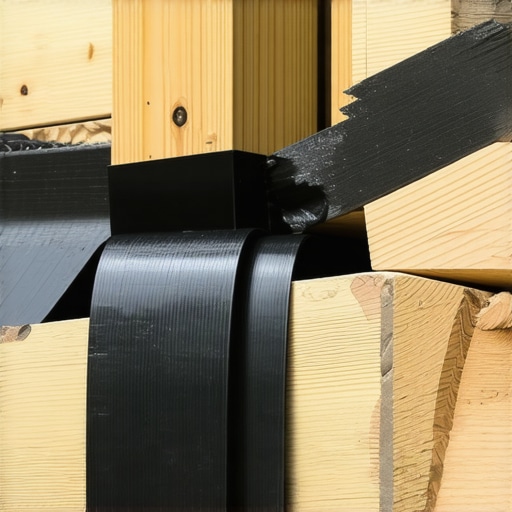
Is the ‘hidden look’ actually compromising your deck’s stability?
It’s a controversial take, but sometimes face-screwing with color-matched plugs is superior to clips. Clips rely on a small groove and a single screw; they don’t provide the same lateral ‘grip’ as a screw driven straight through the board into the joist. In high-traffic areas or spots with extreme weather, I often suggest a hybrid approach. I’ve seen beautiful innovative deck design ruined because the homeowner insisted on clips in a spot where the structural math didn’t support it. Before you commit, check out composite decking secrets for longevity to see which fastening system actually fits your climate. Have you ever fallen into the trap of choosing aesthetics over structural integrity? Let me know in the comments below.
Stop Blaming Your Tools and Get a Better Blade
I’ve spent thousands on fancy saws, but if you’re using a standard wood blade on PVC or high-end composite, you’re just making your life harder. For those crisp, melt-free edges, I strictly use a dedicated composite blade with a high tooth count and a non-stick coating. It prevents that annoying ‘burr’ that you then have to scrape off with a utility knife. If you want to avoid the headache of measuring twice and cutting four times, I always recommend that you see why you need a 3D model before buying a single deck board. Digital planning isn’t just for architects anymore; it’s how I catch structural clashes between my joists and my post bases before I ever pick up a hammer. Having a digital twin of your project allows you to experiment with pergola design inspiration from modern to classic looks without wasting expensive cedar or composite lumber.
Why Your 10-Year-Old Deck Still Needs a Yearly Checkup
Even the most advanced materials can’t fight the law of gravity or the persistence of water. I make it a habit every spring to perform the 15 minute deck inspection every homeowner should do. I’m looking for loose ledger bolts, rusted hangers, and any signs of the ‘walking’ boards I mentioned earlier. If you’re building from scratch right now, don’t miss the joist tape secret for doubling your decks lifespan. It’s a simple butyl tape that seals the top of the wood, and in my experience, it’s the single most effective way to ensure your frame doesn’t rot out from under your beautiful new boards. According to the Simpson Strong-Tie ‘Deck Connection and Fastening Guide,’ the selection of connectors in corrosive environments isn’t just a suggestion; it’s a code requirement that prevents catastrophic ledger failure during high-load events like parties or heavy snow. 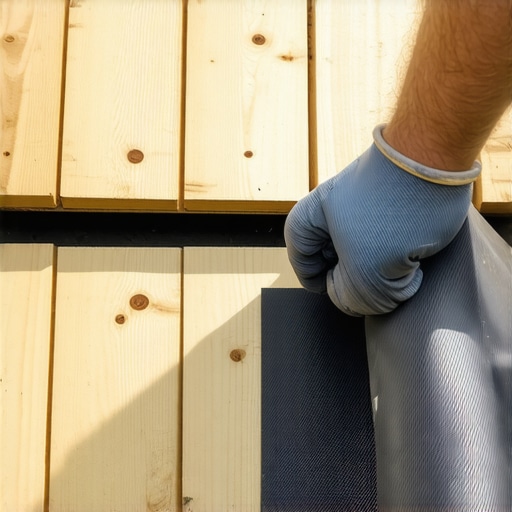
How do I keep my composite deck looking brand new for decades?
The ‘no maintenance’ promise is the biggest lie in the industry. It’s actually ‘low maintenance.’ You still need to sweep off the organic debris—leaves and pine needles—that trap moisture in the gaps. If you ignore this, you’ll eventually need to learn how to restore the color of a faded composite deck after the sun and mold have done their worst. In the coming years, I predict we will see a shift toward fully modular deck systems where entire sections can be swapped out for upgrades, but for now, the gold standard remains a rock-solid frame with a well-maintained surface. If you’re feeling overwhelmed by the structural side, consider the ledger-free pergola why freestanding is often better to avoid drilling into your home’s foundation altogether. I strongly encourage you to try the joist tape method on your next project; it’s a twenty-dollar investment that protects a five-figure asset.
The Hardest Lesson I Learned About Capped Composites
I’ve spent years getting my hands dirty on job sites, and if there is one thing I’ve realized, it’s that a deck isn’t just a pile of plastic and wood—it’s where your kids will learn to walk and where you’ll host your best summer BBQs. First, never underestimate the power of the sun. I’ve seen beautiful boards buckle like a cheap accordion because the installer forgot to check why your composite decking is expanding more than the manual says. Second, don’t let the maintenance-free marketing fool you. You still need to keep those gaps clear to prevent organic buildup from trapping moisture. Lastly, if you’re worried about the overall look, you should learn how to choose a railing color that doesnt block your view to ensure the hardware doesn’t distract from the natural scenery. If you ever find that your aesthetic isn’t matching your vision because of weathering, remember that why your white railings turn yellow and how to clean them is a common hurdle that is easily solved with the right cleaners and a bit of elbow grease.
My Essential Kit for a Professional Deck Finish
To get these results, I rely on a few non-negotiables that never leave my truck. I always keep a bottle of heavy-duty PVC cement in my belt for those gap-free miters we discussed. I also swear by the joist tape secret for doubling your decks lifespan; it is quite literally the cheapest insurance policy you can buy for your home’s exterior. For the actual planning phase, I never start a single cut until I’ve consulted the latest NADRA safety standards and verified my layout against a digital model. Having a high-quality, high-tooth-count saw blade specifically designed for composites is the final piece of the puzzle that ensures every edge looks factory-fresh.
Stop Planning and Start Building
At the end of the day, building with composite decking is an investment in your lifestyle and your property value. It’s about creating a space that feels like a natural, high-end extension of your living room. If you’re feeling stuck on the technical details or just want a professional to ensure your structural math is sound, don’t hesitate to contact us for expert guidance. You now have the insider techniques and the vision to avoid the ‘hollow core’ eyesore that ruins so many DIY projects. Go make that dream deck a reality. Have you ever struggled with getting those picture frame miters to stay tight during the winter months? Let me know your experience in the comments below.