
I stood there with a cold drink in my hand, looking up at my supposed masterpiece, only to realize the rafters looked like a bag of pretzels. It was a total gut-punch. I had spent two long weekends and a decent chunk of change building what I thought would be my forever garden retreat, only to watch the pressure-treated pine rafters warp and twist within just six months. I made the classic mistake of thinking that because wood was treated, it was naturally stable. It is not. If you have ever seen a 2×6 turn into a propeller after a few rain-dry cycles, you know exactly the visceral frustration I am talking about. [image_placeholder_1]
The Day I Realized Pine Was My Pergola Worst Enemy
The problem with pine, especially the wet stuff you find at big-box retailers, is its high moisture content and rapid drying cycle. When that wood finally hits the summer sun, it dries out unevenly, causing it to cup, bow, and pull away from your hardware with terrifying force. I used to think I could just screw it down tighter or use beefier bolts, but wood is a powerful force of nature. In fact, according to the USDA Forest Products Laboratory, drying wood can exert thousands of pounds of pressure per square inch as its fibers shrink, easily snapping or bending standard construction fasteners. I learned the hard way that saving a few hundred bucks on materials led to a structural headache that eventually required a full teardown. If you are currently planning your dream pergola designs that turn your garden into a sanctuary, please, learn from my expensive mistake. We are going to solve the durability puzzle today so your outdoor space stays as straight as a laser line.
Is the extra cost for cedar or hardwood actually worth it?
I get it. When you look at the price tag of Western Red Cedar or even Douglas Fir compared to pressure-treated pine, your wallet starts to ache. You might be wondering if you can just cheat the system by picking the straightest boards at the yard and sealing them immediately. I tried that too. I even used the level and laser method for setting pergola heights alone to ensure every single cut was perfect. But here is the reality: pine is a softwood that just is not built for the long-span exposure of a pergola roof where every side is open to the elements. In the the cedar vs pressure-treated debate for pergola beams, durability always wins over initial savings. Cedar and hardwoods have natural oils and tighter grain structures that resist the movement that kills pine structures. Have you ever finished a DIY project only to have it start falling apart before the first season is even over? It is a terrible feeling, and it is why I have completely changed how I approach pergola trends and professional builds. Beyond the wood choice, I also neglected the physics of the build; I did not realize back then that why your pergola needs knee braces was not just about aesthetics—it was about stopping the subtle racking that makes pine twist even faster.
Sift Through the Lumber Pile Like a Pro
To avoid the ‘pretzel effect’ I mentioned earlier, you have to treat the lumber yard like a high-stakes investigation. If you are going with wood, look for ‘heartwood’ rather than ‘sapwood.’ The heartwood is the dense, inner part of the tree that is naturally more resistant to rot and less likely to warp. If you are looking for long-term stability and want to follow composite decking trends durable solutions for modern outdoor living, consider using composite materials for the slats or shade elements to reduce weight and maintenance. When I picked my last batch of cedar, I spent forty-five minutes moving boards aside just to find eight perfectly straight ones. It feels tedious, but it is the foundation of your success.
Stop the Lean Before It Starts
Once you have your materials, the very first step is ensuring your layout is perfectly square. A pergola is essentially a skeleton, and if the hips are crooked, the whole body will limp. I remember a humid July afternoon when I was trying to square a 12×12 frame solo. I thought I could eyeball it, but by the time I reached the rafters, the whole structure looked like a parallelogram trying to escape the yard. I had to tear it all down because my overhangs were three inches off on one side. Do not be me. Use the 3-4-5 triangle move for squaring up a new deck frame or pergola layout to ensure your posts are perfectly positioned. This is the only way to guarantee that your beams will sit flat and your rafters won’t have to be forced into place. 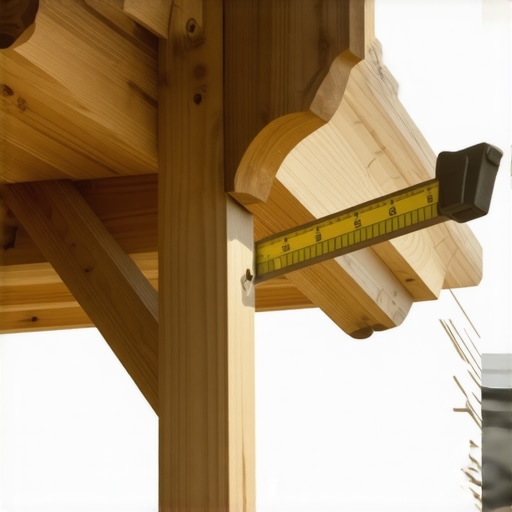
Plumb the Posts with Surgical Precision
A leaning post is a failing post. Gravity is constantly trying to pull your pergola down, and any slight angle provides leverage for those forces. Think of your posts as the legs of a chair; if one is crooked, you are going to tumble. I highly recommend using the string line move for perfectly plumb pergola posts to verify verticality from two different directions. Once they are set, use the string line trick for perfectly plumb pergola beams to ensure the horizontal members are not dipping.
Uniform Spacing is the Secret to that High-End Look
The difference between a DIY project and a professional sanctuary is often just a half-inch of error in spacing. If your roof slats are uneven, the shadows they cast on your patio will look chaotic rather than calming. I used to measure every single board with a tape measure, which was a nightmare. Now, I always use the spacer hack for perfectly aligned pergola slats. It is basically a sacrificial block of wood that ensures every gap is identical. Finally, never rely on nails alone. Use the steel bracket move for high wind pergolas to lock your beams to your posts. This creates a mechanical bond that won’t give way when the wood inevitably expands and contracts with the seasons. If you skip the why your pergola needs knee braces rule, you are just waiting for a strong wind to turn your retreat into a pile of kindling.
But here is where the story takes a turn. Once I solved my pergola’s structural woes, I decided to tackle the floor beneath it. Most people switch to composite thinking they’ve escaped the maintenance trap forever. I used to be one of them. I thought that by opting for maximize outdoor living with low-maintenance composite decking, I could just set it and forget it. But here is the contrarian truth: your composite boards are only as good as the rotting wood underneath them. Everyone talks about the beauty of the boards, but in my experience, the ‘oops’ factor usually happens because we ignore the substructure. If you slap high-end composite onto an old pressure-treated frame, you are inviting disaster. Why your pressure-treated frame is pulling your composite apart is a question I get asked constantly, and it usually boils down to the fact that wood moves while plastic expands differently. According to the North American Deck and Railing Association (NADRA), millions of decks are structurally compromised because owners only upgrade the surface without reinforcing the skeleton.
The Maintenance-Free Myth That Ruins New Decks
One of the biggest traps is skipping the joist tape secret for doubling your decks life. Without it, water gets trapped between your composite board and the wooden joist, creating a rot-incubator that works silently for years. You won’t see it until a board sags or a fastener pops out. Most DIYers believe the ‘capped’ nature of the boards protects the frame, but the screw holes are actually direct conduits for moisture to reach the joists. 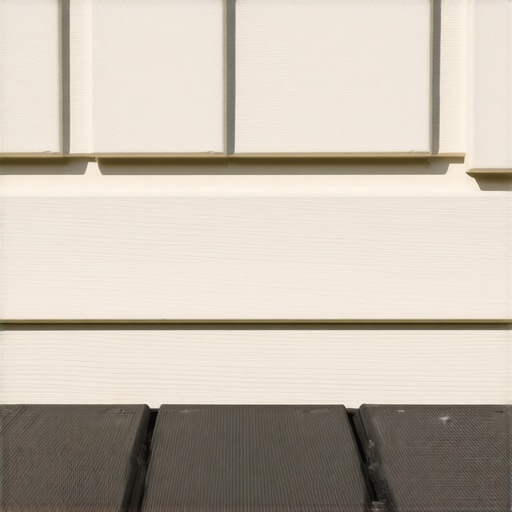
Why do your composite boards feel like they are floating?
If you have ever walked across a deck and felt a weird ‘give,’ you are likely dealing with over-spanned joists. Composite is naturally more flexible than wood. I have seen countless builders follow the standard 16-inch center rule only to find that why your composite boards feel spongy under heavy furniture is because the frame simply isn’t stiff enough for the material properties of plastic. You really need 12-inch centers for a truly rock-solid feel that doesn’t bounce when your kids run across it. Also, don’t ignore the sun. If you don’t know how to stop composite deck boards from expanding into your siding, the summer heat will turn your beautiful boards into a buckled mess. I once saw a deck literally pry the J-channel off a house because the builder didn’t account for thermal movement.
Avoid the Plastic Look and the Static Shock
Another nuance people miss is the ‘cheap plastic’ aesthetic. To keep things looking high-end, check out composite decking secrets longevity tips for a lasting deck to ensure you aren’t picking a grain pattern that looks like a stamped toy. And here’s a weird one: static electricity. In dry climates, composite can build up a significant charge. If you don’t want a shock every time you touch your metal railing, pay attention to the material blend and ground your frame. Finally, keep an eye on the structural reason your deck needs a mid-span beam to prevent that long-term dip in the middle of your backyard oasis. Have you ever fallen into this trap or noticed your deck ‘growing’ in the summer heat? Let me know in the comments below!
I realized early on that my basic impact driver wasn’t enough for a high-end finish. I now swear by the jig I use for consistent deck screw depth because if those heads are even a millimeter off, you’ll feel every inconsistency when you’re walking barefoot. For my railings, I stopped guessing and started using the flashlight hack for finding railing bracket alignment; it’s a game-changer for getting those brackets perfectly centered in low light. I also never start a layout without the level and laser method for setting pergola heights alone. Using a tool like the Bosch GLL-30 ensures my beams are dead-on before the first bolt goes in.
How do I keep my deck from looking like a relic in five years?
Maintenance isn’t about working harder; it’s about working smarter with the right chemistry. I have seen people destroy five-figure investments because they didn’t know why you should never use a power washer on composite boards. The high pressure can actually etch the plastic surface, making it more porous and prone to staining. Instead, I use the vinegar and water mix that cleans composite better than chemicals for a safe, streak-free finish. If you have cable railings, remember that metal breathes. You need to check your tension every spring because why cable railing tensioners fail and how to prevent it usually comes down to simple thermal expansion and contraction that loosens the threads over time.
Steel Framing and the Future of Outdoor Spaces
Looking ahead, I am seeing a massive trend toward steel substructures. Wood is great, but as we push into innovative deck design ideas for 2025, people want frames that last as long as the 50-year composite they are buying. According to the American Wood Council’s DCA 6 (Prescriptive Residential Wood Deck Construction Guide), the specific corrosive properties of modern pressure-treated wood make fastener selection more critical than ever. This is why I am moving toward powder-coated steel joists that won’t rot, regardless of moisture levels. 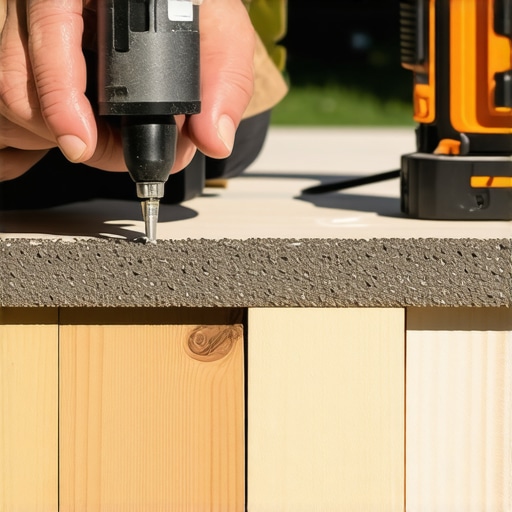 We are also seeing a rise in integrated tech, from hidden speakers to heat-dissipating boards. If you really want to protect your investment today, stop using harsh detergents and try the soap and sponge fix for oil stains on composite decking the next time someone drops a burger at your BBQ. It works better than any industrial cleaner I have ever bought. Go grab a bottle of white vinegar and clean a small test patch of your deck today—you will be shocked at how much original color is hiding under that film of pollen and dust.
Hard Truths from a Builder Who Watched His First Project Warp
Building that first structure taught me more than any manual ever could. I learned that wood is a dynamic material that behaves more like a moving machine than a static block. The biggest lightbulb moment for me was realizing that your choice of material isn’t just about how it looks on day one, but how it behaves on day one thousand. If you want to avoid the ‘pretzel effect’ that ruined my first build, you must respect the grain and moisture content. Whether you are following composite decking secrets longevity tips for a lasting deck or sticking with traditional timber, the rules of physics don’t change. I used to think I could muscle a board into place with enough screws, but I eventually learned that wood always wins. Now, I spend more time prepping the substructure than I do installing the finish boards because a stable skeleton is the only way to keep your pergola designs that turn your garden into a sanctuary from looking like a pile of kindling in five years.
The Toolkit That Actually Saved My Back
I don’t believe in hoarding secrets, and there are a few specific tools and methods that changed the game for me. First, never underestimate the power of protection; the joist tape secret for doubling your decks life is the single most important step for any wooden frame. For precision, I rely on the American Wood Council’s guides for load-bearing specs to ensure I’m never over-spanning and making the structure bouncy. When it comes to the actual installation, the jig i use for consistent deck screw depth ensures a professional finish that you can feel underfoot without any snagged toes. Finally, keep your maintenance simple; skip the harsh chemicals and stick to basic cleaning to preserve that ‘just-built’ glow without damaging the plastic cap of your boards.
Build a Legacy Not Just a Structure
At the end of the day, your outdoor space is where memories are made—it’s where you’ll host summer BBQs, enjoy quiet morning coffees, and watch your family grow. Don’t let the fear of a warped board or a tricky layout stop you from starting. If you take the time to square your frame, pick the right materials, and protect your substructure, you’ll create something that stands the test of time. It’s your turn to take these lessons and turn your backyard into the sanctuary you’ve always wanted. If you hit a snag or need a professional eye on your layout, feel free to contact us for guidance. Have you ever seen a perfectly straight board turn into a propeller after a week in the summer sun? Let me know your lumber horror stories in the comments below!