
I remember standing in my driveway five years ago, surrounded by piles of lumber and a very confused golden retriever. I’d spent months planning the perfect sanctuary, but there I was, paralyzed by two stacks of wood: aromatic, beautiful Western Red Cedar and the greenish, heavy, reliable pressure-treated pine. I chose based on price that day, and honestly? It was a massive headache. Within two seasons, my budget beams began to weep sap and twist like a wet towel. Today, I’m going to help you skip that frustration and decide once and for all which material belongs over your head.
The Real Reason Your Pergola Beam Choice Matters
Choosing between cedar and pressure-treated (PT) wood isn’t just about the upfront cost; it’s about how much time you want to spend on a ladder in five years. If you are looking at pergola designs that turn your garden into a sanctuary, you need a material that stays straight and true. One mistake I made early on was assuming PT wood would behave like cedar if I just stained it. It didn’t. Pressure-treated lumber is often wet when you buy it, and as it dries in the sun, it can pull and warp your entire structure. That’s why I always recommend using the string line trick for perfectly plumb pergola beams to monitor any movement during the first season.
Is Cedar Actually Worth the Premium Price Tag?
Many of my neighbors ask if they’re just paying for the smell and the status. The truth is more functional. According to the Western Red Cedar Lumber Association, cedar’s unique cellular structure contains natural thujaplicins that prevent rot without the need for heavy chemical injection. This makes it naturally lighter and less prone to the dramatic checking or splitting you see in PT wood. However, if you’re on a tight budget, PT is a tank. You just have to know why pressure treated wood turns gray faster than you think so you aren’t disappointed when the color fades. I’ve found that even with PT, you can get a high-end look by using how to mix black metal and cedar for a modern industrial look techniques on the accents. Have you ever felt like you were gambling with your hard-earned money at the lumber yard? We’re going to break down the structural stability, the maintenance reality, and the aesthetic tax so you can build with total confidence. Let’s look at how these materials actually hold up against the elements.Picking your lumber is a lot like buying fruit; you want the stuff that’s ripe but hasn’t started to turn. When I first started, I grabbed the ‘wettest’ pressure-treated (PT) boards because they felt heavy and substantial. Big mistake. That weight is just chemical-laden water that’s eventually going to evaporate, leaving you with a board that looks like a giant corkscrew. If you’re mixing materials, like installing composite decking trends on a wood frame, you have to be even more careful because why your pressure treated frame is pulling your composite apart is a real phenomenon where the wood’s movement shears off your expensive fasteners.
Avoid the Banana Boards at the Lumber Yard
When you are at the yard, do not just take the stack the forklift driver brings out. You need to ‘sight’ every single beam. Hold one end of the board up to your eye and look down the length like you’re aiming a rifle. If it bows more than half an inch over eight feet, put it back. For PT wood, look for the ‘KDAT’ stamp—Kiln Dried After Treatment. It’s more expensive, but it means the wood has already done its shrinking before it reaches your driveway. If you are going the cedar route, you are essentially paying for stability. Cedar is like a well-tailored suit; it holds its shape even when the humidity swings. However, regardless of the wood type, I always use the string line trick for perfectly plumb pergola beams during the dry-fit phase. I once skipped this on a 12×12 cedar build in July, and by August, one of my rafters had developed a ‘smile’ that made the whole roof look lopsided.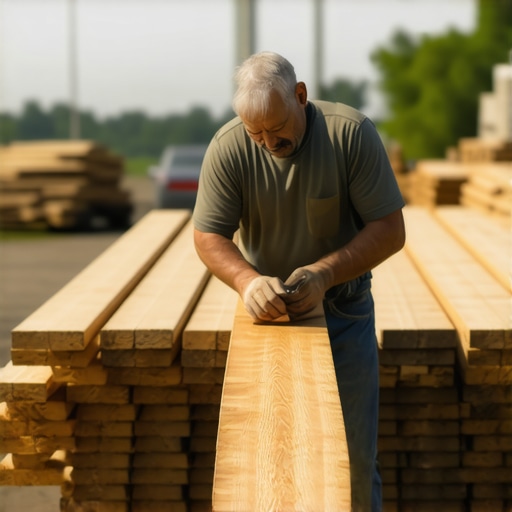
Don’t Let Standing Water Kill Your Beams
The biggest enemy of a pergola isn’t the sun; it’s the tiny pocket of water that sits on top of a beam and never dries. This is where the 10 degree miter cut that stops pergola water traps comes into play. By angling the ends of your rafters and decorative tails, you force gravity to move the water away from the end grain, which is the most vulnerable part of the wood. If you’re using PT wood for the main structure, you should also consider the joist tape secret for doubling your decks life. Applying a butyl-based tape to the top of your beams before you lay down your slats acts as a permanent umbrella. I’ve torn down ten-year-old pergolas where the beams were rotted through at every screw hole, but the ones with tape looked brand new underneath.
Why Your Frame Needs a Hidden Bone Structure
A pergola is essentially a giant sail. When the wind picks up, it wants to twist the entire structure into a parallelogram. To fight this, you need more than just long screws. I’m a huge advocate for the hidden bracing move for rock-solid corner posts. By using knee braces cut at a 45-degree angle, you create a series of triangles that lock the frame in place. On my own backyard project, I tried to skip the braces to keep a ‘minimalist’ look, but after one heavy thunderstorm, I could literally feel the structure swaying when I pushed on a post. If you are worried about the look, remember that you can always hide the structural bulk by exploring how to mix black metal and cedar for a modern industrial look, using steel gusset plates that provide strength without the chunky wood look. Finally, don’t forget the very top of your posts. Even the best cedar will eventually rot from the top down if the grain is exposed to vertical rain. I always suggest the copper cap trick for extending post life—it’s a small investment that adds a touch of class while keeping the most vulnerable part of your post bone-dry.Most homeowners gravitate toward composite because they want to retire their pressure washer forever. But here is the hard truth: ‘low maintenance’ is not ‘no maintenance.’ In fact, if you treat a composite deck like a concrete slab, you’re in for a rude awakening. A common belief is that hidden fasteners are the gold standard for every build, but if you’re using wide-profile boards in a climate with 40-degree temperature swings, those clips can actually work against you. Thermal expansion isn’t just a theory; a study by the North American Deck and Railing Association (NADRA) highlights that composite boards can expand significantly based on the length of the run. If you didn’t learn how to stop composite deck boards from expanding into your siding, you might literally watch your deck try to push its way into your kitchen. To keep things looking crisp, you need to master composite decking secrets longevity tips for a lasting deck that most big-box store manuals leave out.
Why Does Your Composite Floor Feel Spongy Under Heavy Furniture?
If you’ve ever walked across a high-end deck and felt a slight ‘bounce’ or ‘squish,’ it’s usually not the boards—it’s the joist spacing. Beginners often stick to the standard 16-inch-on-center rule, but for many composite brands, that creates a trampoline effect. This is why your composite boards feel spongy under heavy furniture or even just heavy foot traffic. Professionals typically drop that spacing to 12 inches on center, especially for diagonal patterns or stairs. Furthermore, you need to understand why solid core composite is worth the extra bulk compared to scalloped or hollow-core alternatives. While hollow boards are cheaper and lighter, they retain moisture in the channels and offer less structural rigidity, leading to that ‘plastic-y’ feel underfoot. 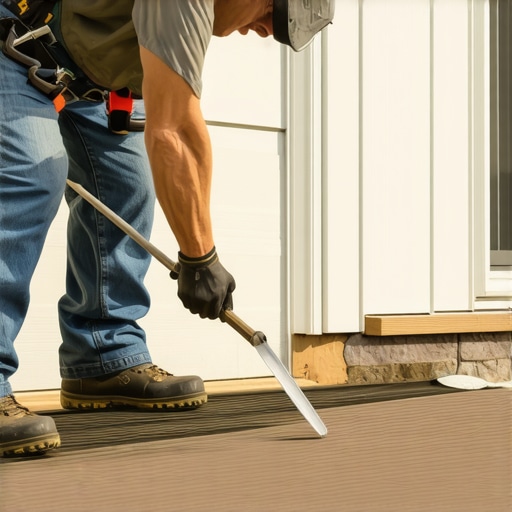
Stop Your Railing System from Turning Into a Sail
When it comes to safety, people often prioritize aesthetics over engineering. I see many modern designs using solid glass or privacy panels without considering lateral wind loads. This is a massive mistake. In a storm, a solid railing acts as a sail, putting thousands of pounds of pressure on your post mounts. I’ve seen entire sections of deck frame twist because the builder didn’t realize why solid railing panels cause wind damage in storms. To avoid a catastrophic failure, you should regularly perform the 3-second push test for wobbly railing systems. If there is more than a quarter-inch of give at the top rail, your blocking is insufficient. Building a deck that lasts thirty years requires more than just following the assembly video; it requires respecting the physics of the materials you are using. Have you ever fallen into this trap? Let me know in the comments.After twenty years of building, I’ve realized that the difference between a professional finish and a DIY disaster isn’t just talent—it’s the willingness to use a tool that does exactly one thing perfectly. For me, that means never eyeballing a fastener again. I always use the jig I use for consistent deck screw depth. If your screws are all at different levels, they create tiny craters that trap water and dirt, leading to premature rot even on high-end wood. I also stopped wrestling with long spirit levels for my heights. Now, I swear by the level and laser method for setting pergola heights alone. It’s the only way to ensure your structure doesn’t look like it’s sliding downhill when you stand back at the curb. For the actual decking, the AZEK Technical Installation Guide specifically warns that over-torquing fasteners can lead to ‘mushrooming’ in capped polymer boards, which ruins the clean finish you’re paying for. This is why I always dial back the clutch on my impact driver to ensure every head sits flush without crushing the core.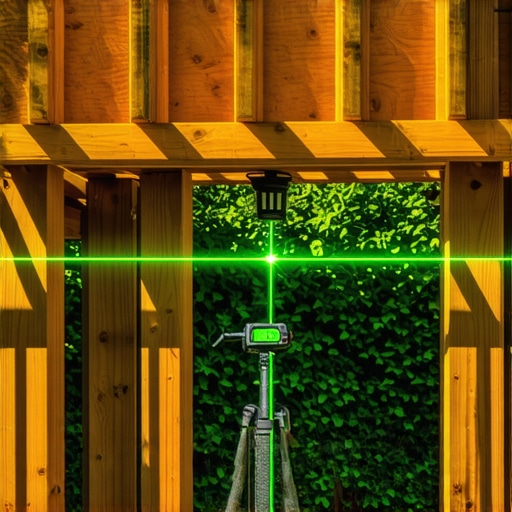
How Do I Keep My Outdoor Space Looking New for a Decade?
When it comes to the long haul, don’t overcomplicate your cleaning routine. I’ve found that the vinegar and water mix that cleans composite better than chemicals is safer for your landscaping and significantly cheaper than the ‘specialty’ cleaners at the hardware store. If you’re hosting a party and someone spills a drink, you need to know how to clean red wine stains off composite decking fast before the tannins have a chance to bond with the surface. To protect the underlying structure, I still rely on the shingle trick for protecting the top of your deck beam if I’m ever caught without joist tape. These small, obsessive details are what keep the structural ‘bones’ healthy long after the surface boards have seen their first few winters. Following composite decking secrets longevity tips for a lasting deck ensures you aren’t just building for today, but for twenty years from today.
The Shift Toward Modular Outdoor Living
Looking toward the horizon, I see a massive shift toward pre-engineered modular systems. By 2025, innovative deck design ideas for 2025 will center on ‘plug-and-play’ components that allow homeowners to swap out railing panels or integrate smart lighting without ripping up the boards. We are moving away from static wood boxes and toward dynamic platforms that can evolve with your family. It’s an exciting time to be a builder, but the fundamentals of water management and structural integrity remain the same. I encourage you to try the vinegar-water wash on a small patch of your deck this weekend; you’ll be shocked at how it restores the luster without the harsh chemical smell.
The Mistakes That Taught Me More Than Any Manual
After years of getting my hands dirty, I’ve realized that the ‘perfect’ project doesn’t exist, but a resilient one does. One big realization was that your frame is just as important as the surface; if you don’t use the joist tape secret for doubling your decks life, you’re essentially building a beautiful house on a crumbling foundation. I also learned that why hidden fasteners fail on wide-profile boards is usually due to thermal expansion, not the hardware itself. Another lightbulb moment was realizing that the 3-4-5 triangle move for squaring up a new deck frame is non-negotiable if you want your railings to look straight. Finally, never underestimate the power of airflow; using the rubber spacer trick for better airflow under joists can add years to your structure’s life.
#IMAGE_PLACEHOLDER_E#
The Tools That Save My Sanity
I don’t go to a job site without a few specific items. First, the level and laser method for setting pergola heights alone is a total game-changer for solo builders. For keeping everything uniform, I always reach for the jig I use for consistent deck screw depth to avoid those unsightly water-trapping craters. I also keep a string line handy for the string line trick for perfectly plumb pergola beams. These aren’t just gadgets; they are the difference between a deck that looks DIY and one that looks architectural.
Bring Your Vision to Life
Building an outdoor sanctuary is about more than just following a blueprint; it’s about creating a space where memories happen. Whether you’re leaning into innovative deck design ideas for 2025 or sticking to a classic look, the key is to take that first step with confidence. Your deck design is an extension of your home, so don’t be afraid to customize it to your lifestyle. Have you ever run into a surprise warp or a wobbly post halfway through a build? Let me know in the comments below!