
There I was, sweating under the July sun, staring at a four-hundred-dollar section of composite railing that looked like it had been attacked by a confused woodpecker. Every hole I drilled for the balusters was just slightly off. A quarter-inch left here, an eighth-inch right there. From five feet away, it looked fine. From the sidewalk? It looked like a staircase in a funhouse. I had tried to eyeball the center, thinking my years of DIY experience made me immune to basic geometry. I was wrong. It is a gut-wrenching feeling when you realize you have just turned a premium outdoor upgrade into a mess of crooked spindles. [image placeholder]
Stop Guessing and Start Drilling Straight
When you are selecting the perfect railing system, you spend all this time worrying about the color and the material. But the real make-or-break moment happens with the drill in your hand. I learned the hard way that free-handing baluster holes is a recipe for disaster, especially if you are working with composite decking which can be unforgiving if the bit slips. Today, I want to walk you through a simple drill guide hack that changed the game for me. We are going to fix that wobbling drill bit and ensure every single hole aligns perfectly with the one above it.
Do you really need another tool in your bag?
You might be thinking, can I just use a speed square and a steady hand? Believe me, I used to be that guy. My early mistake was assuming that a pencil mark was enough. But even the best carpenters deal with bit wander—that annoying moment the drill bit slides across the smooth surface before it bites. According to the National Association of Home Builders (NAHB), structural integrity and aesthetic alignment are the two biggest factors in homeowner deck satisfaction. If your balusters are not centered, the railing will not just look bad; it might fail to meet local safety codes if the spacing becomes uneven. Have you ever stepped back from a project only to realize the straight line you thought you were following was actually a curve? Let me know—I need to know I am not the only one who has had to buy a replacement rail after a measurement mishap. Before we get into the jig itself, we need to make sure you are keeping your railing posts plumb. If the posts are not straight, the best drill guide in the world won’t save your layout.
The Sacrificial Block Method for Precision Drilling
To stop the drill bit from wandering across your expensive railing, you need a physical barrier. I call this the sacrificial block. Take a four-inch piece of scrap 2×4 and drill a hole through it that matches the diameter of your baluster bit. The trick is to ensure this hole is perfectly vertical. If you have a drill press in your garage, use it. If not, use a speed square to guide your drill bit into the scrap wood from two different angles. Once you have this ‘sleeve,’ you can clamp it directly onto your composite rail. This block acts like a set of training wheels for your drill, preventing the bit from tilting even a fraction of a degree as it enters the material. This is very similar to the blocking trick that stops railing post wobble because it relies on solid, internal bracing rather than just surface-level tension. I remember a project last June where I skipped the block on a set of stairs. By the time I reached the bottom step, the balusters looked like they were leaning into a stiff breeze. I had to tear the whole section out. Never again.
Stop Bit Wander with the Painters Tape Hack
Composite materials are notorious for being slick. When the tip of your drill bit touches that smooth surface, it wants to ‘skate’ or wander. Before you even bring the drill to the wood, apply a strip of high-quality blue painter’s tape over your layout marks. This provides enough texture for the bit to grab immediately. It also serves a dual purpose similar to the painters tape hack for cutting composite boards without fraying; it protects the finish around the hole from the spinning chuck of the drill. If you are working with dark materials, don’t forget the pencil trick for marking dark composite boards so you can actually see your center points through the tape. 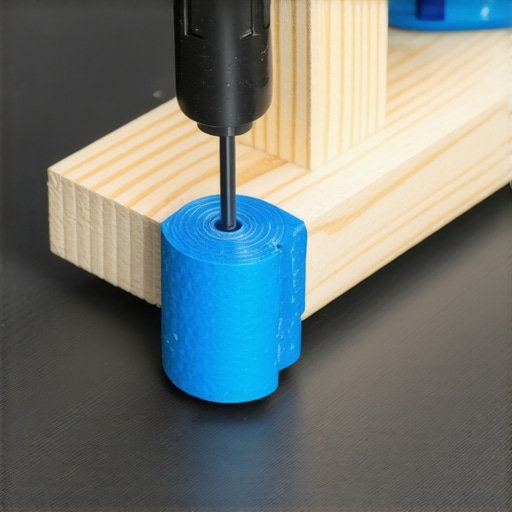
Mirror Your Rails for Perfect Verticality
The biggest mistake DIYers make is drilling the top rail and then trying to measure the bottom rail separately. This is a recipe for a ‘funhouse’ staircase. Instead, clamp your top and bottom rails together so they are perfectly flush. Use a long, aircraft-style drill bit to go through the top rail and just barely dimple the bottom rail. This ensures the holes are mathematically identical in their placement. This level of precision is what differentiates a basic DIY job from high-end deck design strategies.
Check Your Spacing Against Local Codes
Before the first bit touches the wood, verify your baluster count. Most codes require that a 4-inch sphere cannot pass through any part of the railing. Whether you how to choose between round and square balusters, the center-to-center measurement must be consistent. I use a scrap wood spacer—a literal block of wood cut to the exact width of the required gap—to check my marks. This is the same logic as the jig i use for consistent deck screw depth; consistency is the only way to achieve a professional look. If you find your marks are drifting, use the 3-4-5 triangle move for squaring up a new deck frame logic to re-verify that your rails are sitting perfectly square to your posts.
Stop Chasing the ‘Hidden’ Look at the Expense of Durability
Everyone tells you that hidden fasteners are the only way to get a ‘luxury’ look. I used to think that, too, until I realized why hidden fasteners can be a maintenance nightmare. In my experience, while they look great in a showroom, they often fail when used on wider boards because they don’t allow for the natural ‘cupping’ that occurs over time. In fact, why hidden fasteners fail on wide profile boards is usually due to the sheer force of the board expanding against a tiny plastic clip. I’ve seen clips literally snap in the middle of a July heatwave, leaving the board loose and rattling. Have you ever fallen into this trap where a ‘premium’ upgrade ended up causing more work? Let me know in the comments.
How Heat Turns a Straight Rail into a Bowed Mess
The hidden nuance that most DIYers (and even some pros) miss is thermal expansion. Wood mostly moves with moisture; composite moves with heat. According to the North American Deck and Railing Association (NADRA), a composite board can expand significantly across its length, sometimes as much as 1/16th of an inch for every 10 degrees of temperature change. If you butt your railings tight against the posts without a gap, they have nowhere to go but out. This is where you see those ‘wavy’ railings that look like they were installed by someone with a warped level. This movement is so powerful that why your pressure-treated frame is pulling your composite apart is often the result of the boards and the joists moving in opposite directions.
Are You Giving Your Railings Enough Room to Breathe?
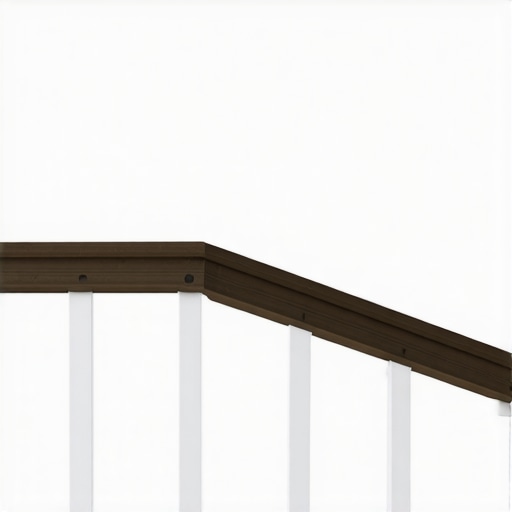
The sophisticated mistake I see most often involves the ‘over-tightened’ bracket. You want that railing rock-solid, so you crank down the screws until the plastic groans. But you’re actually creating a stress point. I’ve found that the 3-inch screw mistake that ruins composite joists also applies to railing brackets. If the screw is too long and the material is too tight, the bracket will snap as the rail expands. It’s better to leave a 1/8-inch gap at the post and let the bracket cover the space. This is the same logic you use when learning how to stop composite deck boards from expanding into your siding—you have to respect the movement. I once ignored this on a high-end project in Texas. By August, the homeowner called because their glass railing was ‘screaming.’ It turned out the metal brackets were under so much pressure from the rail expansion that they were vibrating in the wind. We had to go back and trim a quarter-inch off every single rail. It was a miserable, expensive lesson in physics.
Stop Fighting the Boards with Your Bare Hands
After years of wrestling with stubborn materials, I realized that brute force is the enemy of a professional finish. If you are dealing with a warped joist or a stubborn composite board that just won’t sit flush against its neighbor, you need more than just a hammer. I swear by a dedicated deck-straightening tool. While the clamp and lever move for straightening bowed 2x10s works in a pinch for framing, a specialized board straightener allows you to lock the board in place with one hand while you drive the fastener with the other. This precision is vital because it prevents you from over-stressing the plastic clips. If you force a board too hard, you risk creating the exact tension that leads to why your railing bracket keeps snapping in the cold later on when the material tries to contract. Precision tools don’t just save your back; they save the structural integrity of the entire system.
How do I keep my deck looking new for the next decade?
Maintenance is where most homeowners lose the battle. The most common mistake I see—and I have been guilty of it myself in my early days—is reaching for the pressure washer. I cannot stress this enough: why you should never use a power washer on composite boards is because the high-pressure stream can actually tear the micro-fibers of the wood-plastic blend, leaving it porous and prone to permanent staining. According to technical documentation from the American Wood Council, maintaining the surface ‘cap’ of a composite board is the only way to ensure its rated lifespan. Instead of high pressure, I use a soft-bristle brush and the vinegar and water mix that cleans composite better than chemicals. It is gentle on the environment and won’t strip the UV-resistant coating off your expensive railings. If you treat the surface like the finish of a car rather than a concrete driveway, it will look brand new for twenty years.
Why the Next Big Thing in Decking Is Not Wood at All
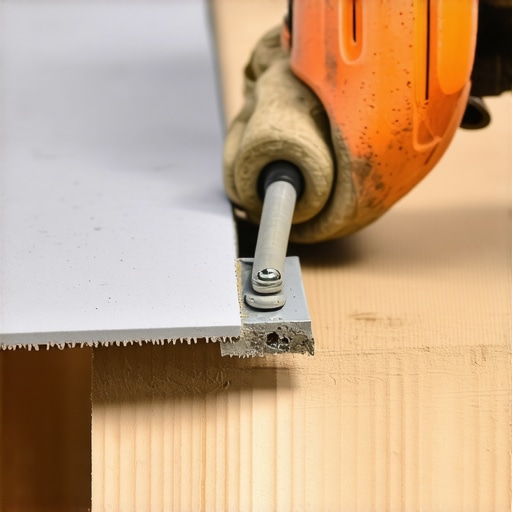
As I look at where the industry is heading, the biggest shift is moving away from the ‘hybrid’ approach. We are seeing a massive surge in total-system longevity. In the past, we put high-end composite on top of cheap, wet pressure-treated lumber. But as we’ve discussed, why your pressure-treated frame is pulling your composite apart is a fundamental physics problem. I predict that within the next five years, light-gauge steel framing will become the standard for any mid-to-high-range deck design strategies. Steel doesn’t crown, it doesn’t rot, and most importantly, it doesn’t expand and contract at the same rate as organic wood, which means your composite boards stay exactly where you put them. It is the ultimate way to ‘future-proof’ your investment. If you are planning a build right now, I strongly urge you to try the ‘sacrificial block’ method I mentioned earlier for your next railing section—it’s the fastest way to upgrade your results from ‘amateur’ to ‘architectural grade’ without spending a dime on new power tools.
Everything I Learned the Hard Way While Wrangling Composite Rails
First, the sun is your biggest enemy or your best friend. I now always store my composite rails in the shade before installing them to prevent them from being at their maximum expansion when I cut them. Second, don’t trust your eyes after 4 PM; the shadows on a deck can make perfectly straight balusters look crooked. Third, always buy 10% more material than you think you need. Between a ‘confused woodpecker’ moment or a mismeasured cut, that extra rail section is cheap insurance for your sanity. Finally, never skip the dry fit. Putting the whole section together on the deck floor before mounting it to the posts will reveal every error before it’s permanent.
The Few Items in My Truck I Won’t Build Without
I swear by a dedicated aircraft-length drill bit; it is the only way to get through both rails at once for perfect alignment. I also never start a project without checking the simple tool for making sure your railing posts are plumb because a leaning post ruins the whole aesthetic. For spacing, I ditched the tape measure for a custom-cut wood block, which ensures my balusters are identical, much like how the jig i use for consistent deck screw depth keeps my fasteners uniform. Finally, if you are wrestling with post hardware, check out why your railing post caps keep blowing off to make sure your finishing touches actually stay put.
Take the First Step Toward Your Dream Backyard
Building your own deck is about more than just adding value to your property; it is about creating a space where memories happen. Whether you are installing complex railing systems or just laying your first few boards, remember that every pro started with a single, nervous drill stroke. You have the tools, the hacks, and the plan—now go out there and build something you are proud of.
[image placeholder]
Have you ever had a ‘measure twice, cut once’ moment that still went wrong? Let me know in the comments below!