
I remember the exact moment I realized my backyard deck was a bit of a death trap. I was carrying a heavy tray of marinated tri-tip and a cold drink, heading down to the patio, when my shins started screaming. Every step felt like a lunging exercise at the gym. I wasn’t out of shape; the stairs were simply fighting me. For years, I just assumed that was how deck stairs are, but after a nasty trip that nearly sent my dinner flying, I dug into the physics of it. It turns out, I had fallen into the classic trap of prioritizing space over comfort.
Your Knees Aren’t Lying to You
If you find yourself gripping the railing for dear life every time you head down to the grill, the problem probably isn’t your balance. The hidden reason your deck stairs feel too steep usually boils down to a math error I made myself on my first build: the riser-to-tread ratio. We often try to squeeze stairs into a small footprint to save room for more innovative deck design ideas, but your legs pay the price. When the rise—the vertical part—is too high and the run—where your foot actually lands—is too short, your center of gravity shifts forward, making the descent feel treacherous. I once tried to cheat the system by using an 8-inch rise with a 9-inch tread, and let me tell you, it was a disaster. It felt like walking down a ladder. Today, we’re going to fix that. I’ll show you how to recalibrate those measurements so your transition to the yard feels like a stroll in the park rather than a mountain expedition.
Is a steeper staircase actually a safety hazard?
You might be thinking it is just a few steps and wondering if it is really worth the hassle of a teardown. According to data from the International Association of Certified Home Inspectors, stairs are statistically one of the most dangerous parts of any structure, and improper rise-run proportions are a leading cause of falls. It isn’t just about comfort; it’s about making sure your guests don’t end up in a heap at the bottom. Beyond the math, you also have to consider the foundation. If you didn’t learn how to stop your deck stairs from sinking into the grass, a slight shift in the soil can turn a legal step into a steep tripping hazard overnight. Have you ever felt like you were hiking a trail just to get to your patio table? Drop a comment below; I want to hear your horror stories. Before you grab the circular saw, you need to understand that the stringer notch hack is only half the battle; the real secret lies in the geometry of the climb.
Get Your Total Rise Without the Guesswork
The first mistake I ever made was measuring from the deck surface to the dirt and calling it a day. Do not do that. You need to measure to the exact spot where the stairs will land. If you are landing on a concrete pad or a gravel bed, you must account for that specific thickness. Once you have your total rise in inches, divide it by 7. If your total rise is 35 inches, you are looking at 5 steps exactly. But real-life builds are rarely that clean. If you get a decimal, say 5.4, round up to 6 steps. Now, divide your original 35 inches by 6 to get your individual step height. This prevents that awkward phantom step at the bottom that sends guests stumbling. This process is exactly why your deck stairs feel like a workout and how to fix the rise by evening out the transition between levels.
The 17-Inch Rule for Perfect Steps
There is a golden ratio in carpentry that I live by: the sum of one riser and one tread should equal roughly 17 to 18 inches. If your riser is 7 inches, your tread should be 10 or 11 inches. I remember a project where I ignored this to save space in a tight side-yard. I used a 7.5-inch rise with an 8.5-inch tread to keep the footprint small. My foot felt like it was hanging off a cliff every time I went down to the garden. My neighbor, an old-school builder, watched me struggle for an hour before he handed me a framing square and told me to redo the math. It cost me three expensive 2x12s, but the difference was night and day. You want your whole foot to feel supported, especially if you are planning on adding a bulky railing system later that might narrow your visual path.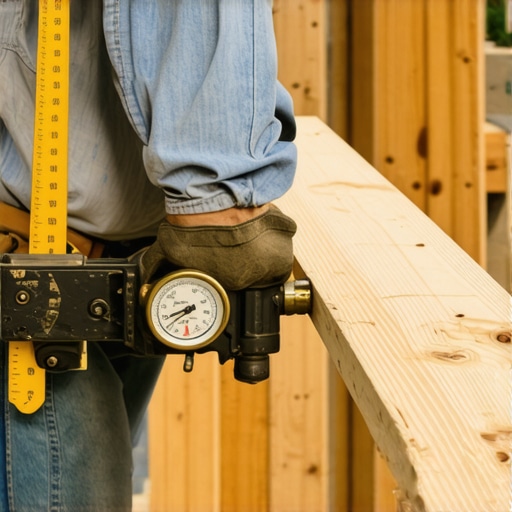
Why Your Stringers Need Extra Support
Most people think two stringers are enough for a standard 36-inch wide set of stairs. They are wrong. If you use composite decking trends for your treads, those boards are often more flexible than traditional pressure-treated wood. Without enough support, you will feel a bounce that makes even a perfectly measured set of stairs feel unstable. I always recommend at least three, if not four, stringers for a standard width. This is a crucial lesson in why your deck stairs need more than two stringers. While you are at it, do not forget to apply the joist tape secret for doubling your decks lifespan to the tops of those stringers. Water loves to sit in those notches, and tape is the only thing standing between your hard work and premature rot.
Don’t Forget the Landing Foundation
If your stairs end directly on grass, you are setting yourself up for a sinking disaster. I once watched a beautiful set of cedar stairs slowly tilt to the left over a rainy spring because I did not pour a proper footer. Now, I always dig down and set a small concrete pad or use heavy-duty pavers to distribute the load. This keeps the bottom step at the exact height you calculated. If that bottom step sinks even an inch, the entire rhythm of the climb is ruined, turning your backyard transition back into a tripping hazard. It is the same logic you would use when learning how to stop your deck stairs from sinking into the grass.While we’re talking about structure, let’s tackle the biggest myth in the industry: that composite decking is a ‘set it and forget it’ solution. I see homeowners spend thousands on low-maintenance composite decking, thinking they’ve escaped the laws of physics. They haven’t. In fact, composite materials have a much higher coefficient of linear thermal expansion than wood. According to research from the Forest Products Laboratory, wood-plastic composites (WPC) can expand and contract significantly more than natural timber when exposed to fluctuating temperatures. This is exactly why your composite decking is expanding more than the manual says; it isn’t just about the air temperature, but the radiant heat absorbed by the boards.
Why is your composite decking warping at the joists?
Most builders assume the ‘oops’ factor comes from the boards rotting, but with composite, the danger is actually the fastener. If you don’t use the the spacer trick for consistent gaps, the boards will butt up against each other in the summer heat and have nowhere to go but up, causing that unsightly wave pattern. Have you ever fallen into this trap of gapping your boards too tightly during a cool spring morning? Let me know in the comments. Another nuance involves your railing system. People love the look of dark aluminum, but why your black metal railings are too hot to touch becomes a painful reality by July. I always suggest a lighter finish or a wood-top ‘cocktail rail’ to save your palms from a sear.  When you move into more aesthetic territory, like a pergola design, the mistake is usually in the finishing. Don’t leave your galvanized bolts exposed; use how to hide the structural hardware on your pergola techniques to give it a high-end, custom-milled look. Finally, remember that even the best boards need a solid skeleton. If you’re building in a high-traffic area, why mitered corners are a mistake becomes clear as soon as the house settles slightly and those perfect 45-degree angles start to gape. Stick to butt joints with a PVC glue trick for the tightest, most durable finish possible.The secret to a deck that still looks brand new five years later isn’t just the material you choose; it’s the precision of the installation and the maintenance schedule you keep. I used to think a tape measure and a circular saw were enough, but as my projects got more complex, I realized I was fighting the materials instead of working with them. Before I even pick up a hammer, I spend a few hours in a digital environment. It sounds like overkill, but why you need a 3d model before buying a single deck board becomes painfully obvious when you realize your planned pergola design is going to block your favorite sunset view or clash with the roofline. I personally use SketchUp for this, but even a basic 3D planner helps you catch structural conflicts and material waste before you spend a dime.
How do I maintain my deck and pergola over time?
Maintenance for a modern outdoor space is less about sanding and more about preventing chemistry from winning. For your boards, you need to understand composite decking secrets and longevity tips that go beyond a simple hose-off. The North American Deck and Railing Association (NADRA) emphasizes in their Check Your Deck guidelines that homeowners should inspect ledger connections and joist integrity annually, especially since why pressure-treated wood still needs maintenance under composite is a structural reality most people ignore. If you notice a change in the finish or stubborn stains, how to restore the color of a faded composite deck usually involves specialized pH-balanced cleaners rather than a high-pressure power washer, which can actually scar the plastic fibers and void your warranty. 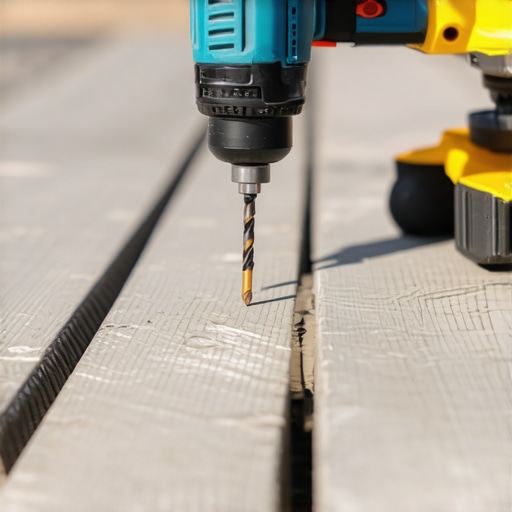 When it comes to the physical labor, I have three tools that are non-negotiable for a professional result. First is the Starborn Smart-Bit for pre-drilling; without it, composite decking often ‘mushrooms’ around the screw, leaving an ugly bump. Second is a high-quality impact driver with adjustable depth control so I don’t overdrive fasteners into the core. Third is the CAMO leverage tool for straightening stubborn, bowed boards without damaging the edges. These tools ensure your innovative deck design ideas aren’t ruined by sloppy execution. In the next few years, I predict we will see even more automation in deck maintenance, perhaps with moisture sensors built into the joists to detect rot before it’s visible to the naked eye. For now, take twenty minutes this weekend to walk your perimeter and check the tension on your hardware. If you find something wobbly and don’t know where to start, contact us and we can walk you through the structural basics.
Hard Lessons from the Framing Trenches
Looking back at my first dozen builds, the most painful lesson was that a beautiful deck can still be a failure if the transition to the ground feels like an obstacle course. I used to think that as long as the wood was level, the job was done. But truly professional results come from realizing that your skeletal structure is more important than the expensive boards on top. For instance, I once ignored the foundational basics and ended up with a project where the stairs began to moan every summer. If you are experiencing this, checking why your deck stairs squeak only when it is dry can save you a world of frustration. Another lightbulb moment came when I stopped guessing my layout and started using the 3-4-5 rule for squaring your deck frame every time. It ensures your railing systems sit perfectly flush and your composite decking lines remain straight over thirty feet. Finally, never underestimate the power of centering; I now always use the trick for perfectly centered railing balusters to avoid those awkward, thin gaps at the ends of a run that scream ‘amateur hour.’
My Trusted Toolkit for Every Build
If you want to move from DIYer to craftsman, you need a set of standards and tools that don’t cut corners. I always keep a copy of the the permit checklist handy because code compliance is the baseline for safety, not the ceiling. For the design phase, I cannot stress enough why you need a 3d model before buying a single deck board; it allows you to visualize how your pergola design will interact with the sun throughout the day. For physical tools, I rely on CAMO leverage tools for board spacing and Starborn bits for clean fastener finishes. These aren’t just gadgets; they are the difference between a deck that looks good in a photo and one that feels rock-solid under your feet for a decade.
Your New Backyard Sanctuary Awaits
Building or fixing a deck is about more than just adding square footage; it is about creating a space where you can actually relax without worrying about a wobbly rail or a steep step. Whether you are implementing innovative deck design ideas or simply refreshing your current layout, the effort you put into the math and the maintenance will pay dividends for years. By following composite decking secrets and longevity tips, you ensure that your investment remains the centerpiece of your home. Don’t be afraid to pull up a few boards to fix an underlying issue today—your future self will thank you for the peace of mind. Have you ever encountered a set of deck stairs that felt like a mountain climb? Let me know your biggest DIY deck struggle in the comments below!