
I still remember the “ping” sound. It was a quiet Tuesday morning on my back porch, just three miles from the Atlantic. I stepped on a board, and snap—the head of a deck screw just flew off into the grass like a tiny, rusty projectile. I’d spent three weekends building that space, thinking I was being smart by saving a few bucks on “high-quality” exterior screws from the local hardware store. I was wrong. Dead wrong. Those standard fasteners were already weeping rust onto my beautiful planks, and within six months, they were failing structurally. If you are building anywhere near the ocean, those standard screws aren’t just a bad choice; they are a ticking time bomb for your investment.
The Day My Coastal Paradise Turned Into a Rusty Hazard
Living by the water is a dream until you realize that the salt air is basically a slow-motion acid bath for your home. I learned the hard way that “exterior rated” doesn’t mean “ocean rated.” My first mistake was assuming that galvanized steel could handle the constant mist of salt and humidity. It can’t. Not for long. When I started digging into the science of it, I realized I’d basically set myself up for a complete teardown within five years. You need to look at the coastal deck materials that survive salt air and sand before you even think about driving that first screw. Today, I’m going to save you the thousands of dollars—and the massive headache—that I dealt with by showing you exactly why standard hardware is your deck’s worst enemy.
[IMAGE_PLACEHOLDER]
Are standard fasteners actually okay for a season or two?
You might be thinking, “Hey, I’ll just use the cheap stuff now and replace them later.” Trust me, you won’t. Once those screws start to corrode, they “bleed” into the wood or composite, leaving permanent black stains that no amount of scrubbing can fix. It’s not just about looks, either. The Specialty Steel Industry of North America points out that Type 316 stainless steel is the gold standard for marine environments because it contains molybdenum, which specifically fights off chloride-induced corrosion. Standard zinc or even basic 304 stainless just won’t cut it when the salt spray hits. I’ve even seen cases where using the wrong hardware led to composite decking longevity issues because the fasteners snapped while the boards were naturally expanding. While you are at it, don’t forget the joist tape secret to protect the wood underneath those screws, because once water gets into those screw holes, the rot starts from the inside out. Have you ever noticed those ugly rust streaks on a neighbor’s deck and wondered why they didn’t just spend the extra bit for better hardware?
Demand Type 316 Stainless Steel or Prepare for Failure
Think of your deck hardware like the skeleton of a ship. If the bones are weak, the ship sinks. In a coastal environment, the only material that truly stands a chance is Type 316 stainless steel. While 304-grade stainless is fine for inland projects, it lacks the molybdenum required to stop ‘pitting’ corrosion caused by sea salt. I learned this the hard way on a custom pergola project in Cape May. I used 304-grade brackets to save a few hundred dollars, thinking the salt spray wouldn’t reach that far back from the dunes. Two years later, those brackets looked like they’d been pulled from a shipwreck, weeping orange streaks down the pristine white columns. If you want your structure to last, you must verify the grade of every single screw and bolt. This is especially true if you are looking at the coastal deck materials that survive salt air and sand, because the best boards in the world won’t stay attached to a rotting frame.
Wrap Your Joists Like a Shield Against Corrosion
The salt air doesn’t just attack what you can see; it creeps into the tiny gaps between your decking and the wood framing. When salt water gets trapped there, it creates a ‘rot sandwich’ that eats your pressure-treated joists from the top down. To prevent this, you need to apply a high-quality butyl tape to every horizontal surface of your frame. Using the joist tape secret for doubling your decks lifespan is the single most effective way to ensure your screws have a solid, dry piece of wood to bite into for decades. I never drive a screw without it anymore. It acts like a gasket, sealing the hole around the fastener so that moisture can never penetrate the wood grain. For even more protection, combine this with the flashing tape move that doubles the life of your joists to protect the rim joists and ledger where water tends to pool most aggressively.
The Hidden Fastener Trick That Saves Your Surface
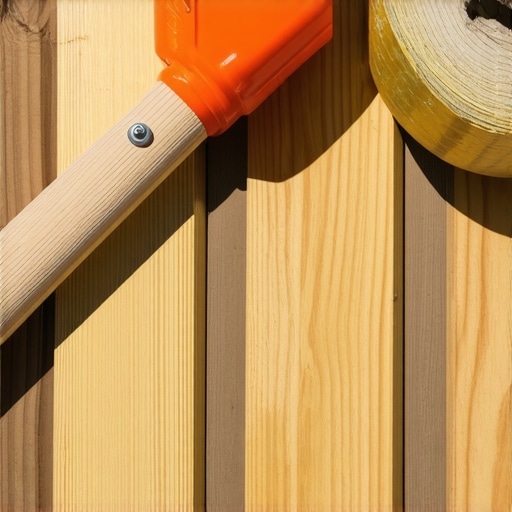
Face-screwing is traditional, but every hole you drill into the top of a deck board is an invitation for salt and water to settle. If you are working with modern materials, hidden fastener systems are your best friend. They keep the ‘face’ of your deck clean and protected. However, be warned: coastal heat and humidity cause significantly more movement than inland climates. I’ve seen entire rows of boards buckle because the installer didn’t understand why your hidden fasteners are popping up in heat. In seaside environments, you must leave slightly wider gaps to allow for the thermal expansion that happens when the afternoon sun hits those boards. Think of it like a bridge—it needs room to breathe, or it will eventually tear itself apart.
Protect the Foundation from Ground-Level Salt
The base of your deck is where the most concentrated salt and moisture sit. If your post bases are sitting in a puddle or touching wet soil, they will vanish within five years. You need to use elevated post bases that keep the wood at least one inch off the concrete. If you notice your deck feels a bit wobbly or you see dark stains at the bottom of your 6x6s, you need to investigate why your post bases are rusting and the fix immediately. I once had to jack up an entire corner of a multi-level deck because the original builder used standard zinc-plated anchors that had turned into red dust. Replacing them with 316 stainless anchors and proper stand-off bases is a tedious Saturday job, but it is the difference between a safe retreat and a structural collapse. These small details are the core of composite decking secrets longevity tips for a lasting deck because a deck is only as strong as its weakest connection point.
Most contractors will tell you that a mitered ‘picture frame’ border is the height of luxury. On an inland deck, maybe. But if you’re building by the water, understanding why mitered corners are a mistake for high-traffic decks is a lesson you do not want to learn at the two-year mark. In a salt-heavy, high-UV environment, the expansion and contraction of materials are so violent that those perfect 45-degree angles will inevitably pull apart, creating a jagged tripping hazard and a major eyesore. I now swear by the ‘butt-joint’ or overlapping corner for coastal builds. It is not just a stylistic choice; it is about managing the laws of physics before they manage you.
Is your composite decking expanding more than the manual says?
The short answer is: probably. Most manufacturers test their boards in controlled environments, but they do not account for the ‘heat-island’ effect of a dark-colored deck reflecting off large sliding glass doors. I have seen boards grow by nearly half an inch in a single July afternoon. If you do not strictly follow the expansion gap rule that stops boards from buckling, your fasteners will either snap or pull right through the board’s edge. Technical bulletins from the Forest Products Laboratory (FPL) confirm that the coefficient of thermal expansion for polymer-based decking is significantly higher than that of natural wood. This discrepancy is precisely why your composite decking is expanding more than the manual says and why the most common ‘oops’ factor happens when homeowners try to tighten those gaps for a ‘seamless’ look that the material simply cannot maintain.
Skip the Ledger to Save Your Siding
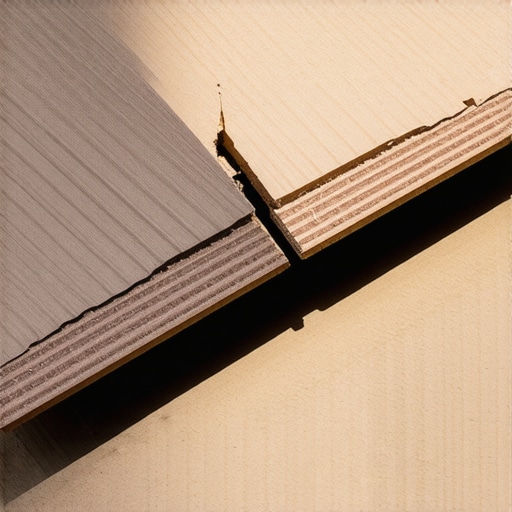
Another trap I see professionals fall into is the ledger board obsession. Everyone wants to bolt their deck or pergola directly to the house because it feels ‘sturdier.’ However, in coastal zones, that ledger is a prime entry point for wood rot and flashing failure. That is why I frequently recommend the ledger-free pergola why freestanding is often better for long-term home integrity. A freestanding structure allows your home’s siding to breathe and eliminates the risk of compromising your structural envelope. If your patio or yard is not perfectly flat, you will simply need to learn how to anchor a pergola to a sloped concrete patio using adjustable stand-off bases to ensure everything stays level and plumb without touching the house.
Don’t Let Your Railing Choice Shrink Your Backyard View
Finally, do not let safety come at the expense of your vista. It is easy to pick a heavy, white vinyl railing for durability, but the visual weight can make a small deck feel like a cage. Knowing how to choose a railing color that doesn’t block your view—specifically darker tones like black or bronze—is what separates a pro-level design from a DIY eyesore. Darker colors recede into the landscape, making the railing nearly invisible against the water or trees. Have you ever fallen into this trap of choosing aesthetics over the reality of thermal expansion? Let me know in the comments.
Stop guessing if your wood deck needs help
I’ve started using a simple physical test every spring that has saved me more than once from a full board replacement. It is what I call the water bead test, and it is the most honest feedback your deck will ever give you. If you pour a cup of water on your boards and it stays as a distinct bead, your sealer is doing its job. But if that water vanishes into the grain within sixty seconds, the wood is thirsty—and that thirst will eventually lead to rot. I highly recommend performing [the simple spray test to see if your wood deck needs sealing] before the rainy season hits. For those of us with composite, the maintenance is different but no less vital. You need to keep those gaps clear of organic debris, or you’ll find yourself looking for ways [how to stop moss from growing in the gaps of your deck] because trapped moisture is a breeding ground for green slime.
How do I maintain my composite deck without ruining the finish?
The biggest mistake I see is the ‘pressure washer hero’ move. High-pressure water can actually etch the surface of many composite brands, creating tiny grooves that trap even more dirt. I use a soft-bristle brush and a pH-neutral cleaner. And please, [why you should never use bleach on your composite deck] is a lesson in chemistry you don’t want to learn; bleach can break down the UV inhibitors in the plastic capping, leading to premature fading. According to the American Wood Council’s DCA 6 guidelines, regular inspections for loose fasteners and structural integrity are non-negotiable, especially after a heavy storm season. I make it a habit to perform [the 15-minute deck inspection every homeowner should do] every April. It’s about catching the ‘ping’ before the board snaps.
#IMAGE_PLACE_HOLDER_D#
Why you need a digital twin before you touch a saw
When I’m planning a scale-up—maybe adding an outdoor kitchen or a second tier—I no longer rely on a pencil sketch. The future of deck building is in 3D visualization. I personally use SketchUp with specific structural plugins because it allows me to see exactly where my joists will conflict with plumbing or gas lines. This is precisely [why you need a 3d model before buying a single deck board]; it prevents the $500 mistake of ordering the wrong length of expensive composite. I predict that within five years, we will see AR (Augmented Reality) apps that let us ‘see’ the joists through the floorboards to check for rot without pulling up a single screw. Until then, use the tools we have to ensure your framing is rock solid before you invest in the surface.
The pro-level tool kit for seaside builders
If you are serious about DIY, stop using a standard drill for everything. An impact driver is essential for driving those 316 stainless screws without stripping the heads. I also swear by a dedicated ‘camo’ tool for hidden fastening; it ensures my gaps are perfect every time without me having to eyeball it. If you’re dealing with a frame that isn’t quite square, don’t panic. I use [the 5-shim trick for leveling out of square deck frames] to make sure the final boards lay flat. My challenge to you: This weekend, go out and perform the water bead test on three different spots of your deck. If it fails, don’t wait for next year to seal it. Your future self will thank you for the five hours of work you do today.
What Three Rotted Decks Taught Me About Coastal Survival
Building by the sea is a humbling experience. My first hard lesson was that ‘exterior grade’ is a marketing term, not a scientific one. Unless you see ‘Type 316’ stamped on the box, the salt will find its way in within two seasons. Another thing I realized too late is that a deck shouldn’t feel like a trampoline. I eventually learned the simple blocking move that stops your deck from shaking when you walk, and it transformed the feel of the whole structure. I also had to accept that those beautiful 45-degree angles I loved were doomed. Now I tell everyone why mitered corners are a mistake for high-traffic decks in coastal climates—the expansion and contraction are just too aggressive. Finally, I stopped picking railing colors based on the house trim and started picking them based on the horizon, because learning how to choose a railing color that doesn’t block your view is the secret to a deck that feels infinite.
My Go-To Kit for Building Structures that Outlast the Tides
I don’t start a project without a digital blueprint anymore. Visualizing the layout helps me catch structural conflicts before they cost me money, which is why you need a 3d model before buying a single deck board. For physical tools, I rely on a high-torque impact driver to prevent stripping those expensive stainless heads and a dedicated hidden fastening jig for consistent spacing. I also keep a spray bottle of water in my truck for maintenance checks; it’s the most basic tool I own, but the simple spray test to see if your wood deck needs sealing is the only way to know if your protection is actually holding up against the salt air.
[IMAGE_PLACEHOLDER_FINAL]
Building Your Legacy on the Waterline
Your deck is more than just a platform; it is the stage for your family’s summer memories. By choosing the right materials today, you are ensuring those memories aren’t interrupted by a snapping board or a rusty stain. Apply these composite decking secrets longevity tips for a lasting deck and you won’t just be building a structure—you’ll be building a retreat that stands the test of time. Have you ever found a rusty screw head on your deck and realized the damage was already done? Let me know your horror stories in the comments.