
I stood there, coffee in hand, staring at the empty space between my top and bottom rails like it was a complex math equation I couldn’t solve. Choosing between round and square balusters felt less like a design choice and more like a permanent personality test for my house. If I went square, was I being too “builder-grade” traditional? If I went round, was I trying too hard to be modern? I actually spent a whole weekend holding up scrap pieces of wood and metal tubes, much to my wife’s amusement. I’ve been building decks for a long time, but that moment of indecision taught me that these tiny vertical bars carry a lot of weight—visually speaking. Today, I’m going to help you navigate this choice so you don’t end up second-guessing yourself every time you look out the window.
The Great Baluster Debate and Why It Matters for Your Curb Appeal
Early in my career, I made a classic rookie mistake: I recommended square wood balusters for a high-moisture backyard without thinking about the grain or how they would settle. Selecting the perfect railing system isn’t just about safety; it’s about how those lines interact with your home’s siding. Those wood squares warped and twisted within two seasons, looking more like a picket fence that had seen better days. Since then, I’ve learned that the shape you choose dictates the “transparency” of your view. Round balusters tend to disappear into the background, while square ones make a bold, architectural statement. We are going to break down exactly how to match your railing to your house siding so you don’t end up with a visual clash that haunts your morning coffee sessions.
Does the shape really change the view?
You might be skeptical that a half-inch difference in geometry matters, but it’s actually a trick of the eye. Round balusters allow your eyes to roll past them, making the backyard feel more expansive and open. Square balusters, especially in black or dark bronze, create a frame-like effect that draws the eye to the railing itself. If you’re using custom railing systems for safety and style, you need to decide if you want people to look *at* the railing or *through* it. According to the National Association of Home Builders (NAHB), outdoor living improvements can yield a 60-70% return on investment, but that value depends heavily on maintaining a cohesive design language.
Stop the Wobbly Post Panic Before You Start
One thing I always tell my neighbors is that no matter which shape you pick, your installation technique will make or break the project. I used to struggle with getting them perfectly plumb until I started using this simple jig for drilling straight baluster holes. It saved my sanity and my weekend. Have you ever felt like you were overthinking a small detail like this, only to realize later it was the most important part of the build? Drop a comment below if you’ve ever spent way too long in the hardware store aisle staring at two nearly identical options. We’re going to dive into the maintenance, the durability, and the longevity of both styles right now.I learned the hard way that a railing is only as good as the frame it’s bolted to. I once finished a beautiful cedar deck, only to realize the client’s heavy-set Golden Retriever could practically push the posts over with a sneeze. I had to rip up the perimeter boards to fix the lack of internal structural support. Since then, I always use the blocking trick that stops railing post wobble before the first deck board even touches the joists. Think of your deck frame like the foundation of a house; if it’s soft, everything on top will eventually lean and creak.
Nail the layout before you touch the drill
The most common mistake DIYers make is starting from one end and working to the other. You’ll end up with a full space on the left and a tiny, awkward two-inch gap on the right. It looks amateur and sloppy. Instead, find the exact center of your railing run. Mark it. Then, calculate your spacing outward so your gaps are perfectly symmetrical on both ends. This is especially vital when working with innovative deck design ideas that elevate your home’s curb appeal, where precision is the difference between a high-end look and a “weekend project” vibe.
The secret to consistent spacing every time
Don’t trust a tape measure for every single baluster; you’ll eventually drift by an eighth of an inch due to pencil thickness or human error. By the end of the rail, you could be an inch off. I use a “dummy block”—a scrap piece of 2×4 cut to exactly 3.875 inches. This ensures you stay safely under the 4-inch building code limit. Slide the block against the last baluster, snug the next one against it, and drive your screw. This ensures that whether you chose round or square, the rhythm of the lines remains perfect. If you’re building a pergola design that turns your garden into a sanctuary, this same spacing logic applies to your overhead slats for that perfect, uniform dappled shade.
Hard-won tips for working with metal and composite
Metal balusters often come with plastic or nylon “shoes” or connectors. Don’t skip these even if you think the friction fit is enough. I once tried to save time by direct-drilling into a pressure-treated rail. The copper-based chemicals in the wood reacted with the aluminum metal, and within a year, we had ugly rust-colored streaks bleeding down the wood. If you’re using composite decking secrets for your rail caps, remember that these materials expand and contract significantly more than wood. Always leave a small expansion gap at the post to prevent the rail from buckling in the July heat. 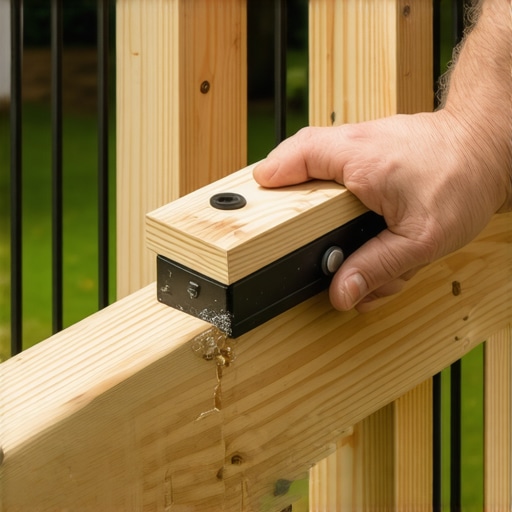
Keep the top rail rock solid
If you find your top rail has a bit of “chatter” or movement when you lean on it, you can often fix a wobbly top rail without removing the balusters by adding a mid-rail support block. It’s a small, inconspicuous piece of material that transfers the weight of the handrail directly down to the deck surface. It’s like adding a center leg to a long dining table—it prevents the “smile” sag over time. This is a must if you are planning to maximize outdoor living with low-maintenance composite decking, which is significantly heavier than traditional wood. By supporting that top rail, you ensure the safety of your family and the longevity of your hardware.Everyone loves the idea of a ‘set it and forget it’ backyard, but the biggest myth I encounter is that premium materials equal zero maintenance. In my years on the job, I have seen more failed composite decks than old wood ones, and it is usually because the homeowner—or the builder—assumed the plastic was bulletproof. When you maximize outdoor living with low-maintenance composite decking, you aren’t just buying a product; you are managing a system that expands and contracts significantly more than natural timber. Have you ever fallen into the trap of thinking a high-end material would fix a poor structural foundation? Let me know in the comments.
Why your cable railing sagged after only one winter
I often get calls from homeowners who chose sleek, modern cable systems thinking they would last forever without a touch-up. The reality is that cable tension puts immense lateral pressure on your end posts. If those posts aren’t reinforced with the blocking trick that stops railing post wobble, the cables will eventually pull the posts inward, causing that unsightly sag. According to a study by the American Wood Council (AWC), connection failure at the ledger and railing posts is the leading cause of deck-related injuries. It’s not just about the ‘look’; it’s about the physics of tension.
The hidden fastener trap that ruins your deck boards
While hidden fasteners look clean, they can be a nightmare if you don’t know how to stop composite deck boards from expanding into your siding. Most people tighten them down too hard, leaving no room for the board to breathe. When the sun hits a dark deck in July, those boards can grow by nearly half an inch. If there is no gap, they will either ‘crown’ (arch upward) or shear the screws right off. This is why I always emphasize composite decking secrets for longevity like using high-quality gapping tools. 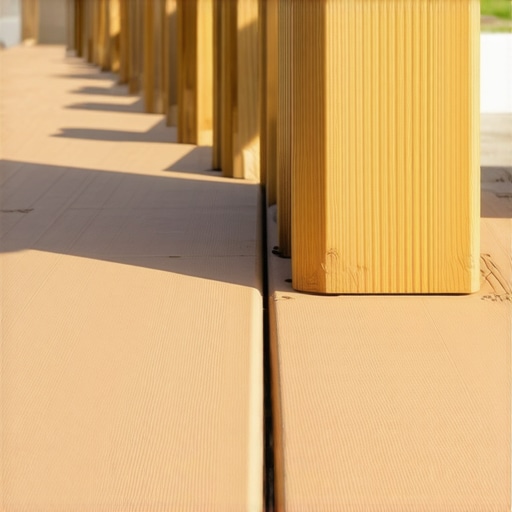
Stop ignoring the frame underneath the beauty
I’ve seen stunning innovative deck design ideas fail because the builder used cheap, standard screws into pressure-treated lumber. The chemicals used to treat modern wood (like ACQ) are highly corrosive to certain metals. If you aren’t using stainless steel or specialized coatings, those screws will vanish into dust in five years. This is the ‘oops’ factor that turns a $30,000 investment into a safety hazard. I recommend avoiding the 3-inch screw mistake that ruins composite joists by opting for structural-grade fasteners that are rated for the specific chemicals in your framing.
Can your railing actually handle a lateral load test?
Most DIYers build for ‘gravity’—the weight of people sitting on the deck—but they forget about ‘lateral load,’ or someone leaning hard against the railing. If you haven’t integrated the ledger board error that causes house leaks into your structural checklist, you might be overlooking the very point where the deck meets the house. A safe railing starts at the joist, not the post. If you are finishing a pergola design that turns your garden into a sanctuary, ensure your posts are anchored through the deck frame, not just to the surface boards. This distinction is what separates a weekend hobbyist from a seasoned pro.
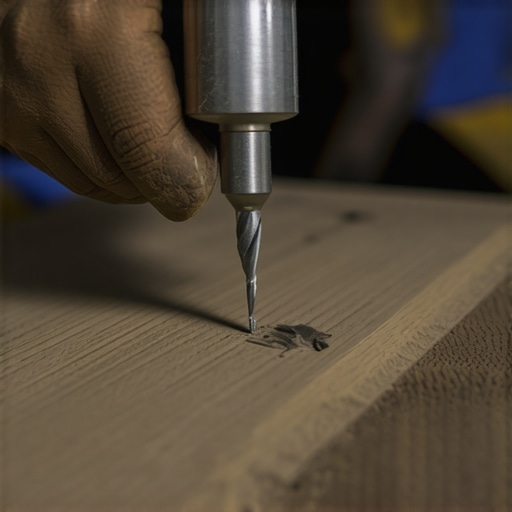
I’ve spent years refining my toolkit because, frankly, using the wrong gear on a high-end build doesn’t just slow you down—it ruins expensive materials. When you are deep into a project, you realize that the difference between a ‘good enough’ finish and a showroom-quality result is often down to a single specialized tool. For me, that’s the depth-control bit. If you’ve ever seen a deck where some screws are buried and others are sticking out, you know exactly why the jig I use for consistent deck screw depth is the first thing I pack in my truck. It prevents that ‘mushrooming’ effect where the composite material puckers around the screw head, a common eyesore that screams amateur hour. I also never start a project without a roll of high-quality tape; the painters tape hack for cutting composite boards without fraying is my go-to move for those crisp, professional-grade miters on your picture-frame borders.
How do I keep my composite deck looking brand new for the next decade?
The biggest trap homeowners fall into is thinking ‘low maintenance’ means ‘no maintenance.’ Even the best composite decking trends for modern outdoor living require a baseline level of care to prevent environmental staining. I’ve seen $50,000 decks ruined by well-meaning owners who took a power washer to the surface, stripping the protective cap and leaving it vulnerable to UV damage. That is why you should never use a pressure washer on composite boards. Instead, stick to a soft-bristle brush and the vinegar and water mix that cleans composite better than chemicals. It’s gentle, cheap, and won’t kill your landscaping. According to the North American Deck and Railing Association (NADRA), regular inspections of your hardware are the most critical part of deck longevity, as hidden corrosion in joist hangers is a leading cause of catastrophic failure. I recommend a quick check every spring; if you spot a greasy spill from a BBQ, use the soap and sponge fix for oil stains on composite decking immediately to prevent permanent discoloration.
The future of smart outdoor living is already here
As we look toward 2025 and beyond, I’m seeing a massive shift toward ‘smart’ exteriors. We aren’t just building platforms anymore; we are building integrated environments. This means things like app-controlled lighting, built-in sound systems, and even automated shade structures are becoming standard in innovative deck design ideas for 2025. The trend is moving away from the ‘big flat square’ toward multi-functional zones. If you are starting a project now, think about how your pergola trends for shade and elegance can incorporate power for heaters or fans. To ensure your structure is ready for these additions, you must avoid why your pergola needs a mid-span post you didn’t account for, which can handle the extra weight of modern tech. I challenge you to try the 15-degree cut that keeps water off your pergola beams on your next build—it’s a small, advanced detail that significantly extends the life of your timber by preventing water from pooling on top of your main structural members.
What My Scrapped Projects Taught Me About Railing Longevity
Building decks for two decades has a way of humbling you. I used to think a deck was just a floor outside, but it is actually a living structure that fights the elements every single day. Here are the biggest lightbulb moments I had after fixing mistakes I made years ago:
- Symmetry beats shape every time. Whether you choose round or square, if your spacing isn’t perfectly centered between posts, the whole deck will look off. I always start my layout from the center and work out to ensure those end gaps are identical.
- Moisture is the silent killer. Even if you are using the latest composite decking trends for modern outdoor living, water will find its way into your framing. I’ve learned that the joist tape secret for doubling your decks life is the cheapest insurance policy you can buy.
- Lateral strength is non-negotiable. A railing that feels solid when you push it might fail when someone falls against it. Always use the blocking trick that stops railing post wobble to anchor those posts into the actual joists, not just the rim board.
- Don’t ignore the house connection. The most expensive repairs I’ve ever done started with the ledger board error that causes house leaks. Flashing isn’t optional; it’s the heart of your home’s safety.
#IMAGE_PLACEHOLDER_E#
Gear That Saves Your Back and Your Budget
You don’t need a warehouse full of tools, but these four items changed my workflow from frustrating to fluid. I trust these because they prevent the errors that usually require buying more expensive lumber to fix.
- The Depth-Control Bit: To avoid that ugly mushrooming effect on your boards, use the jig I use for consistent deck screw depth. It makes every fastener look factory-installed.
- Painters Tape: It sounds simple, but the painters tape hack for cutting composite boards without fraying ensures your miters are sharp enough to shave with.
- A Baluster Jig: Stop measuring every single hole. Use the simple jig for drilling straight baluster holes to keep your lines perfectly vertical without the headache.
- A 12-foot String Line: It’s old school, but the string line trick for leveling deck joists before decking is the only way to ensure your floor doesn’t have those annoying waves when the sun hits it.
Time to Build the Deck Your Family Deserves
At the end of the day, your deck isn’t just about balusters or joists; it’s about the Saturday afternoon BBQs and the quiet mornings with your coffee. Whether you choose a classic look or one of the more modern custom railing systems for safety and style, the most important step is simply starting. You now have the professional secrets to avoid the common traps and build something that stays rock-solid for decades. Which part of the project are you most nervous about starting—the framing or the final railing install? Let me know in the comments below!