
I will never forget the evening my neighbor, Dave, shouted a compliment about my grilled asparagus from his second-story bedroom window while I was mid-bite. It was the exact moment I realized my beautiful, open-air sanctuary felt more like a fishbowl. I love my neighbors, but I do not love them that much. I needed a way to block that one specific view without turning my backyard into a fortress or losing the evening breeze. Adding a privacy screen to just one side of your pergola is the ultimate Goldilocks solution—it keeps the air flowing but kills the prying eyes, making your outdoor space feel like a true extension of your home.
That Fishbowl Feeling and How I Finally Fixed It
If you are like me, you spent hours scrolling through pergola design inspiration and dreamed of a wide-open, airy structure. But once you actually live in it, you realize that one side always feels a bit too exposed. Maybe it is the neighbor’s driveway, a busy sidewalk, or just the blinding glare of the late-afternoon sun. Today, I am going to show you how to anchor a screen that looks like it was part of the original build, not some tacky after-thought. We will cover how to choose materials that do not rot and, more importantly, how to keep the whole thing from acting like a massive sail in a thunderstorm. My goal is to help you create that secluded retreat you actually want to spend time in.
Is Adding a Screen Really Worth the Weekend Effort?
I get it—you are worried it will look clunky or block too much of the breeze that makes pergolas so great. But here is the thing: a single-side screen actually defines the space, transforming a simple frame into a functional outdoor living room. Before I figured this out, I made the classic mistake of using heavy, solid plywood panels. Not only did it look like a fence had fallen over onto my deck, but the first autumn windstorm turned my pergola into a kite. I learned the hard way that why your pergola shakes when the wind blows is often due to too much solid surface area without enough airflow. A well-placed screen is worth every second of work if you value your afternoon peace.
The Structural Lesson I Learned the Hard Way
Before you grab your drill, you need to understand that you cannot just slap a wall onto a structure meant to be open. According to engineering data from the FEMA P-759 Technical Manual, a solid vertical surface can experience wind loads that are significantly higher than the structure’s original design capacity. This is why I am a huge advocate for using louvers, lattice, or even a simple shade sail hack if you are on a budget. These options break up the wind pressure while still giving you that hideaway vibe. If you are working with an older structure, you might even want to look into how to retrofit a privacy screen properly so you do not compromise the posts. Have you ever felt your pergola sway during a gusty afternoon? It is a terrifying feeling, but I promise we can avoid it by using the notched rafter secret for maximum stability. I am curious—what is the main reason you are looking for privacy? Is it a nosy neighbor, or are you just trying to hide an ugly AC unit? Drop a comment and let me know. Now, let us get into the actual meat of the project: picking the right slats.
Pick the Right Material for Your Forever View
Before you buy a single board, you need to decide if you are a wood purist or a fan of low maintenance. I spent a long time weighing the cedar vs pressure-treated debate for pergola beams before realizing that for a vertical screen, cedar is king. It is naturally rot-resistant and doesn’t warp as aggressively as pressure-treated pine. If you want something that requires zero staining, consider matching the screen to your deck floor. Many people are discovering composite decking secrets like using thinner composite fascia boards for slats because they won’t rot and they come in colors that match the rest of your outdoor living room. Just remember that composite is heavier, so your frame needs to be beefier.
Construct a Frame That Fights Gravity
A privacy screen is essentially a wall that doesn’t have a house to hold it up. To prevent it from sagging or pulling your pergola out of alignment, you need to build an internal frame between your existing posts. I always recommend using 2x4s for the horizontal rails and securing them with heavy-duty hardware. This is where the steel bracket move for high wind pergolas becomes your best friend. Instead of just toe-nailing screws into the posts, which will eventually pull out, use structural L-brackets. I once tried to skimp on this by using 3-inch deck screws on a screen for my cousin’s house; after one winter, the whole screen was leaning like it had spent the night at a pub. Since then, I stick to 6×6 posts whenever possible because why 6×6 posts look better than 4x4s on any outdoor structure is partly due to the massive stability they offer for adding attachments like this.
The Slat Spacing Sweet Spot
This is where the magic happens. If you mount the slats too close together, you create a solid wall that catches wind like a sail. If they are too far apart, Dave from next door is still watching you eat your steak. I aim for a 3/4-inch to 1-inch gap. This provides about 80% visual privacy while letting enough air through to keep you cool. To protect the top of your screen from the elements, I always recommend the 15-degree cut that keeps water off your pergola beams and applying it to the top rail of your screen. This shed-roof effect ensures water runs off the top of the screen rather than soaking into the end grain of your vertical slats.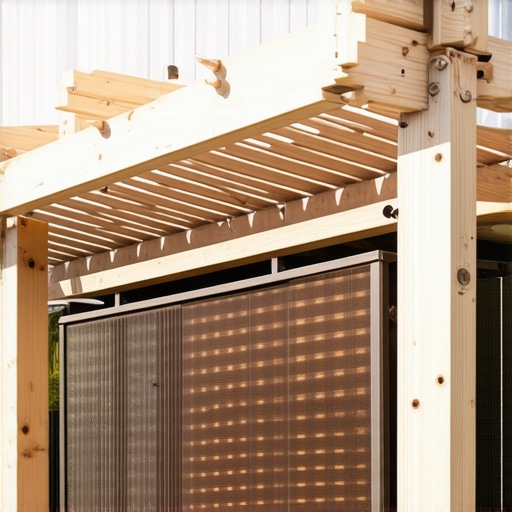
Use My Favorite Spacing Shortcut
Don’t try to measure each gap with a tape measure; you will go insane and your lines will still be crooked. I use the cardboard spacer trick for consistent board gaps, though for outdoor screens, I often swap the cardboard for a scrap piece of 1×2 wood. You just rest the next board on top of your spacer, screw it in, and move the spacer up. My first screen looked like a zigzag nightmare because I tried to ‘eye-ball’ it. When I finally finished, the top slat was two inches higher on the left side than the right. Now, I use a level on every third board just to be safe. It’s also vital to pre-drill your holes at the ends of your slats. If you don’t, the wood will split right as you drive the screw home, especially if you are working with cedar or older pressure-treated lumber.
Now, while I love the look of cedar, I know half of you are thinking: ‘Can’t I just use composite and never pick up a stain brush again?’ It’s a fair question, but here is where the ‘composite is always better’ myth starts to crumble. Most people assume that because it works on a floor, it works on a wall. In reality, composite decking is essentially a ‘heavy noodle’ compared to timber. It lacks the natural structural rigidity of wood. If you try to span a composite board more than 12 or 16 inches vertically without enough internal framing, you’ll eventually notice that ‘spongy’ feeling—or worse, a permanent, ugly bow. This is a classic case of why your composite deck feels spongy between joists, and those same laws of physics apply to your privacy wall.
The Heavy Truth About Choosing Composite Slats
The biggest nuance most people miss is the dead weight. A standard composite board is significantly heavier than its cedar counterpart. If your pergola wasn’t built with beefy 6×6 posts, adding 300 pounds of composite slats to one side can actually pull the entire structure out of plumb. I’ve seen beautiful, expensive structures start to lean because the owner didn’t understand the structural reason your pergola is leaning. According to the North American Deck and Railing Association (NADRA), adding vertical elements to a freestanding structure requires specific attention to lateral load resistance. Without proper knee braces, that heavy screen becomes a giant lever trying to tip your pergola over during a storm.
Does Composite Material Really Last Longer on a Vertical Screen?
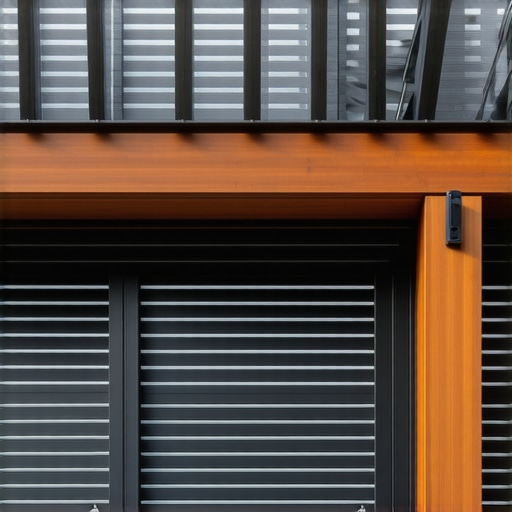
The short answer is yes, but only if you account for the chemistry of the boards. One of the biggest ‘traps’ I see—and I’ll admit I fell for this on an early project—is ignoring thermal expansion. Unlike wood, which expands mostly in width with moisture, composite expands in length when the sun hits it. If you pin those slats tight against your frame with no room to move, they have nowhere to go but out. This is why you must strictly follow the expansion gap rule that stops boards from buckling. If you don’t, come July, your perfectly flat screen will look like a bag of warped potato chips.
Keep Your Privacy Wall from Warping in the Sun
You also have to be tactical about UV exposure. You might notice why your composite decking is fading in patches if you’re using a lower-quality material on a side that gets hit by the brutal afternoon sun. I always tell my clients to look into how to identify high-quality capped decking from the cheap stuff before committing to a vertical build. Using a capped polymer for a screen is usually the smarter move because it handles heat dissipation better than older wood-plastic composites. Have you ever started a project thinking it was ‘zero maintenance’ only to find a new structural headache? Let me know in the comments. I’m curious if anyone else has dealt with the ‘buckling board’ nightmare or the unexpected weight of a composite upgrade.
The Gear You Actually Need to Stop the Sag
I’ve realized that the difference between a screen that stays straight and one that looks like a funhouse mirror often comes down to the first three screws. I never start a privacy project without a dedicated post level. It’s a cheap plastic tool that straps onto the post, but it’s the simple tool for making sure your railing posts are plumb on two axes simultaneously. If your foundation isn’t vertical, every single slat you add will amplify that lean until the whole thing looks drunk. I also swear by a self-centering drill bit. Using the drill guide hack for centered baluster holes might seem like overkill for a screen, but it ensures your screws hit the dead center of the internal frame, preventing the wood from splitting under the tension of a summer heatwave.
How do I maintain my pergola privacy screen over time?
Maintenance isn’t just about a fresh coat of stain; it’s about managing moisture traps. According to the American Wood Protection Association (AWPA) U1 Standard, exterior components like these fall under the UC3B category, meaning they are exposed to the elements but not in contact with the ground. This sounds fancy, but it practically means you have to stop water from sitting in the joints. I always check the tops of my posts once a year. If you didn’t use the copper cap trick for extending post life, you should at least clear away any debris or bird nests that hold moisture against the end grain. For the slats themselves, don’t wait for them to grey out. A quick inspection for loose fasteners can prevent a board from warping so badly it needs a full replacement.
#IMAGE_PLACE_HOLDER_D#
Stop Blasting Your Deck With High Pressure
I know it’s tempting to grab the gas-powered pressure washer and go to town on those cobwebs, but please, put the wand down. If you’ve chosen composite slats, you need to understand why you should never use a pressure washer on composite. High-pressure water can actually etch the surface of the boards, creating tiny pits that trap dirt and mold, making it impossible to keep clean later. Instead, I use the vinegar and water mix that cleans composite better than chemicals. It’s gentle, cheap, and won’t kill the hostas growing at the base of your pergola. If you want composite decking secrets for longevity, the best one is simply a soft-bristled brush and a garden hose once a season.
Where Outdoor Privacy is Heading in 2025
I’m seeing a massive shift toward ‘smart’ privacy. People are no longer satisfied with static wooden slats. We are moving toward motorized louvered systems and integrated LED tracks that hide inside the screen frame itself. I predict that within the next few years, the standard DIY screen will incorporate acoustic-dampening materials to block not just the neighbor’s eyes, but their leaf blower too. For now, the best thing you can do is build a structure that can handle these upgrades later. Start by ensuring your frame is rock solid—if you haven’t already, try applying the 15-degree cut to your top rails this weekend. It’s the smallest change that yields the biggest result in keeping your structure rot-free for a decade.
The Hardest Lesson I Learned About Vertical Wind Loads
After building a dozen of these, I realized that a privacy screen isn’t just a decoration; it acts as a giant sail in a storm. If you don’t account for lateral force, you are asking for structural failure. I always check that my pergola has enough knee braces before adding the weight of a screen. Another lightbulb moment? Dark colors absorb massive amounts of heat. If you use black slats on a south-facing screen, you will feel like you are sitting next to a radiator. I have also found that pre-drilling is non-negotiable; skipping it is the fastest way to split expensive cedar or ruin a composite board.
My Essential Toolkit for Professional Outdoor Results
You do not need a massive workshop to get this right, but a few specific tools are game-changers. I trust a good impact driver, a post level, and high-quality structural screws over standard hardware store nails every time. I always point people toward pergola designs that turn your garden into a sanctuary when they are stuck in the aesthetic phase. These resources help bridge the gap between a weekend DIY project and a professional architectural feature. For a perfect finish, I also recommend using a self-centering bit to keep your screw lines perfectly straight across the entire span.
Reclaim Your Sanctuary One Slat at a Time
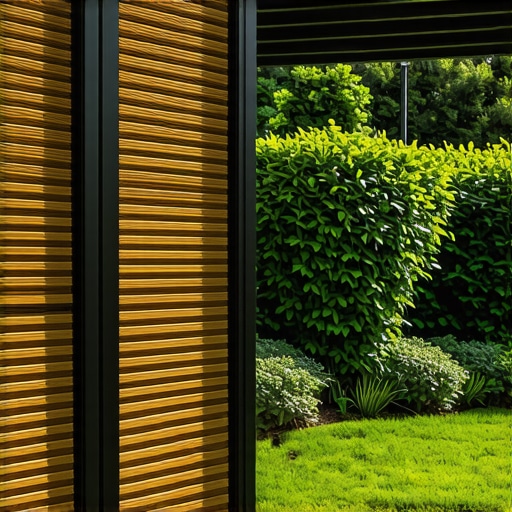
Your outdoor space should be where you recharge, not where you hide from the neighbors in discomfort. By choosing the right materials and following low-maintenance composite decking principles for your slats, you can build something that looks great for years without constant staining. Don’t let the fear of a little wind or a nosy neighbor stop you from creating the retreat you deserve. This project is the final step in making your structure feel like a true outdoor living room rather than a skeletal frame in the yard. Have you ever tried building a privacy screen only to have the wood warp or twist on you after the first rain? Let me know in the comments below!