
I’ll never forget the sinking feeling in my gut when I laid that final piece of expensive composite decking on my first solo project. I had spent weeks sweating over the ledger and the posts, but as I reached the outer rim, the board didn’t just hang over the edge; it looked like it was trying to escape the house at a fifteen-degree angle. My rectangular masterpiece had somehow become a trapezoid. It was a 3-inch gap that no amount of trim or clever carpentry could hide. I had to rip up four hours of work because I was too arrogant to check my diagonals properly. That day, I learned that a deck is only as good as the geometry you start with, and if you don’t respect the math, the wood will eventually humiliate you.
Stop Chasing Your Tail with a Tape Measure
Building a deck that is actually square isn’t just about making things look pretty. It’s about the physics of the entire structure. If your frame is out of whack, your railing systems won’t align, your stairs will feel spongy, and you will eventually face the chalk line error that ruins your picture frame border. I used to think I could just ‘eye it’ or trust my speed square, but those are rookie mistakes. These days, I don’t move a single joist until I’ve executed the 3-4-5 triangle move for squaring up a new deck frame. It is the only way to ensure your foundation is rock solid before you even think about the finish. According to the International Association of Certified Home Inspectors, a significant portion of deck failures and aesthetic issues start with foundational layout errors that compound as the build progresses. You might think a quarter-inch doesn’t matter, but by the time you reach the outer rim, that quarter-inch has invited all its friends over to ruin your weekend.
Is this extra hour of measuring really worth the effort?
I get it. You’re excited. You want to see those beautiful boards go down and start planning the first BBQ. But rushing the frame is the fastest way to turn a high-end project into a DIY disaster. When you look at composite decking secrets for longevity, the number one tip is always a flat, square frame. Without it, the boards will expand and contract unevenly, leading to those annoying gaps that trap leaves and debris. I’ve spent more time fixing ‘wavy’ decks than I care to admit, and almost every single one of them could have been saved if the builder had just slowed down at the start. Have you ever reached the end of a long day of framing only to realize your corners were a mile off? It’s a heartbreaker, but today we are going to make sure that never happens to you again. We are going to walk through the exact process I use to lock in a frame so tight you could set a clock by it.
I remember a job back in ’19 where the homeowner had a ‘feature’ wall that was essentially a gentle curve. If I had bolted the ledger directly to that siding, every single joist would have fanned out like a deck of cards. I had to use spacers and the ledger gap fix that prevents house siding rot to create a perfectly straight starting line. You have to treat the ledger as your ‘Ground Zero.’ If that line isn’t straight, nothing else matters.
Trust the String Line More Than the House Wall
The biggest mistake is assuming your house is square. It isn’t. Houses settle, foundations shift, and siding can be deceptive. I always pull a string line about 6 inches out from the house and parallel to the ledger. This becomes my ‘true’ line. From here, you can determine if you need to adjust your post holes or if you need to shim the ledger. This is the same principle I use when teaching the string line trick for leveling deck joists before decking. If you don’t have a straight reference point, you’re just guessing in the dark.
Make the 3-4-5 Rule Your Best Friend
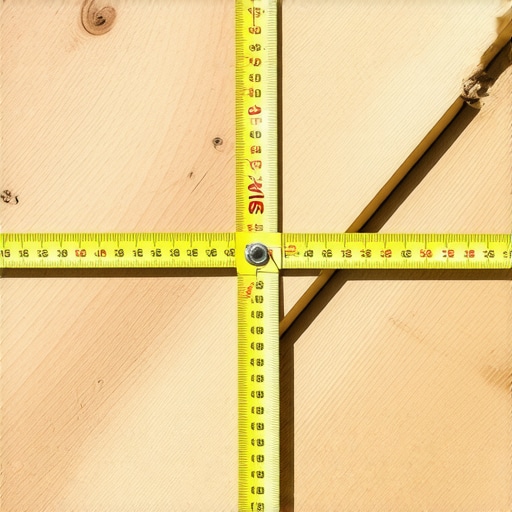
Once your ledger is set, it’s time for the math. You don’t need a degree in geometry; you just need a sharp pencil and a reliable tape measure. From the corner of your ledger, measure 3 feet along the board and mark it. Then, from that same corner, project a perpendicular line—your future rim joist location—and mark 4 feet. The distance between those two marks must be exactly 5 feet. If it’s 5 feet and one inch, your deck is squinting at the neighbor’s yard. I’ve seen guys try to use small framing squares for this, but on a 20-foot deck, a 12-inch square is about as useful as a chocolate teapot. You need the scale of the 3-4-5 triangle move for squaring up a new deck frame to catch errors before they grow.
Batter Boards Give You Room to Breathe
Don’t just drive a stake where you think the post goes. Build batter boards—simple L-shaped frames made of scrap wood—about two feet beyond your actual deck footprint. By running your string lines over these boards, you can slide the strings back and forth until the 3-4-5 math works perfectly. This is a trick I stole from my days building pergola designs that turn your garden into a sanctuary. It allows you to mark your post holes on the ground without losing your ‘square’ reference point. If you hit a rock and have to move a post slightly, you still have your strings to tell you exactly how much you’re cheating.
The Diagonal Check That Saves Your Weekend
After you have your four corners marked and your rim joists tacked in place, you need the ultimate verification: the diagonal measurement. Measure from the front-left corner to the back-right corner, then do the same for the other side. These two numbers must be identical. If they are off by more than a quarter-inch, stop everything. An out-of-square frame is the primary reason why the 3-second push test for wobbly railing systems fails later on—the posts won’t be aligned, and the tension will be uneven. When you eventually start laying your boards, especially if you’re using the chalk line move for aligning hidden fasteners fast, a square frame ensures that your screw lines are laser-straight from the house to the rim.
Why Even a Tiny Error Compounds
Think of your deck frame like a ladder. If the bottom rung is tilted slightly, by the time you get to the tenth rung, you’re leaning dangerously to the side. On a deck, this shows up as ‘wedging.’ You’ll find yourself having to rip a board into a long, skinny triangle just to finish the deck surface. This ruins the look of composite decking, which is designed for uniform gaps. I once watched a guy try to hide a 2-inch variance using the diagonal bracing secret for ultra-stiff deck stairs, but it didn’t work—the geometry simply wouldn’t allow the treads to sit flat. Save yourself the headache; measure twice, swear zero times.
Once you’ve mastered the 3-4-5 rule and locked in your corners, most people think the hard part is over. They assume the rest is just slapping down boards and screwing in some pickets. But this is exactly where the most expensive mistakes happen. Everyone tells you that hidden fasteners are the ultimate premium choice for a clean look, but in my experience, they can actually be a liability if you aren’t careful. If you’re using wide-profile boards in a climate with extreme temperature swings, those little clips can act like tiny pry bars against your joists. This is one of those reasons why hidden fasteners fail on wide profile boards that homeowners rarely hear about until their deck starts creaking like an old wooden ship.
The Physics Problem Your Contractor Won’t Mention
The real ‘hidden nuance’ of high-end decking isn’t the material itself; it’s the differential movement between the frame and the surface. Your pressure-treated lumber frame is basically a giant sponge that expands and contracts with moisture. Your composite surface, however, expands and contracts based on heat. When these two materials fight each other, the wood usually wins. I’ve seen beautiful installations literally tear themselves to pieces because the builder didn’t account for why your pressure-treated frame is pulling your composite apart. According to the North American Deck and Railing Association (NADRA), structural failures often stem from ignoring these localized stresses at connection points. You might have the best composite decking secrets for longevity, but if your frame is moving 30% more than your surface, something is going to snap.
Should you really trust your railing posts to the rim joist alone?
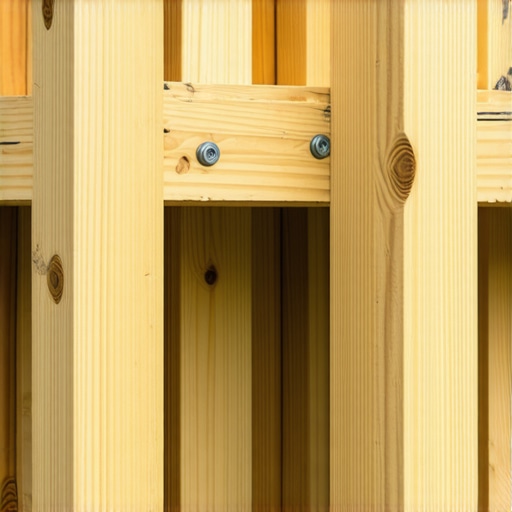
This is the ‘trap’ that catches even seasoned DIYers. You bolt a post to the rim joist, it feels solid, and you move on. But two years later, after three winters of the wood drying out, that post is wobbly enough to make a guest nervous. I never install a railing system without using the blocking trick that stops railing post wobble. You need to tie that post into the internal joist structure, not just the outer skin of the deck. Without that internal leverage, you’re just waiting for the leverage of a leaning adult to strip your lag bolts. This is especially critical when you’re looking at the complete guide to choosing railing systems—the style won’t matter if the foundation is mushy.
The Winter Cable Sag Myth
If you’re eyeing those sleek cable railings, here is a warning: they aren’t ‘set and forget.’ I often see people over-tension their cables in the summer to get that ‘guitar string’ ping, only to find their corner posts bowed inward by February. The cold causes the metal to contract, and if you haven’t reinforced your corners, the physics of a Canadian or Midwestern winter will win every time. There are 3 mistakes that make your cable railing sag every winter, and most of them involve failing to use the hidden bracing move for rock-solid corner posts. Don’t be the person who has to re-tension their entire deck twice a year because they skipped the structural blocking. Have you ever fallen into this trap or noticed your deck ‘moving’ as the seasons change? Let me know in the comments below.
Maintaining that rock-solid feel starts with the tools you use to set it up, and if there is one piece of kit that changed my workflow more than anything else, it’s a high-visibility green beam laser. For years, I struggled with water levels and 8-foot bubbles, but once I switched to a pro-grade unit, my accuracy skyrocketed. I use the level and laser method for setting pergola heights alone, and it eliminates the ‘helper error’ where your buddy tells you the bubble is centered when it definitely isn’t. When you’re dealing with composite decking trends, even a 1/16th of an inch dip in a joist shows up as a shadow when the sun hits it. This laser ensures the plane of the deck is as flat as a billiard table.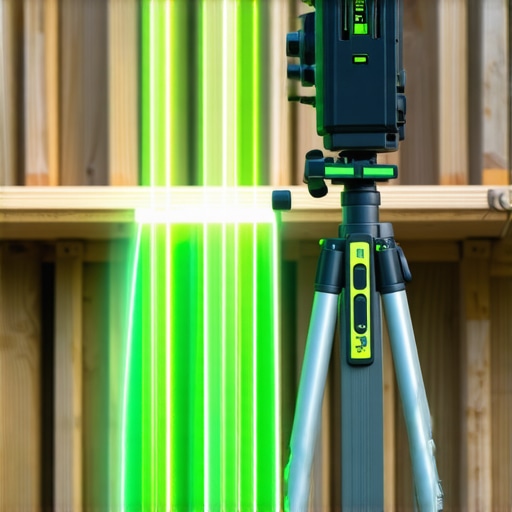
How can I keep my deck looking brand new for twenty years?
The secret isn’t some expensive chemical sealer you buy at a big-box store. In fact, most of those ‘miracle’ cleaners actually strip the protective capping off your boards. I always tell clients that why you should never use a power washer on composite boards is the most important lesson they’ll learn. High pressure forces water into the wood-flour core of older composites, leading to internal rot. Instead, I stick to the vinegar and water mix that cleans composite better than chemicals. It’s cheap, it’s eco-friendly, and it won’t kill your hydrangeas. For the structural side, I swear by the joist tape secret for doubling your decks life. Covering those top edges of the pressure-treated lumber prevents the ‘sponge effect’ where water sits between the board and the joist.
The Maintenance Gear I Actually Carry
If you look in my truck right now, you won’t find a bucket of bleach. You’ll find the jig i use for consistent deck screw depth and a simple soft-bristle brush. According to Simpson Strong-Tie’s Tech Bulletin on Deck Maintenance, structural integrity is often compromised by ‘invisible’ corrosion in the connectors. This is why I inspect every bracket once a year. I also keep a heat gun handy—not for the frame, but because of how to fix scuffs on dark composite boards with a heat gun. It’s like magic; it blends the plastic fibers back together and saves you from replacing a whole board just because someone dragged a grill across it. Looking ahead, I see a massive shift toward ‘Smart Decks.’ We are already seeing prototypes for moisture sensors embedded in the joists that can text your phone if there’s a leak behind the ledger. It sounds overkill, but if it prevents a $20,000 deck collapse, it’s the future. For now, focus on the basics. I challenge you to go out this weekend and try the garden hose test for proper deck water runoff. If that water is pooling anywhere near your house, you’ve got work to do before the next storm hits.
Hard Truths I Learned from Twenty Years on the Ledger
Over the years, I’ve realized that the ‘perfect’ deck doesn’t exist, but a durable one does. One of my biggest lightbulb moments was understanding why pressure treated wood still rots under joist tape if you don’t allow for proper airflow at the edges. I also learned that knowing how to stop your deck from squeaking when you walk is often a matter of choosing the right hidden fasteners rather than just over-torquing old screws. Finally, remember that every board has a ‘crown’—always point it up so the deck stays flat as it settles, a small detail that prevents unhelpful puddling during rainstorms.
Tools That Will Actually Save You Time
If you’re serious about your craft, invest in a high-quality laser. It’s the only way to truly maximize outdoor living with low maintenance composite decking when working over long, complex spans. I also never start a railing project without the simple jig for drilling straight baluster holes; it turns a tedious afternoon into a thirty-minute breeze. For design inspiration, I always check out innovative deck design ideas for 2025 to stay ahead of the trends my clients are asking for.
#IMAGE_PLACEHOLDER_E#
Step Back and Admire Your Hard Work
A well-built deck is more than just wood and screws; it’s the stage for your family’s future memories. Whether you’re planning a massive multi-level layout or a simple platform, focus on the fundamentals of deck design and the precision of your frame, and the rest will fall into place. You’ve got the knowledge, the math is on your side, and your tools are ready. Now go grab your tape measure and make it happen.
Have you ever had a deck frame go out of square on you halfway through the build? Let me know your recovery stories or questions in the comments below!