
I stood there for twenty minutes, coffee getting cold, staring at the corner of my new pergola. It was supposed to be my Mediterranean escape, but all I could see were those chunky, galvanized hurricane ties. They looked like they belonged on a bridge overpass, not in my garden. I’d spent a fortune on high-quality cedar, only to have the aesthetics murdered by silver steel plates and a dozen hex-head screws. That was the moment I realized that if I wanted a professional look, I had to stop building like a weekend warrior and start thinking like a timber framer.
Earlier in my DIY journey, I made a massive mistake trying to hide the mess. I thought I could just toe-screw everything from the top and hide it with wood filler. Not only did the rafters look shaky, but learning how to fix a pergola rafter that is starting to twist became my nightly reality because those joints had zero rotational resistance. I even split a beautiful beam by over-torquing lag bolts without a pilot hole. Trust me, you don’t want to hear the sound of two hundred dollars worth of lumber cracking in half. Today, I am going to show you how to get that high-end, seamless look without sacrificing an ounce of safety.
Ditch the Industrial Look for a Clean Finish
We all want pergola designs that turn your garden into a sanctuary, right? But achieving it requires a bit of a magic trick. The hidden bracket hack involves using specialized internal connectors or the notched rafter secret for a pergola that never wobbles to bury the structural support inside the wood itself. This isn’t just about vanity; it’s about creating a structure that looks like it grew out of the ground as one solid piece. When you pair this with the knowledge of why 6×6 posts look better than 4x4s, you move away from that spindly kit look and into the realm of custom architecture.
Today, I’m going to walk you through how to use internal tensioners and modified joinery to make those steel plates disappear. We will solve the riddle of the wobbly beam and the ugly screw head once and for all. Have you ever looked at your outdoor structure and felt like the hardware was a total eyesore? I would love to hear if you have tried painting them or if you are finally ready to hide them entirely.
Can You Really Trust a Connection You Can’t See?
This is the big one. I get asked all the time: If I can’t see the bracket, how do I know my roof won’t fly away in a storm? It’s a fair fear. However, modern engineering has come a long way. According to the American Wood Council, the integrity of a wood-to-wood connection often relies more on the depth of the fastener and the surface area of the bearing than the visibility of a steel plate. By using hidden structural screws and internal knife plates, you’re actually creating a more rigid joint than a standard surface-mounted bracket could ever provide. It prevents the sway that causes long-term fatigue, especially if you have had to deal with why your pergola shakes when the wind blows in the past.
The secret to a high-end look isn’t necessarily more expensive wood; it is about making the mechanics of the structure invisible. When I built my first deck, I used standard joist hangers and L-brackets everywhere. It was solid, but it looked like an erector set. Now, I use the ‘shoulder’ method. By creating a housing in the main beam, the rafter sits inside the wood rather than just hanging on the side. This is the notched rafter secret for a pergola that never wobbles. You are transferring the weight directly onto the fiber of the wood post rather than relying on the shear strength of a few screws.
Bury Your Structural Support in the Wood
To get that seamless transition, you need to start using internal knife plates or structural timber screws. Unlike standard lag bolts that leave a massive hex head sticking out, structural screws have a low-profile head that can be countersunk and plugged with a wood bung. Last year, I was working on a project where the client wanted a completely clean ‘floating’ beam look. We used the hidden bracket trick for perfectly rigid railing posts and adapted that logic to the main pergola headers. By boring a hole into the center of the beam and using a hidden steel tensioner, we achieved a rock-solid connection that looks like it is held together by gravity alone.
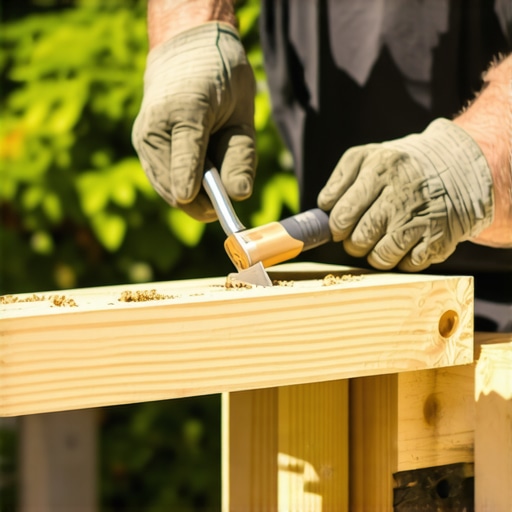
If you find that your rafters are already installed and you missed the chance to notch them, don’t panic. You can still learn how to fix a pergola rafter that is starting to twist by adding blocking that is color-matched to your cedar. This blocking provides the lateral stability you missed out on without needing to rip the whole thing down. I’ve seen too many people try to fix a lean by just slamming more metal into the corners, but that usually ignores the structural reason your pergola is leaning in the first place: lack of rotational resistance at the joints.
Ditch the Scrawny Posts for 6×6 Timbers
Scale is the silent killer of great design. A common mistake is using 4×4 posts because they are cheaper and easier to handle. However, why 6×6 posts look better than 4x4s on any outdoor structure comes down to the ‘visual weight.’ A larger post allows you to cut deeper notches for the beams to rest in without compromising the core strength of the timber. Think of it like the foundation of a house; if it looks thin, the whole structure feels temporary. When you have that extra meat in the wood, you can also implement the 15-degree cut that keeps water off your pergola beams, ensuring that rain doesn’t sit on top of the flat surfaces and start the rot process early.
Protect the End Grain from the Inside Out
Water is the enemy of any hidden connection. Because hidden brackets often involve cutting deep into the heartwood, you are exposing the most vulnerable part of the timber to moisture. I learned this the hard way when I noticed why pergola rafter tails always rot first on a job I did five years ago. I hadn’t sealed the internal notches. Now, I apply a copper naphthenate solution inside every notch and screw hole before the hardware goes in. This creates a chemical barrier inside the ‘hidden’ part of the joint, so even if moisture seeps in, the wood won’t soften and cause the hardware to pull loose over time.
Most pros tell you hidden fasteners are the only way to go for a premium look. I used to agree, until I started getting calls about popping noises and warped boards three years post-install. The truth is, why hidden fasteners can be a maintenance nightmare comes down to the lack of mechanical bite. If you’re building in a climate with 40-degree temperature swings, those clips don’t always hold the material as well as a direct-drive screw. The biggest oops I see advanced DIYers make is ignoring the expansion coefficients. I’ve seen beautiful mitered corners on pergolas and decks literally pull themselves apart because the builder didn’t follow the expansion gap rule that stops boards from buckling. According to data from the North American Decking and Railing Association (NADRA), structural failures often stem from moisture trapped in tight joints that were never meant to be flush.
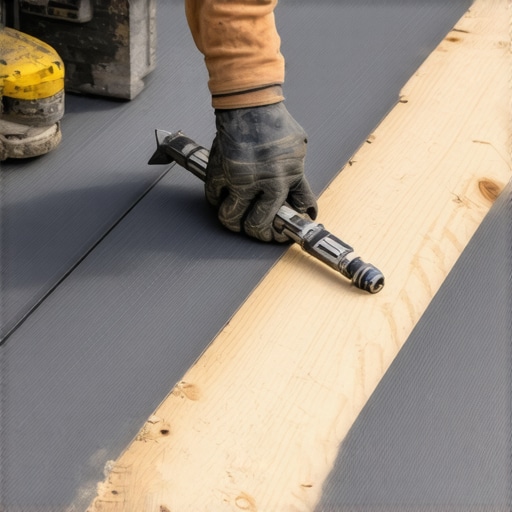
Let’s talk about crowning. You might notice your boards curving upward like a rainbow. Usually, why your composite boards are crowning and how to fix it is a ventilation issue, not a product defect. If you don’t have adequate airflow under the structure, the bottom of the board stays damp while the top bakes in the sun. This differential drying is what kills the dream of a flat surface and eventually compromises the joists below. Have you ever fallen into this trap where you prioritized aesthetics over the physical laws of thermal expansion? Let me know in the comments.
Does Your Railing Meet the Lateral Load Test?
People focus so much on the pergola rafters that they slap the railing on as an afterthought. This is dangerous. The International Residential Code (IRC) requires railings to withstand a 200-pound concentrated load at any point along the top rail. If you are just screwing a post into the rim joist without structural blocking, you are failing the safety test. I always use the hidden bracket trick for perfectly rigid railing posts which involves through-bolting into internal blocking. You can then use how to hide stair railing hardware with custom trim blocks to make the safety features look like a seamless extension of the architecture. Digging into these composite decking secrets for longevity will save you thousands in rebuild costs and keep your backyard sanctuary standing for decades.
I have learned the hard way that the best way to prevent a mid-project meltdown is to build the entire structure in a digital environment first. Before you pick up a saw, you need to understand why you need a 3d model before buying a single deck board. It allows you to catch those awkward joist overlaps or railing post collisions before they cost you real money in lumber. I use SketchUp for my layouts, which lets me visualize exactly where the hidden brackets will live and how my composite decking trends will actually look against the house siding.
The Tools That Separate Pros from Amateurs
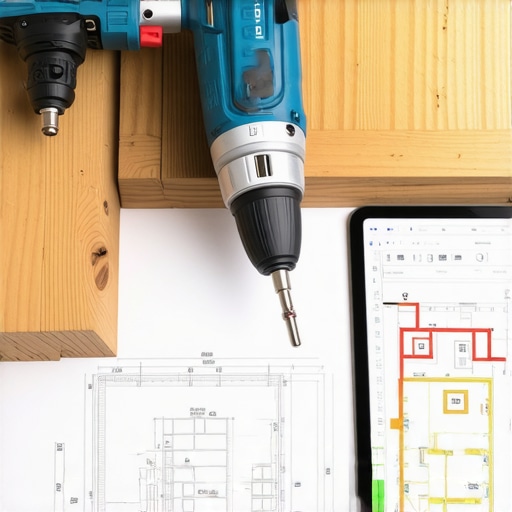
If you are still using a standard cordless drill for everything, your wrists are going to hate you by day two. I switched to a high-torque impact driver for all my structural work because it prevents the screw heads from stripping and ensures a tighter seat in dense materials like Ipe or pressure-treated pine. When it comes to the safety of your family, I always recommend using the simple tool for making sure your railing posts are plumb: a dedicated post level. A standard torpedo level is fine for a picture frame, but on a 42-inch railing post, even a sixteenth of an inch at the base turns into a glaring lean at the top.
For the fasteners themselves, I rely on technical documentation from the Journal of Light Construction (JLC), which highlights that structural screws with a built-in washer head offer significantly better pull-through resistance than old-school lag bolts. This is critical when you are integrating the steel bracket move for high wind pergolas. I also never start a project without a roll of butyl tape. You should run the deck joist tape test to see how it stops rot for yourself; it creates a waterproof seal around every screw penetration, effectively doubling the lifespan of your substructure.
How do I maintain my deck and pergola over the long haul?
Maintenance is where the ‘set it and forget it’ crowd gets into trouble. Even if you chose the most low-maintenance composite decking, you still have to deal with the elements. Rule number one: why you should never use a pressure washer on composite is because the high PSI can actually tear the plastic fibers and create permanent scars. Instead, a simple soft-bristle brush and mild soap will do. You also need to keep an eye on the gaps; I regularly check to stop moss from growing in the gaps of your deck because trapped organic matter is the primary cause of joist decay.
I suggest setting a calendar reminder for the 15-minute deck inspection every homeowner should do each spring. Look for loose fasteners, checking in the wood, and any signs of movement in the railing. Looking ahead, I see the industry moving toward fully integrated ‘smart’ structures—think pergolas with built-in, weather-sensing louvers and decks with integrated biophilic drainage systems. The trend is shifting from just ‘outdoor space’ to ‘outdoor living rooms’ that require the same level of architectural detail as your kitchen.
If you really want to elevate your craftsmanship today, I challenge you to try the 15-degree cut that keeps water off your pergola beams on your next rafter install. It is a small detail that shows you are thinking about the next twenty years, not just the next twenty minutes. If you have questions about how to scale these tips for a larger project, feel free to contact us or check out our composite decking secrets for longevity.
Hard Lessons From My Pile of Scrapped Cedar
I didn’t become a pro overnight. My early projects are a graveyard of lessons learned the hard way. One thing I know for sure now is that rushing the layout is the fastest way to double your workload. I used to think I could ‘eye it,’ but the secret to a perfectly square deck frame or pergola header is all in the initial string lines. If your base is off by even half an inch, those beautiful hidden brackets won’t align, and you’ll be fighting the wood every step of the way.
Another lightbulb moment came when I stopped trying to save twenty dollars on cheaper wood. I eventually realized why I stopped using pine for pergola rafters: the twisting and warping simply isn’t worth the headache when you are trying to maintain tight, professional tolerances. I also learned that bureaucracy is a tool, not just a hurdle. Always checking the permit checklist what most diy-ers forget to ask saves you from the nightmare of a city inspector telling you to tear down your masterpiece because a footer was two inches too shallow.
The Gear That Makes My Projects Feel Professional
You don’t need a warehouse full of tools, but a few specific items changed my life as a builder. First, a high-quality 3D modeling software like SketchUp is non-negotiable for me now; it is the only way to visualize innovative deck design ideas that elevate your homes curb appeal before making a single cut. For the physical build, I swear by GRK structural screws for their sheer strength and the ability to disappear into the wood with a simple plug.
I also never go on-site without the simple tool for making sure your railing posts are plumb—a dedicated post level is worth its weight in gold. When it comes to the finishing touches, I always consult a guide on how to select the perfect railing system for every deck to ensure my hardware matches the architectural vibe of the house. These aren’t just gadgets; they are the difference between a project that looks ‘DIY’ and one that looks like a high-end commission.
Start Building the Sanctuary You Deserve
Taking that first step toward a major backyard upgrade can be intimidating, but the rewards are permanent. By focusing on the hidden details and structural integrity, you aren’t just building a shade structure; you are creating a legacy for your home. Whether you are using composite decking secrets for longevity or mastering the art of the hidden bracket, your dedication to the craft will show in every joint. Go out there and create those pergola designs that turn your garden into a sanctuary. What’s the one part of your pergola or deck project that’s keeping you up at night—the brackets, the wood choice, or the layout? Let me know in the comments below!