
I remember the morning I decided to rearrange my deck oasis. I grabbed the edge of a massive terracotta pot, gave it a heave, and heard a sickening, squelchy crunch. Underneath that beautiful hydrangea was a patch of wood that looked more like wet chocolate cake than structural timber. I’d spent thousands on custom railing systems and premium lumber, only to let a forty-dollar pot eat a hole through my investment. It was a classic rookie mistake, and honestly, I felt like a total amateur standing there with a handful of wood pulp. If you love your garden as much as your deck, you need to understand that moisture is a silent killer that works hardest when you aren’t looking. Today, I’m sharing the exact fix that prevents this nightmare so you can keep your greenery without ruining your boards.
Stop Letting Your Planters Kill Your Deck Boards
Most of us think that as long as there is a hole in the bottom of the pot, we are good. We aren’t. Water doesn’t just vanish; it sits in that tiny capillary space between the pot and the wood, creating a perfect petri dish for rot. I have seen homeowners switch to low-maintenance composite decking thinking it solves everything, but even then, trapped moisture can wreak havoc on the underlying wood frame. I made the mistake of thinking my joist spacing for heavy ceramic planters was the only thing I had to worry about. I was wrong. If you have ever noticed your deck feels bouncy, you might already have a moisture issue festering under your feet. Have you ever moved a pot and found a dark, damp ring staring back at you? It is a gut-wrenching sight, isn’t it? Let me know in the comments if you have discovered a soft spot before it was too late.
Does a Few Extra Inches of Air Really Make a Difference?
You bet it does. Airflow is the only thing standing between a healthy deck and a total teardown. According to the American Wood Council, moisture content in wood must be kept below 20 percent to prevent decay fungi from taking hold. When a planter sits flush on the surface, that wood stays at 100 percent saturation for weeks after a rainstorm. I learned the hard way that proper deck water runoff isn’t just for the main boards; it is about every square inch of the surface area. Using a drainage move that saves your deck is much cheaper than replacing a structural beam. We are going to look at how to lift those pots and get the air moving again, using simple tools like a shim trick for leveling and drainage.
Elevate Your Greenery or Pay the Price Later
The solution to trapped moisture isn’t to get rid of your plants, but to change how they interact with the surface. Think of a wet sponge sitting on a wooden table; that is exactly what a flat-bottomed planter does to your deck boards. To fix this, you need to break the surface tension and let the air circulate. Even when following composite decking secrets for longevity, physical separation is your best friend. I now use small, discreet rubber risers or ‘pot toes’ for every single container. They are like tiny jacks that lift the pot just enough to allow the wind to whip underneath and dry out any spills or rain.
The Pot Toe Solution for Better Airflow
When you lift a pot even half an inch, you are essentially installing a miniature version of the drainage secret for decks built close to the ground. Airflow acts as a natural desiccant. I remember a particularly rainy July where I was certain my new ipe boards would start spotting. Because I had used risers, the wood dried out within hours of the clouds clearing, while my neighbor—who didn’t use them—spent the rest of the summer scrubbing stubborn mold circles. 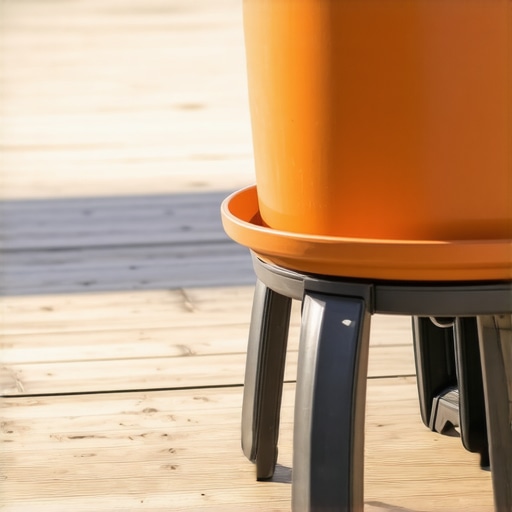
Don’t Ignore the Weight Limits of Your Frame
It isn’t just about the rot; it is about the sheer physics of a heavy, water-logged ceramic pot. If you place a 200-pound planter directly between two joists, you are asking for trouble. I once saw a deck where the boards had actually bowed downward under the weight of three massive lemon trees. This kind of localized stress is why you must understand the joist spacing secret for decks with heavy ceramic planters. If your frame wasn’t built for that specific load, you will eventually find that the structural reason your deck feels bouncy is actually a series of stressed or snapped fasteners hiding under those beautiful pots.
A Quick Layer of Protection for the Joists Below
If you are in the middle of a build or a major board replacement, take ten extra minutes to apply joist tape. Using the flash and tape method for protecting deck joists creates a waterproof barrier over the top of the lumber. This is vital because even with pot risers, water can still seep into the screw holes. I made it a rule on my last project to never drive a screw without tape underneath. It is the flashing tape move that doubles the life of your joists by preventing the wood from swelling and shrinking around the fastener. This keeps your structure rigid and prevents those annoying popping boards that plague older decks.
It’s easy to get seduced by the ‘invisible’ look. We spend weeks browsing innovative deck design ideas and stunning deck design strategies only to pick the one feature that might actually cause the most headaches: hidden fasteners. The industry sells these as the ultimate aesthetic upgrade, but in my experience, they are the hidden maintenance nightmare that most homeowners don’t see coming until the first heatwave hits. The contrarian truth? Face-screwing your boards is often structurally superior. While a seamless surface looks great, those tiny clips often fail to account for the sheer force of thermal expansion. According to research by the Forest Products Laboratory (FPL), composite materials can expand and contract significantly more than natural timber. When you use hidden clips, you’re essentially asking a small piece of plastic or thin metal to hold back hundreds of pounds of lateral force as the boards grow in the sun. This is exactly why your hidden fasteners are popping up in heat.
How do extreme temperature swings affect your fastener tension?
If you live in a climate with four seasons, your deck is a living, breathing thing. I’ve seen beautiful installs where the expansion gap rule that stops boards from buckling was followed to the letter, yet the fasteners still snapped because the joists underneath—often pressure-treated pine—weren’t moving at the same rate as the composite top. It creates a mechanical tug-of-war. This is a classic ‘oops’ factor: assuming all materials react to the sun in the same way. Have you ever noticed a board starting to ‘walk’ or shift toward one end of the deck? It’s usually because the hidden fasteners on one side have lost their bite. Even when you select the perfect railing system, the structural movement of the floor can telegraph up into your posts. 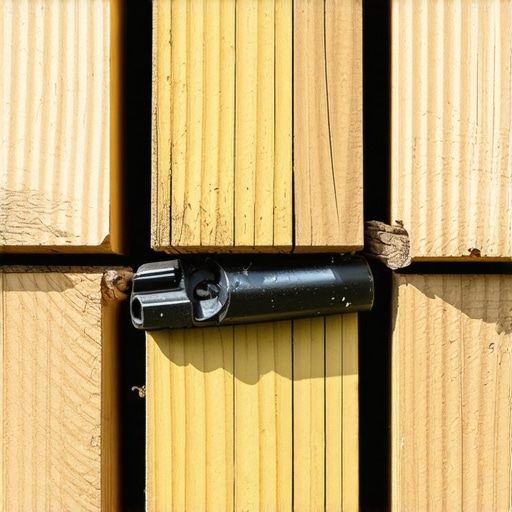 I’ve gone back to jobs where aluminum railing post caps keep falling off or black aluminum railing gets too hot to touch because the installer didn’t account for the micro-movements of the structure. If you aren’t using the hidden bracket trick for perfectly rigid railing posts, you’re eventually going to feel that dreaded wobble when you lean against the rail. The real secret to a high-end finish isn’t hiding every screw; it’s knowing where to use the PVC glue trick for gap-free composite miters and where to prioritize raw mechanical strength. Have you ever fallen into the ‘clean look’ trap only to have a fastener pop out a month later? Let me know in the comments—I’d love to hear how you handled the repair.
After years of fixing decks that looked perfect on the surface but were rotting from the inside out, I have become a bit of a fanatic about my toolkit. You do not need a shed full of heavy machinery, but you do need the right precision instruments. For me, the game-changer was moving away from eyeballing my layouts and embracing a high-tension string line. If you want to avoid that wavy, amateur look, using the string line secret for perfectly level railing runs is the only way to ensure your posts line up like soldiers. I’ve seen too many DIYers rely on a standard level that is slightly out of whack, leading to a railing that looks like a roller coaster after thirty feet.
The Gear That Actually Saves Your Back and Your Boards
I also never step onto a job site without a dedicated cable tensioning gauge. If you are going for that high-end look, the tensioner secret for tight cable railings prevents the sagging that usually happens after the first winter. You can learn how to tension cable railings without specialized expensive tools, but if you have the budget, a simple torque-sensing wrench ensures you aren’t putting too much stress on your end posts. This is a common mistake that leads to why your cable railing sagged over winter. I’ve personally switched to using 3D modeling for every project now because why you need a 3d model before buying a single deck board isn’t just about the ‘cool’ factor—it’s about catching structural clashes before they cost you a thousand dollars in wasted composite.
How do I maintain my composite deck without ruining the finish?
Maintenance is where most people lose the battle. My number one rule? Throw away the pressure washer. I have watched homeowners literally strip the protective cap off their boards because they wanted to blast away a little pollen. You should never use a pressure washer on composite because it creates micro-fissures that trap dirt and mold. Instead, I use a soft-bristle brush and a pH-neutral cleaner. The North American Deck and Railing Association (NADRA) notes in their safety documentation that structural integrity is often compromised by improper cleaning agents that corrode hidden fasteners. I also recommend the 15-minute deck inspection every homeowner should do once a year to check for why your post bases are rusting or other early warning signs. 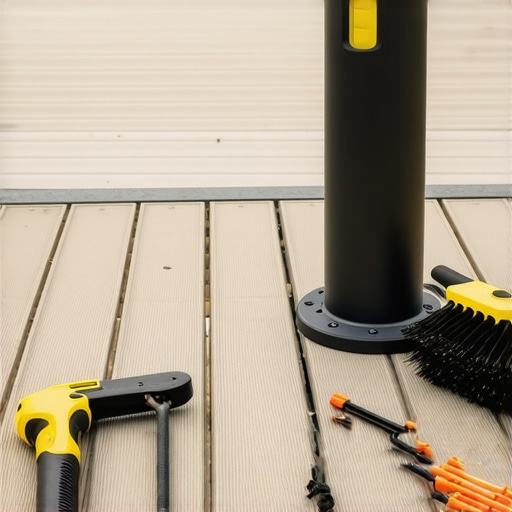
The Future of Outdoor Living is Smarter Not Harder
Looking ahead, the trend is moving toward ‘intelligent’ materials that require even less human intervention. We are seeing a massive shift toward capped polymer products because why capped polymer composite stays cooler than wood-plastic is becoming a necessity as summer temperatures climb. I predict that within five years, integrated drainage systems will be standard on every build, not just a luxury add-on. If you live in a snowy climate, make sure you know the best way to handle snow removal on composite decks to avoid scratching those expensive boards. My advanced tip for you this week? Go grab a roll of joist tape and apply it to just one high-traffic area to see how it seals around the screws—it is a tiny habit that triples the life of your frame. If you’re feeling overwhelmed by the technical side, you can always contact us for a professional perspective on your specific layout.
The Expensive Hard Truths I Learned the Hard Way
If I could go back to that first morning with my rotted deck boards, I’d tell myself that water is patient. It doesn’t need a flood; it just needs a tiny, stagnant pool under a flower pot to begin its work. First, remember that moisture traps are cumulative. One pot might not do it, but ten pots without air circulation will eventually compromise your frame. Second, even the most expensive low-maintenance composite decking is only as good as the skeleton underneath. I’ve seen high-end projects fail because homeowners forgot that pressure treated wood still needs maintenance under composite layers. Finally, stop thinking of your deck as a static floor. It is a dynamic system that expands, breathes, and sheds water—if you don’t facilitate that movement, the structure will suffer. If you’ve been cleaning with harsh chemicals, stop now, because you should never use bleach on your composite deck if you want the finish to last.
The Reliable Gear That Keeps My Decks Standing
When I’m planning a new innovative deck design, I don’t just wing it anymore. I rely heavily on the safety guidelines from the North American Deck and Railing Association (NADRA); they are the gold standard for structural integrity. For physical tools, I never skip using a high-quality butyl joist tape. It’s the single best way to seal puncture wounds from screws and prevent water from entering the grain. For those just starting their journey, the complete guide to choosing railing systems for safety and style is an essential resource for getting the aesthetics right without sacrificing structural stability.
#IMAGE_PLACEHOLDER_E#
Your Outdoor Oasis Deserves a Strong Foundation
It’s easy to feel overwhelmed by the technicalities of drainage and joist spacing, but the goal is simple: peace of mind. You want to walk out with your morning coffee, look at your lush planters, and know that your structure is bone-dry and rock-solid underneath. Whether you are building from scratch or retrofitting an old space, every small adjustment—like lifting a pot or taping a joist—adds years to your home’s value. Don’t be afraid to get your hands dirty today to prevent a massive headache tomorrow. If you run into a structural mystery you can’t solve, feel free to contact us and we’ll help you navigate the tricky parts of modern composite decking. Have you ever discovered a ‘squishy’ spot under a planter or a piece of outdoor furniture? Let me know in the comments how you handled the repair!